This post may contain affiliate links. Please see myย disclosure policy
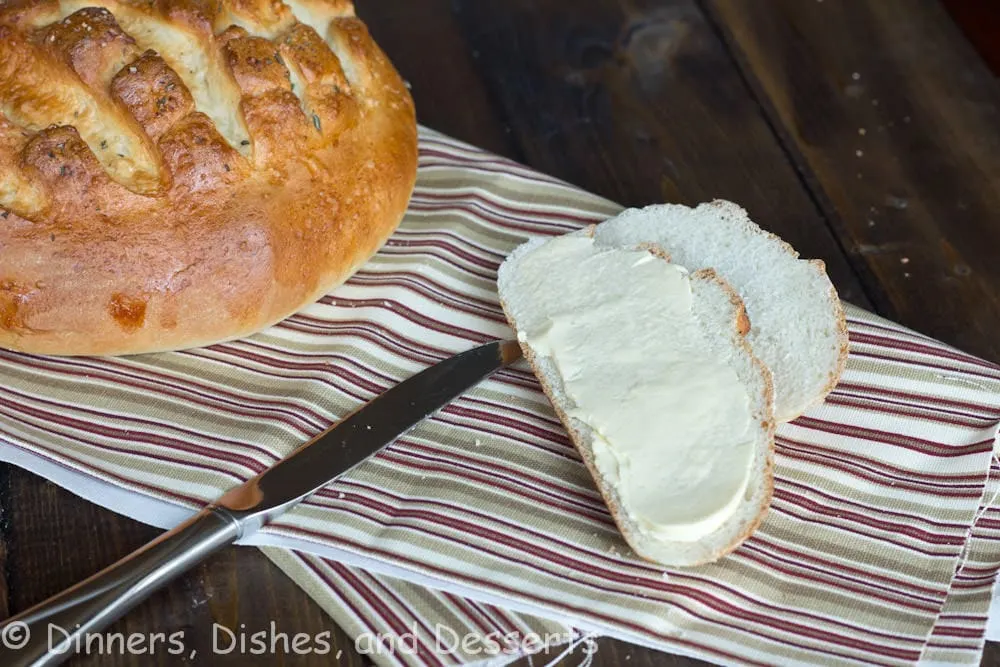
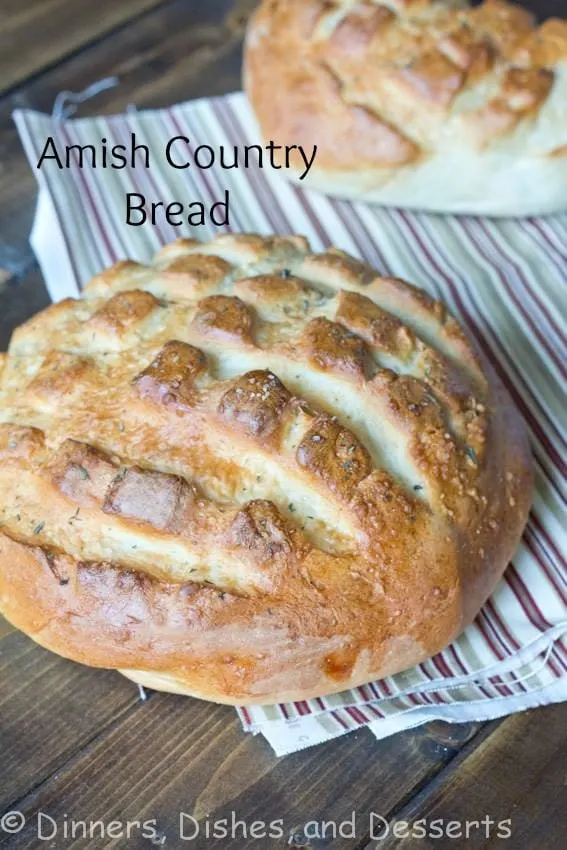
This easy Amish bread recipe makes two soft and sweet homemade bread loaves perfect for toasting and sandwiches! I use rapid-rise yeast, which keeps the rising time short.
If you’re looking for a yeast-free bread recipe, check out this cheesy quick bread.
Table of Contents
Whenever I make a batch of soup or chili, a fluffy bread loaf isn’t far behind. This Amish bread is one of my favorites. It’s soft inside with a touch of sweetness, with a hearty, crusty exterior that I look for in “dunking” bread.
You’ll find similar recipes called Amish friendship bread or country bread made from a sourdough starter. The tradition goes that one cup of starter was used to make the bread, one cup was saved, and the rest was passed on to friends. Like the baking equivalent of a chain letter!
Why You’ll Love This Amish Bread Recipe
- Quick. I don’t use a sourdough starter for this recipe (although you absolutely could if you wanted to). Instead, rapid-rise yeast keeps the rising time to about 1 hour.
- Freezer-friendly. If your family is anything like mine, it takes a while to go through loaves of bread. That’s why I always have some stocked in the freezer. This Amish bread freezes great and thaws out quickly enough.
- Versatile. Slice this soft Amish bread loaf to use for toast and sandwiches, or cut larger hunks for dunking into soups, stews, chili, and more. You can also turn this bread into garlic bread.
Ingredients You’ll Need
This easy bread recipe calls for very few easy pantry ingredients. I’ve included notes below. Scroll down to the printable recipe card for the complete ingredients list, amounts, and instructions.
- Sugar – Granulated sugar or light brown sugar both work here.
- Butter – Salted or unsalted butter, melted.
- Rapid-Rise Yeast – Also called instant yeast, this type of yeast is fast-acting and made for same-day baking. Unlike active dry yeast, rapid-rise yeast doesn’t need to be dissolved in warm water before it’s mixed into the dough. Check the expiration date on the package to make sure your yeast is fresh!
- Bread Flour – Bread flour has a higher protein content than all-purpose flour. Higher protein = more gluten and a chewier bread loaf. If needed, you can substitute regular flour for bread flour (1:1), though you may notice a difference in the bread’s texture.
- Egg White – For an egg wash. Separate the egg yolk from the whites while the egg is cold from the fridge (it’s much easier!).
- Rosemary – Or your choice of herb to sprinkle over the bread before baking. You can also simply use salt or skip a seasoning altogether.
How to Make Amish Bread
You’ll combine your bread ingredients with warm water to make the dough. Make sure that the water temperature is between 110ºF and 115ºF, but do not make it hotter or colder, as the yeast might not activate.
Let’s get started following the steps below, and you can refer to the recipe card for the printable instructions:
- Combine the ingredients. In the bowl of your stand mixer, mix the sugar, butter, salt, warm water, and yeast. Leave that to sit for 5 minutes so that the yeast activates. It should look foamy.
- Add flour. Next, mix in the flour, one cup at a time, until the dough comes together in a ball.
- Knead the dough. Now, turn the dough out on a lightly floured countertop and use your hands to knead it for about 10 minutes. Place the dough into a greased bowl and cover it with a clean dishcloth.
- Rise. Place the covered dough somewhere warm to rise for 30 minutes or until it’s doubled in size.
- Shape the bread. Afterward, punch it down, then divide and roll the dough into 2 balls and place them side-by-side on a baking sheet. Use a sharp knife to cut slits across the top, then cover the loaves and let them rise for another 30 minutes.
- Bake. Finally, whisk the egg white with water and brush it over the dough balls. Sprinkle the tops with a little salt and rosemary. Then, bake the bread at 400ºF for 20-25 minutes, until it’s golden brown.
Recipe Tips
- How to tell when bread is baked: This Amish bread bakes up to a lovely golden brown. If you lift it and tap the bottom of the bread, it should sound hollow. This means it’s fully baked through.
- Find a warm location for the bread to rise. This can be a warm spot in the kitchen, or you can place the dough on top of the oven while it preheats.
- Make sure the yeast activates. After combining the yeast with the other ingredients, if the mixture doesn’t look foamy after resting for 5-10 minutes, that’s a sign that the yeast did not activate properly. This could be because it’s expired or the water was too warm/cold. In this case, you’ll need to start again with fresh yeast.
Serving Suggestions
Thick, crusty bread is the perfect side to just about any meal: breakfast, dinner, and anything in between! I love to serve this Amish bread with cozy broccoli cheese soup, and it’s delicious dunked into hearty chicken stew. Or, I’ll have it as a side with pasta dinners, like beef ragu, and it’s great for mopping up the leftover gravy from a pork roast or braised short ribs.
At breakfast or brunch, slather slices with jam or butter, or turn this bread into a grilled cheese. There’s really nothing like homemade bread for any occasion!
How to Store
- At room temperature. After the bread cools completely, store it airtight at room temperature for 4-5 days. If it goes a bit stale, I like to turn leftover bread into French toast or bread pudding.
- Freeze. Wrap the bread loaf tightly in plastic wrap, then foil, and freeze it for up to 1 month. You can also freeze the pre-sliced Amish bread and take out slices as needed. Thaw the bread at room temperature before serving (this usually takes minutes).
More Easy Bread Recipes
Amish Country Bread
Ingredients
- 4 Tablespoons sugar
- 2 Tablespoons butter, melted
- 3 teaspoons salt
- 1 ½ cup hot water, (about 115 degrees)
- 2 Tablespoons rapid rise yeast
- 5 cups bread flour
- 1 egg white
- 1 Tablespoons water
- 1 teaspoon kosher salt
- 1 teaspoon rosemary
Instructions
- Using a stand mixer, mix together the sugar, butter, salt, water, and yeast. Let it set for 5 minutes until nice and foamy.
- Add the flour, 1 cup at a time, until it forms a ball.
- Turn onto a floured surface and knead for 8-10 minutes.
- Place dough in a greased bowl, cover and let rise until doubled in size (about 30 minutes).
- Punch down the dough and divide it into 2 equal balls. Roll into a ball and place side by side on a baking sheet. Cut cross slits in the top. Cover and let rise for another 30 minutes.
- Preheat the oven to 400 degrees.
- Mix the egg white with the water. Brush over the top of each ball of dough. Sprinkle evenly with salt and rosemary. Bake for 20-25 minutes. It will be golden brown and sound hollow when you tap on the bottom.
Notes
- Adapted from One More Moore
- It can be baked in a loaf pan if desired, and it will make 2 loaves.
- The rosemary and salt on top are just for added flavor; you can omit them if you want to make just sandwich bread.
- Can cut the recipe in half and make one loaf.
Nutrition
Nutrition information is automatically calculated, so should only be used as an approximation.
I created a fun group on Facebook,and I would love for you to join us! It’s a place where you can share YOUR favorite recipes, ask questions, and see what’s new at Dinners, Dishes and Desserts (so that you never miss a new recipe)!
Be sure to follow me on Instagram and tag #dinnersdishes so I can see all the wonderful DINNERS, DISHES, AND DESSERTS recipes YOU make!
Be sure to follow me on my social media, so you never miss a post!
Facebook | Twitter | Pinterest | Instagram
.
My tiny little freezer is constantly full. It’s ridiculous. I need to stop buying stuff and use what I already have!
And this bread looks awesome. I don’t make it often because it’s just a disaster calorie-wise. But I love it! ๐
Oh and sorry about the snow. We’re having the same issues over here…
Your bread turned out so beautiful. I’ve seen a couple of Amish bread recipes but haven’t tried any. Now I wonder why, sounds perfect with a comforting dinner
I have been itching to make homemade bread. My fear of yeast and dough keeps me from just doing it, but when I see beautiful bread like this I want to give a go. ๐ Well done. ๐
That is an amazing looking bread! Soup and bread is perfect snow day food!!!
What an incredible bread, Erin. So fluffy and so perfect. I can’t wait to bake this!
This looks like the perfect summer bread. Yum! I would be ripping pieces off all day ๐
I see that these comments are 5 years old but I figured I might as well ask my question anyway. Why do you not let the stand mixer do the kneading? I figure there must be a reason. I’ve been making bread for decades but now with arthritis in my hands, I can’t knead bread dough for very long. I used to love to knead the dough, a great stress reliever! Thanks.
I am sure the mixer would work great for kneading. Sometimes I like to knead by hand to know when I really am done. But if you are experienced and it means you can make it that way, then go for it!
Thank you so much for your reply! I have the bread baking now…my family will be thrilled. I know what you mean about kneading by hand b/c you’ll know when the dough is ready. I have been kneading the dough by hand a bit after the mixer but before it is ready for the first rising. My ancient hands can handle that much.
I hope you enjoy!! My mom has arthritis in her hands, so I completely understand!