This post may contain affiliate links. Please see my disclosure policy
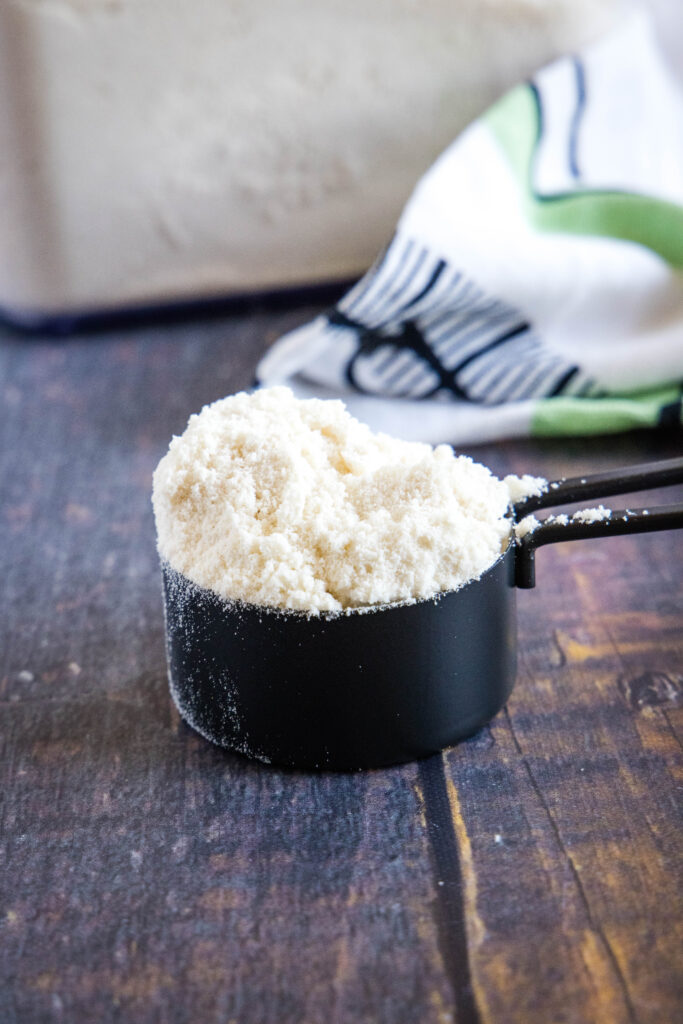
You can make Homemade Bisquick with just 4 simple ingredients, and use in place of the store bought stuff in any recipe!
All it takes is 4 ingredients and about 5 minutes and you can have a batch of Homemade Bisquick ready for all of your baking and cooking needs! It is seriously so easy, and is great if you ran out, live in an area of the world where it isn’t wold, or just want cleaner ingredients in your recipes.
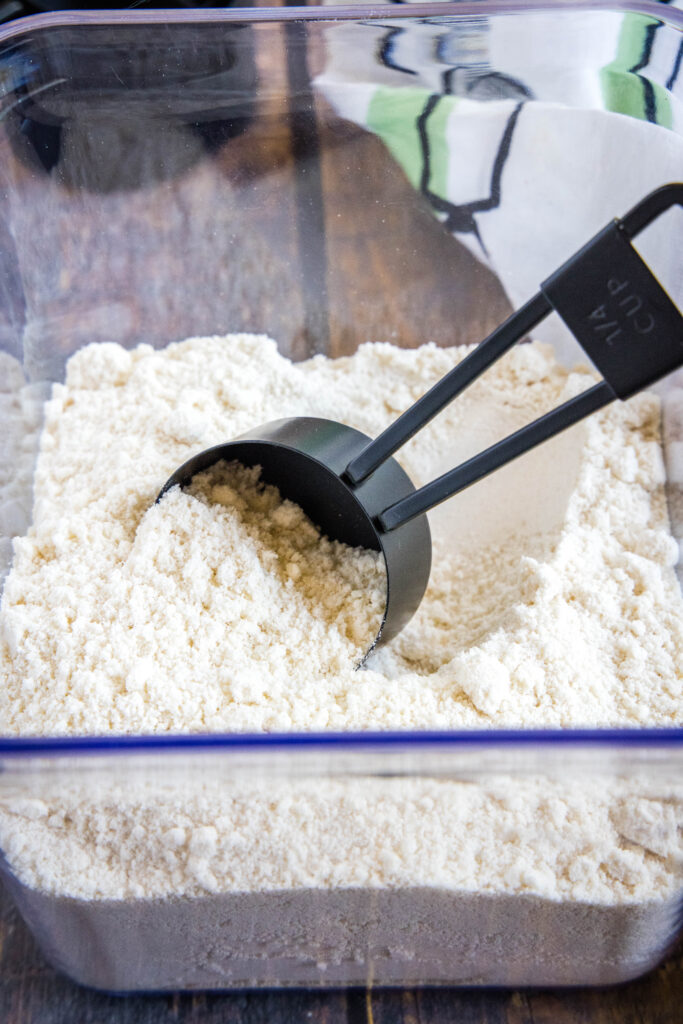
Most of the time I am all about baking from scratch and using homemade recipes. But sometimes, you really just need a shortcut and can’t put in all of the effort for homemade. Which is where this is perfect. You can make a big batch of this in 5 minutes, and have it on hand for when you want to make Bisquick Muffins or Bisquick Cookies or any of the other recipes you would normally use it for.
Why You’ll Love This Homemade Bisquick
- Fast – It really only takes 5 minutes to whip this up. Your food processor makes it so darn quick!
- Easy – Just 4 ingredients you probably have on hand already, so no special trips to the store, just measure, dump into the food processor, and pulse.
- Whole Food Ingredients – The ingredient list on the side of the Bisquick box is long. This has 4 ingredients. And you have an option for the fat used, so you can make it fit your lifestyle.
- Long Shelf Life – This will last in an airtight container for about 6 months, just like a box of Bisquick. So double or triple the recipe and make life easy.
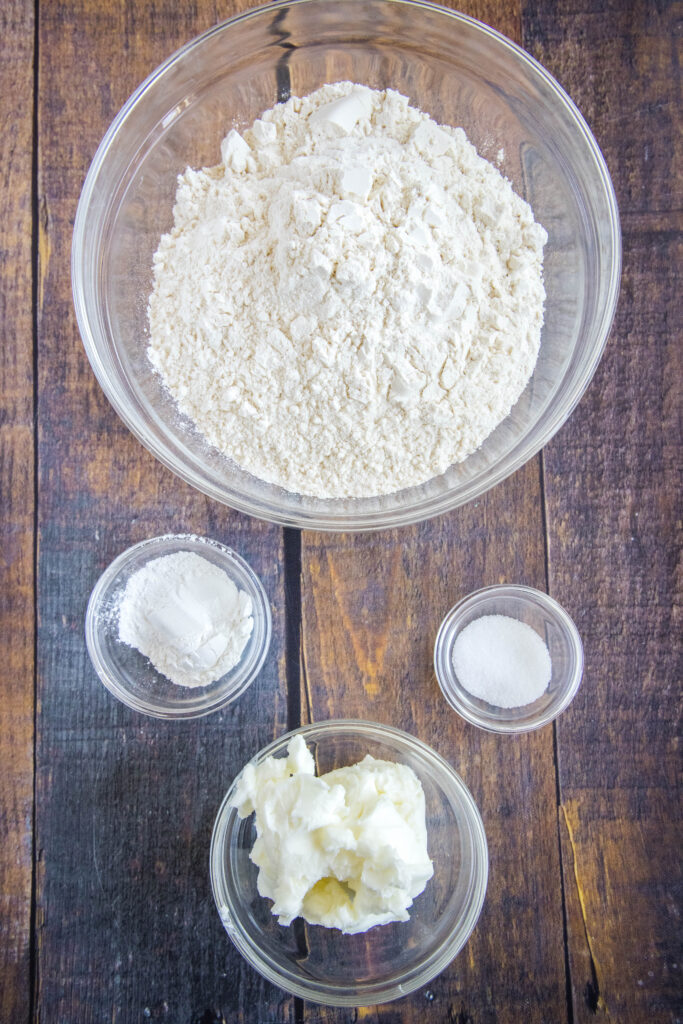
What You’ll Need
Be sure to scroll to the bottom of the post for the FULL PRINTABLE recipe card.
- All-Purpose Flour
- Baking Powder
- Salt
- Vegetable Shortening/Butter – see below for information and tips for which to pick.
How To Make Homemade Bisquick
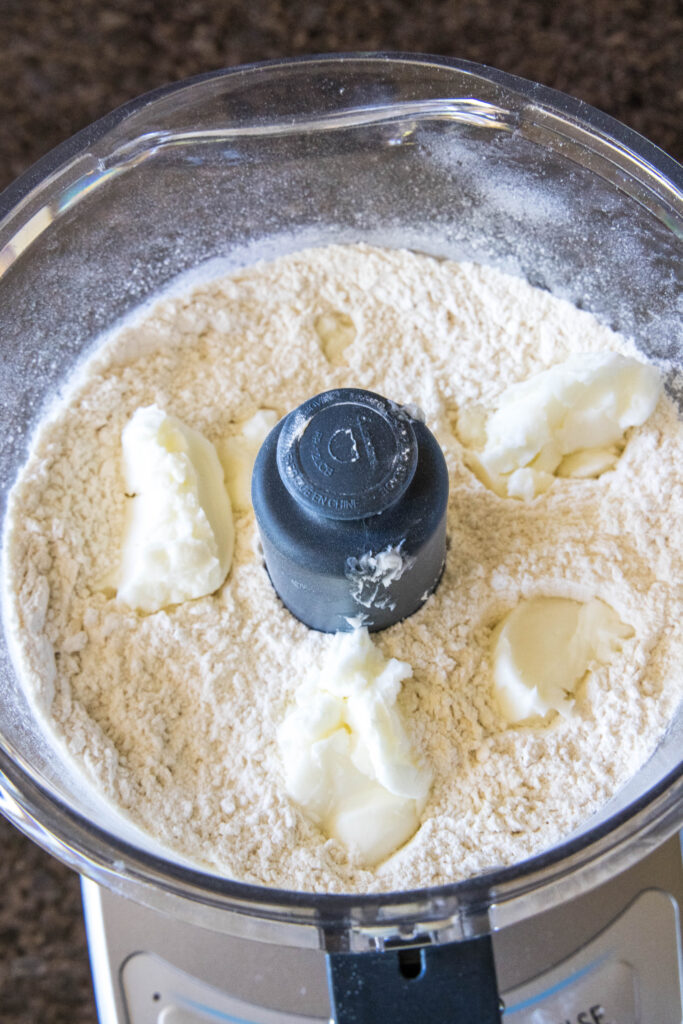
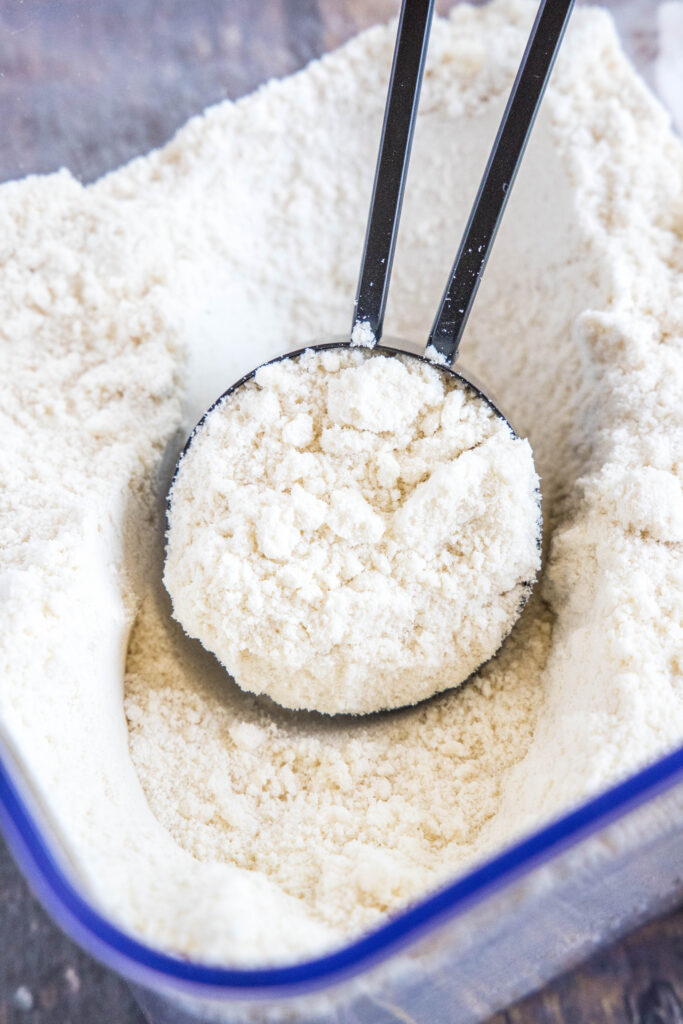
- Process Dry Ingredients. Add flour, baking powder and salt to a food processor and pulse a few times to mix everything together.
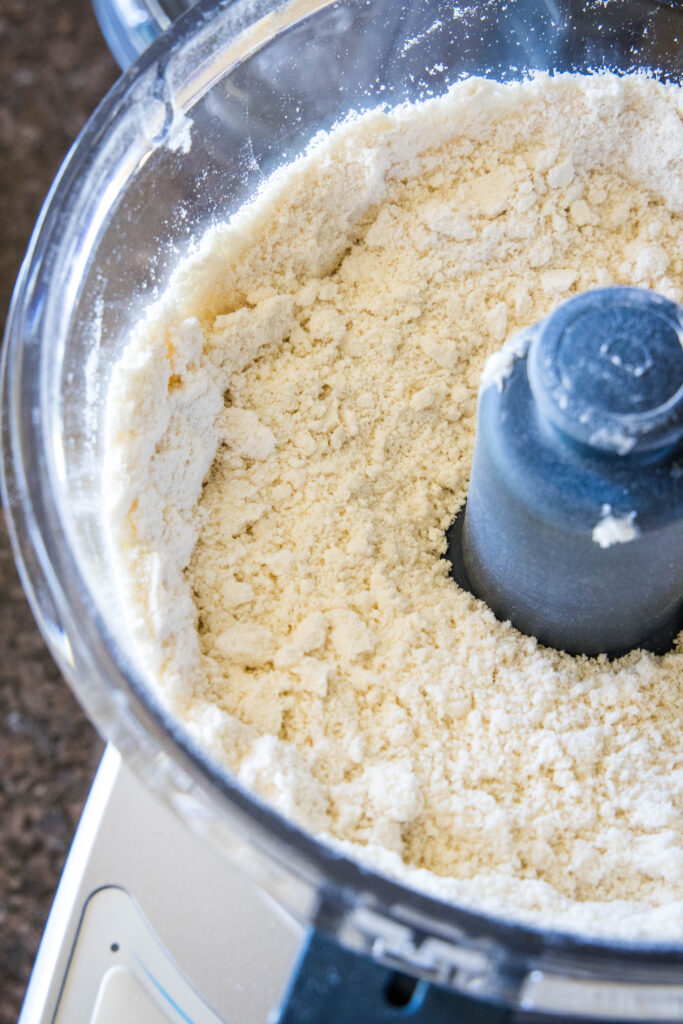
- Add Fat. Pick which source of fat you are going to use and add it to the food processor. Pulse for it to come together, until it looks like coarse sand, just like Bisquick does.
- Storage. Remove and pour into an airtight container. Put on a label, so you know what it is and store in the pantry or fridge (see notes depending on fat source used).
Vegetable Shortening or Butter
You really can use either in this and it works well both ways. If you want it to really taste like Bisquick you will want to use vegetable shortening. This also means it is pantry safe and does NOT need to be refrigerated.
Don’t want to use vegetable shortening, use butter. It works great, and does obviously give a little bit more of a buttery taste. The only downside is that it needs to be refrigerated.
The third, less popular option, at least in the United States is Lard. Lard does not need to be refrigerated after opening, so it is a great option if you want it stored in the pantry.
What If I Don’t Have A Food Processor
No worries, the food processor just makes this super fast, but you can definitely make it without.
Stand Mixer
If you have a stand mixer, use your whisk attachment and mix on low until it is the texture of sand.
Pastry Cutter/Fingers
Just like when you are making Buttermilk Biscuits or a shortbread like crust, use your pastry cutter, a fork, or your fingers to get the fat mixed in. Just make sure you cut the butter into cubes (use it cold) or add the vegetable shortening in small dollops over the surface.
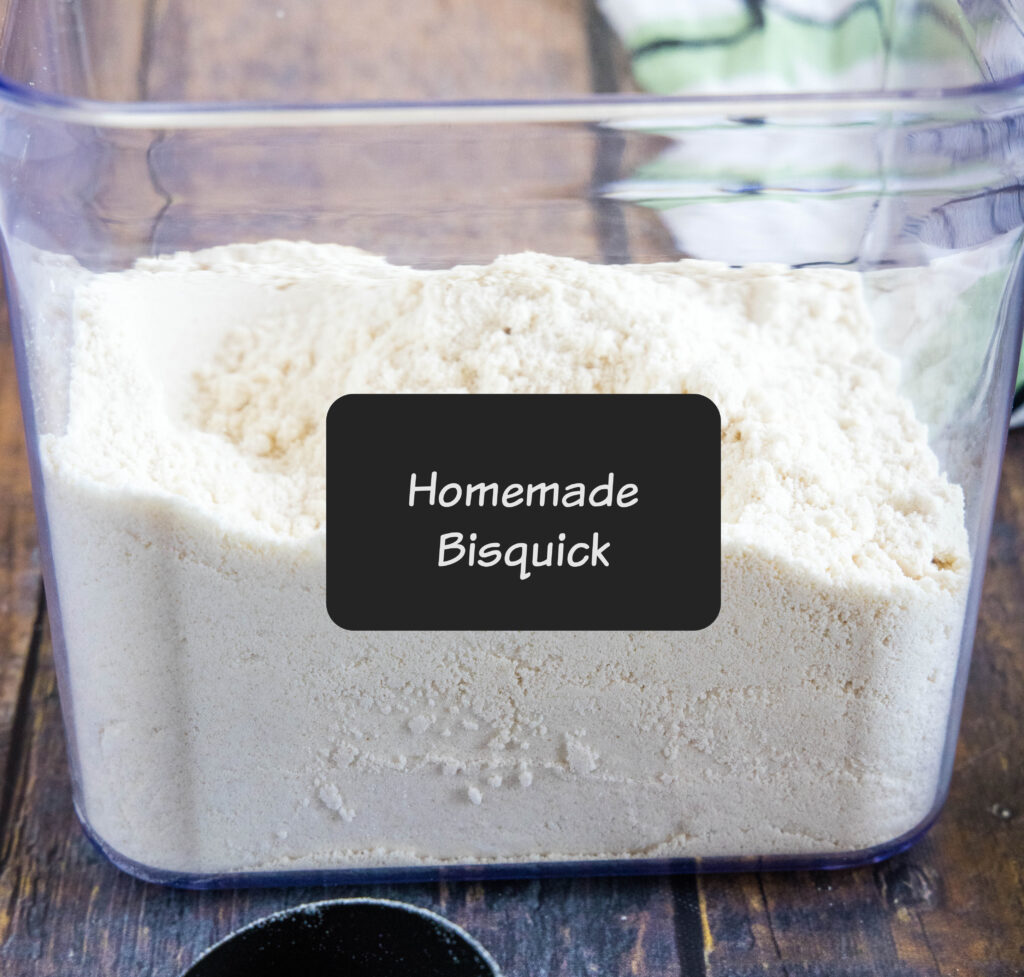
Storing Homemade Bisquick
Store your baking mix in an airtight container. You can make a double or triple batch, just add a label with what it is and the date, so you know how long it will last. It should last at room temperature for up to 6 months.
How To Use Homemade Bisquick
You can use this in any recipe that you have or see that calls or Bisquick. We use it for Strawberry Shortcake every summer, or it is great for Cream Cheese Sausage Balls or Ham & Cheese Biscuits.
You can also make the classic pancakes, waffles, and biscuits that they are known for.
More Staple Basic Recipes
- Italian Seasoning
- Ranch Dressing Mix
- Homemade Ketchup
- How To Make Buttermilk
- Stabilized Whipped Cream
- Homemade Ranch Dressing
- Chocolate Frosting
Homemade Bisquick
Ingredients
- 3 cups all-purpose flour
- 1 1/2 Tablespoons baking powder
- 1 1/2 teaspoons salt
- 1/2 cup vegetable shortening, or small cubes of butter
Instructions
- Add flour, baking powder and salt to a food processor. Pulse a few times until blended together.3 cups all-purpose flour, 1 1/2 Tablespoons baking powder, 1 1/2 teaspoons salt
- Add vegetable shortening in small dollops across the top.1/2 cup vegetable shortening
- Pulse until fully incorporated and the texture of sand.
- Store in an airtight container for up to 6 months.
Notes
Nutrition
Nutrition information is automatically calculated, so should only be used as an approximation.
I created a fun group on Facebook,and I would love for you to join us! It’s a place where you can share YOUR favorite recipes, ask questions, and see what’s new at Dinners, Dishes and Desserts (so that you never miss a new recipe)!
Be sure to follow me on Instagram and tag #dinnersdishes so I can see all the wonderful DINNERS, DISHES, AND DESSERTS recipes YOU make!
Be sure to follow me on my social media, so you never miss a post!
Facebook | Twitter | Pinterest | Instagram
.


Could I use almond flour instead of all purpose flour. I’ve been buying a brand called carbquick. I would love to know if you have an answer! Thank you!
It may work for some uses of bisquick, but I don’t think it would yield the best results for a lot of things. Almond flour is really not a great one-to-one swap when you want something to rise like a biscuit, they just work differently. If you wanted something gluten free I think using the Cup4Cup brand or Bob’s Red Mill gluten free all-purpose flour would be your best option.
Well, this is super cool! I use Bisquick all the time. It makes amazing biscuits. I can’t wait to make this.
This is such an amazing recipe! So quick and easy to make!
I didn’t realize I had ran out of mix, so I’m so glad I found this recipe!
It’s great and so easy to have this option to make bisquick at home! You made my life easier!
Can you use a kitchen aid mixer? I don’t have a food processor.
Read the section of the post with the heading “What If I Don’t Have A Food Processor” it gives you tips on other ways
@Micki Foster, yes you can, just use the whisk attachment 🙂
Can you substitute with wheat flour and if so, how would you adapt other ingredients?
Thank you!
All-purpose flour is wheat flour do you want a whole wheat flour? Yes, you can swap and it should be fine. They do taste a little different, so it will just end up with slightly different texture and taste the traditional biquick with all-purpose flour.