This post may contain affiliate links. Please see my disclosure policy
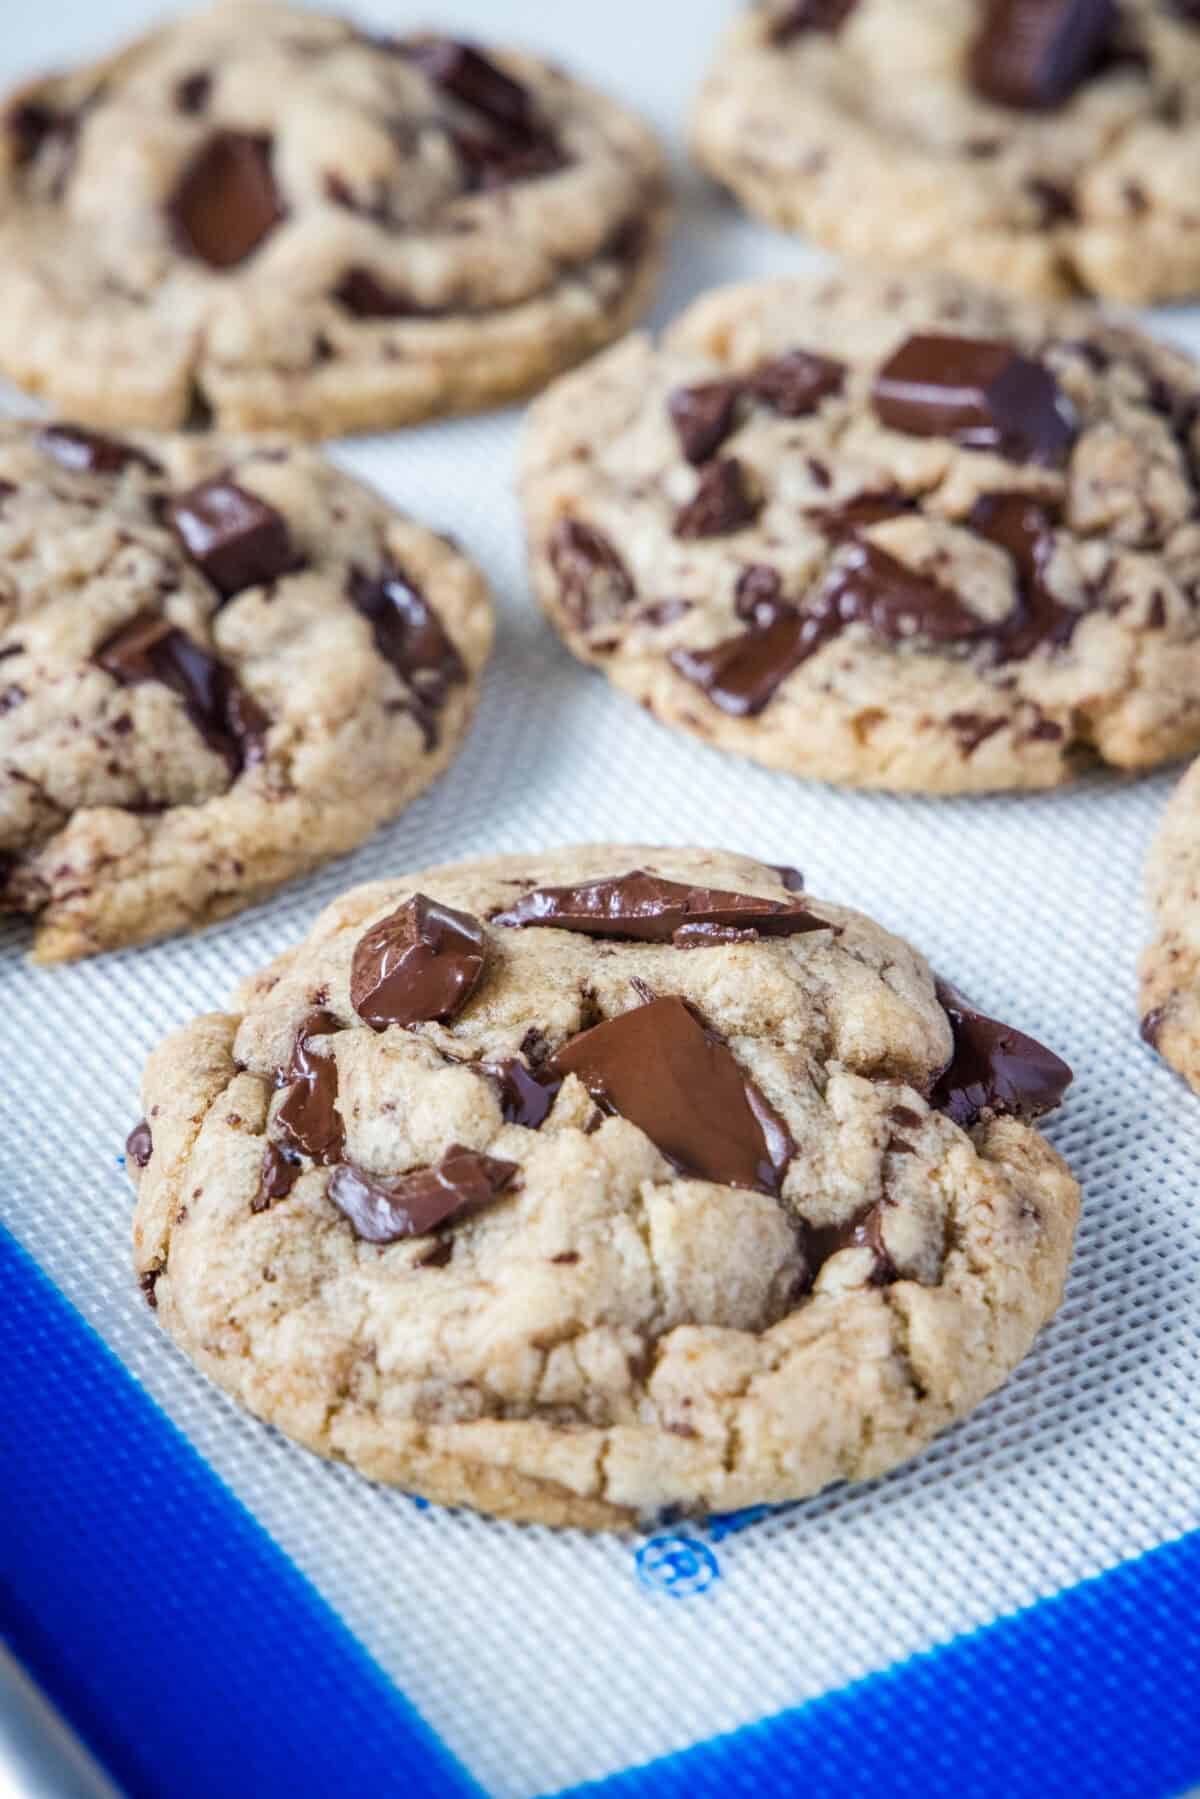
Bakery style chocolate chip cookies with crisp caramelized edges and soft, gooey centers. Browned butter and a corn syrup trick keep them chewy for days.
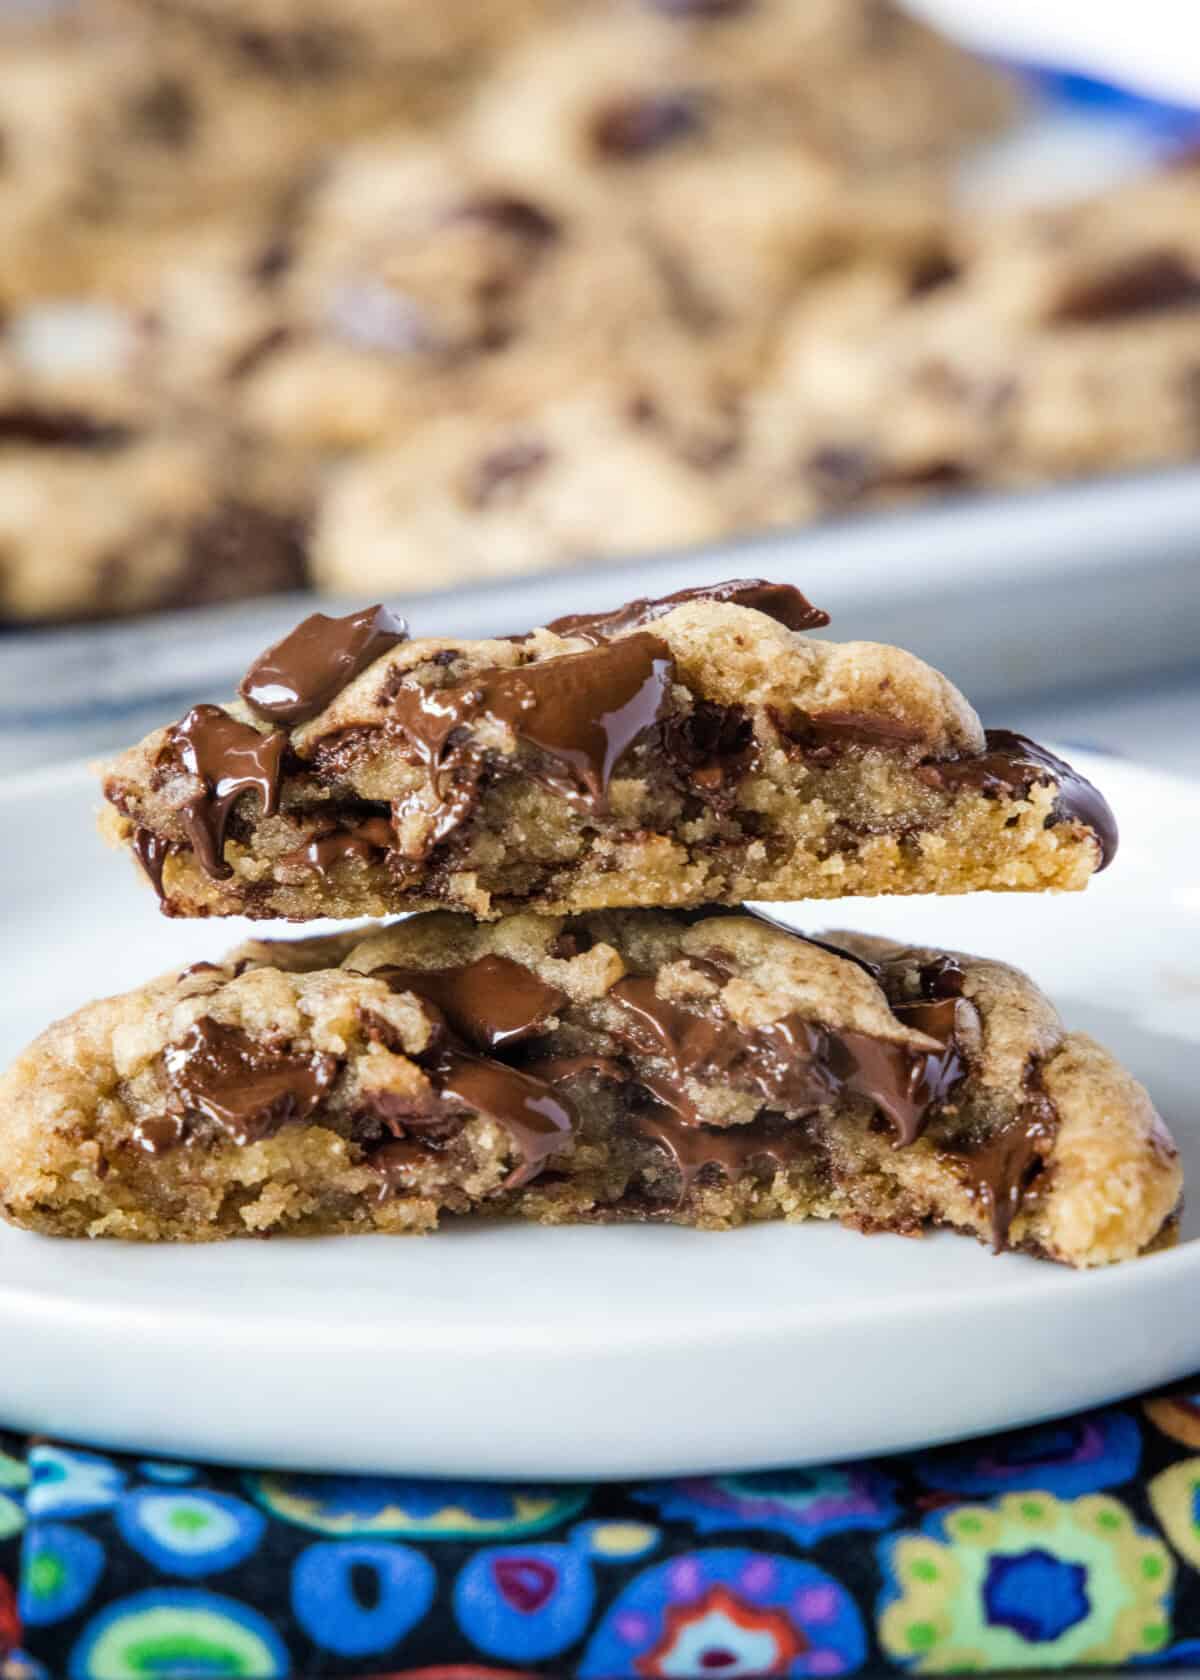
There’s a specific kind of chocolate chip cookie I’m always chasing, the ones from a real bakery case, with deeply caramelized, crackly edges and a center so soft it’s basically still cooking when you bite into it. This recipe is the one that finally closed the gap, and the secret isn’t one single trick, it’s three of them working together: browned butter, a resting period for the dough, and a small but mighty splash of corn syrup.
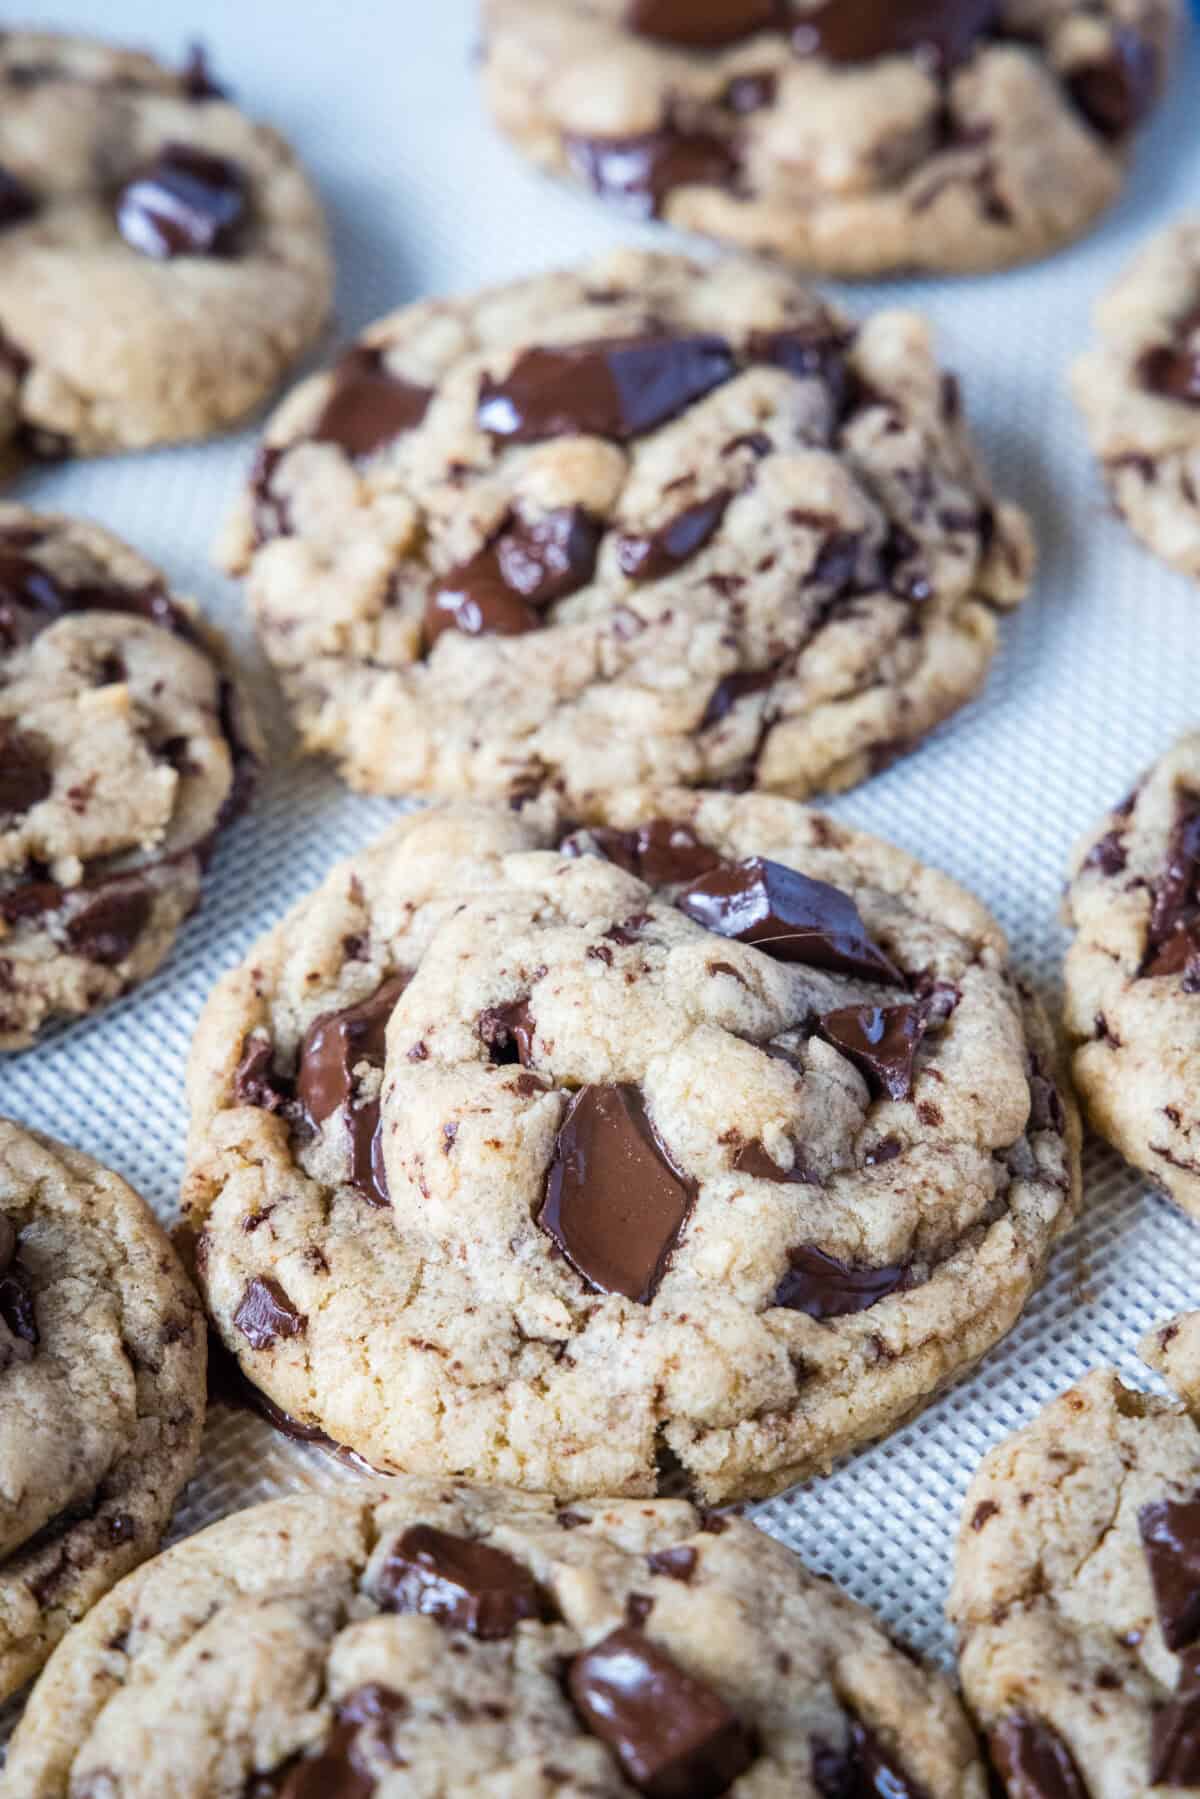
I want to walk you through why each of these steps matters, because once you understand what’s actually happening in the bowl, you’ll never go back to a basic drop-and-bake cookie again.
Erin’s Notes
- Bakery-quality texture at home. Crisp, toffee-colored edges give way to a soft, almost gooey center — exactly like the oversized cookies from your favorite bakery case.
- Deeper flavor from browned butter. Cooking the butter until it turns golden and nutty adds a caramelized flavor you just can’t get from softened butter alone.
- Stays soft for days. A touch of corn syrup keeps the crumb moist long after baking, so these don’t turn hard and stale by day two.
- Make-ahead friendly. The dough chills before baking and freezes beautifully, so you can have warm cookies ready whenever the craving hits.
- Big, melty pockets of chocolate. Coarsely chopped dark chocolate melts into gorgeous puddles that chocolate chips just can’t replicate.
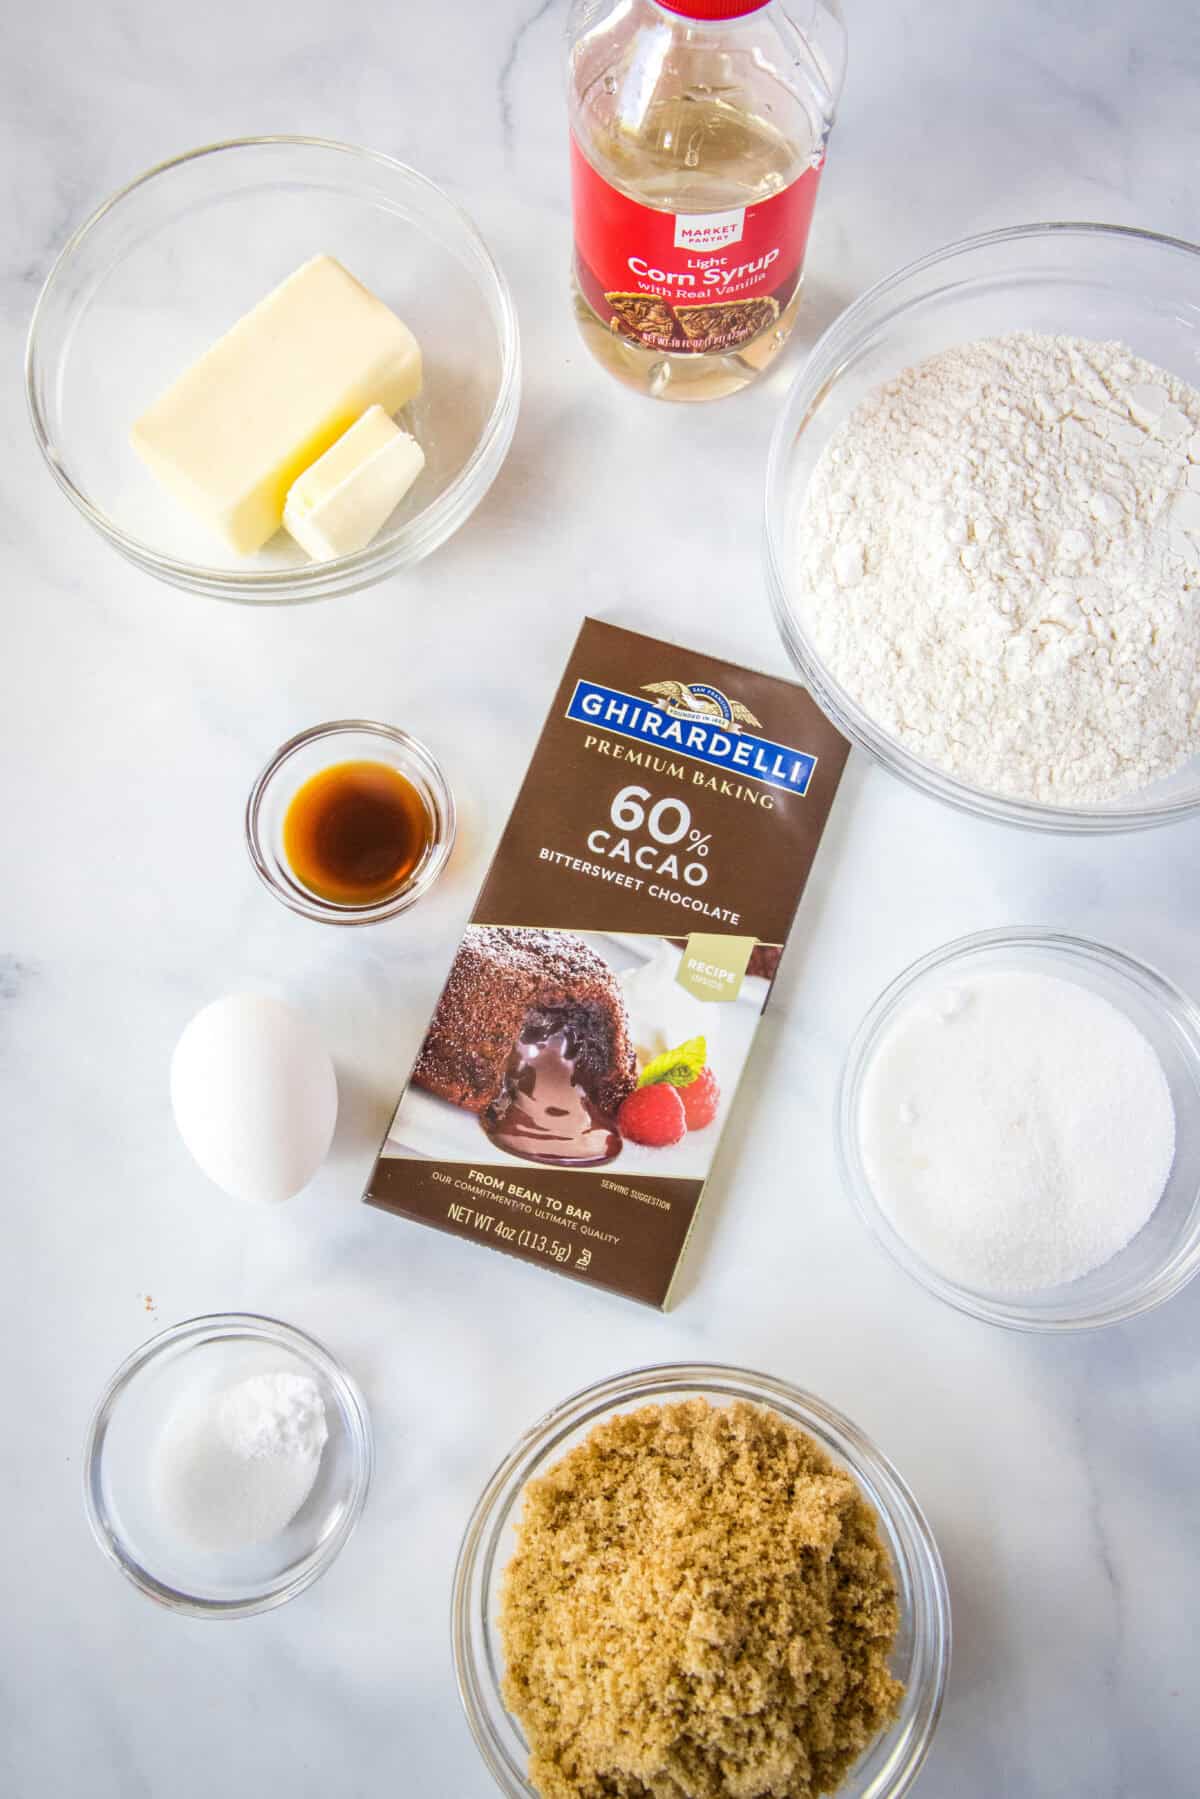
Ingredients You’ll Need
- Unsalted butter — browned on the stove, not just melted. Browning cooks off the water content in the butter and toasts the milk solids, which is where that nutty, caramel-like flavor comes from. A light-colored saucepan makes it much easier to see the color change and catch it right before it burns.
- All-purpose flour — spoon it into your measuring cup and level it off (or better yet, weigh it) so you don’t end up with dense, dry cookies from packed-in flour.
- Baking soda — the only leavener this recipe needs. The acidity in the brown sugar is enough to activate it, giving the cookies lift and encouraging that deep golden-brown color as they bake.
- Light brown sugar and granulated sugar — brown sugar’s molasses content keeps the cookies moist and chewy, while the granulated sugar helps the edges turn crisp and lightly caramelized.
- Egg — adds structure and richness. It gets mixed in after the butter has cooled so it doesn’t scramble in the residual heat.
- Light corn syrup — this is the ingredient most cookies skip, and it makes a bigger difference than you’d expect. Corn syrup is a humectant, meaning it binds water and locks moisture into the dough. I learned this trick from the blog Scientifically Sweet. She has written extensively about this trick in bakery-style cookies, explaining that a humectant like corn syrup or honey keeps cookies soft and chewy for days after baking, rather than drying out the way a basic cookie does. Just one teaspoon is enough to noticeably extend how long these stay soft.
- Dark chocolate, coarsely chopped — chopping a bar (rather than using chips) creates those signature melty puddles and thin shards of chocolate throughout the dough. Stabilizers in chocolate chips help them hold their shape in baking, which is exactly what you don’t want here.
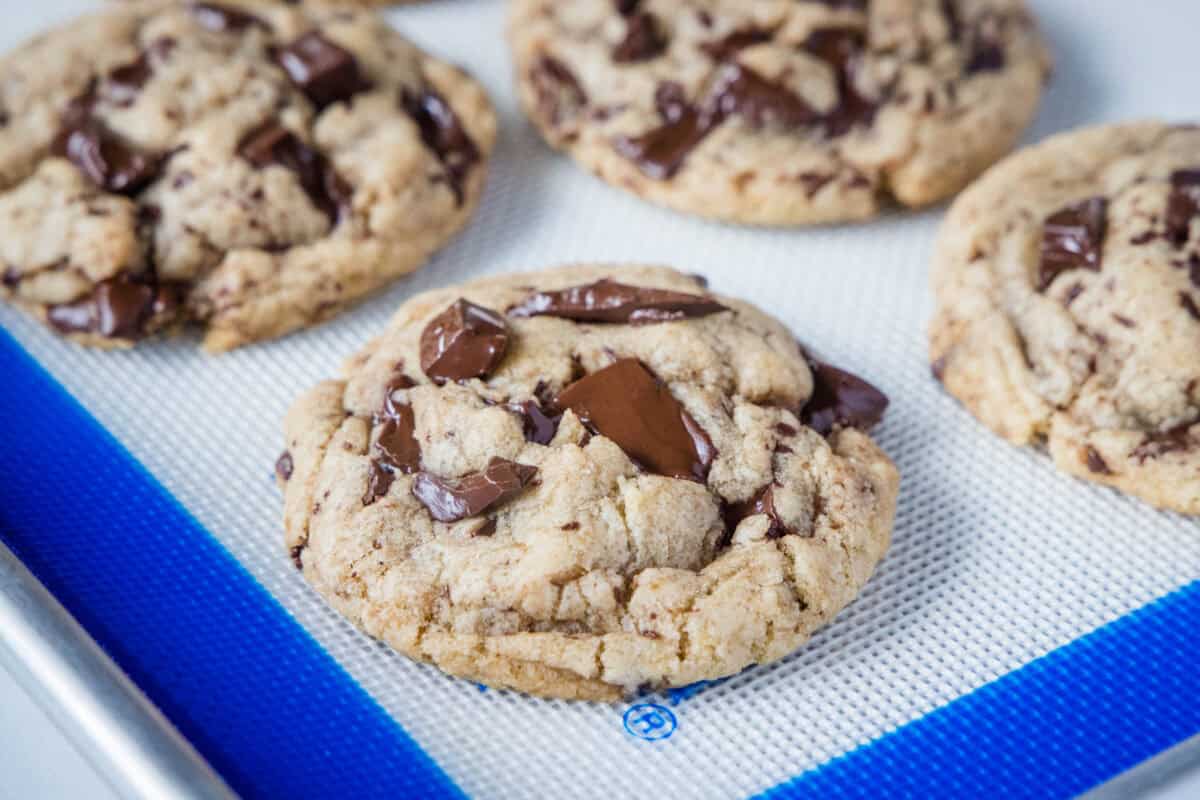
Bakery Style Chocolate Chip Cookies
Ingredients
- 10 Tablespoons unsalted butter, (140 grams)
- 2 cups all-purpose flour, (250 grams)
- 1 teaspoon salt
- 1/2 teaspoon baking soda
- 3/4 cup light brown sugar, (165 grams)
- 1/3 cup granulated sugar, (80 grams)
- 2 teaspoons vanilla extract
- 1 large egg
- 1 teaspoon light corn syrup
- 6-7 ounces dark chocolate, coarsely chopped
Instructions
- In a saucepan heat butter over medium heat, stir until melted. Using a light colored pan is best, so you can see when it is done.10 Tablespoons unsalted butter
- As the butter cooks it will crackle and sputter, this is the liquid burning off. Continue to stir to prevent it from burning.
- After 5-8 minutes it will develop a thick foam on top, start to smell nutty and you will see brown flecks when you stir. Remove from the het and let it cool for about 30 minutes to get to room temperature.
- Meanwhile whisk together flour, salt and baking soda until combined. Set aside.2 cups all-purpose flour, 1 teaspoon salt, 1/2 teaspoon baking soda
- Once the butter has cooled mix together with both sugars until you get the consistency of wet sand.3/4 cup light brown sugar, 1/3 cup granulated sugar
- Mix in egg, vanilla and corn syrup until well incorporated, do not beat with a mixer as the butter can start to solidify.2 teaspoons vanilla extract, 1 large egg, 1 teaspoon light corn syrup
- Pour in the flour mixture and mix until it is mostly combined, but you can still see streaks of flour.
- Fold in chocolate pieces, reserving a few for topping, until they are evenly incorporated as the flour is blended.6-7 ounces dark chocolate
- Scoop 2 ounce balls of dough and roll into balls. Place on a lined baking sheet and chill for 2 hours (can chill up to 24).
- When ready to bake preheat oven to 350º F. Arrange 6 balls of dough onto a large baking sheet. Bake for 9-11 minutes until the edges are set, the tops are golden brown and appear dry.
- Remove from the oven, top with the reserved chocolate pieces. Let the cookies cool on the baking sheet.
- Remove cookies once cool and let the chocolate set up before storing.
Nutrition
Nutrition information is automatically calculated, so should only be used as an approximation.
How To Make Bakery Style Chocolate Chip Cookies
- Brown the butter. Melt the butter in a light-colored saucepan over medium heat, stirring often. It will crackle and sputter as the water cooks off, then develop a thick foam, a nutty aroma, and small brown flecks after 5-8 minutes. Pull it off the heat right at that point and let it cool to room temperature, about 30 minutes.
- Whisk the dry ingredients. While the butter cools, whisk together the flour, salt, and baking soda in a bowl and set it aside.
- Combine butter and sugars. Once the browned butter has cooled, mix it with the brown sugar and granulated sugar until the mixture looks like wet sand.
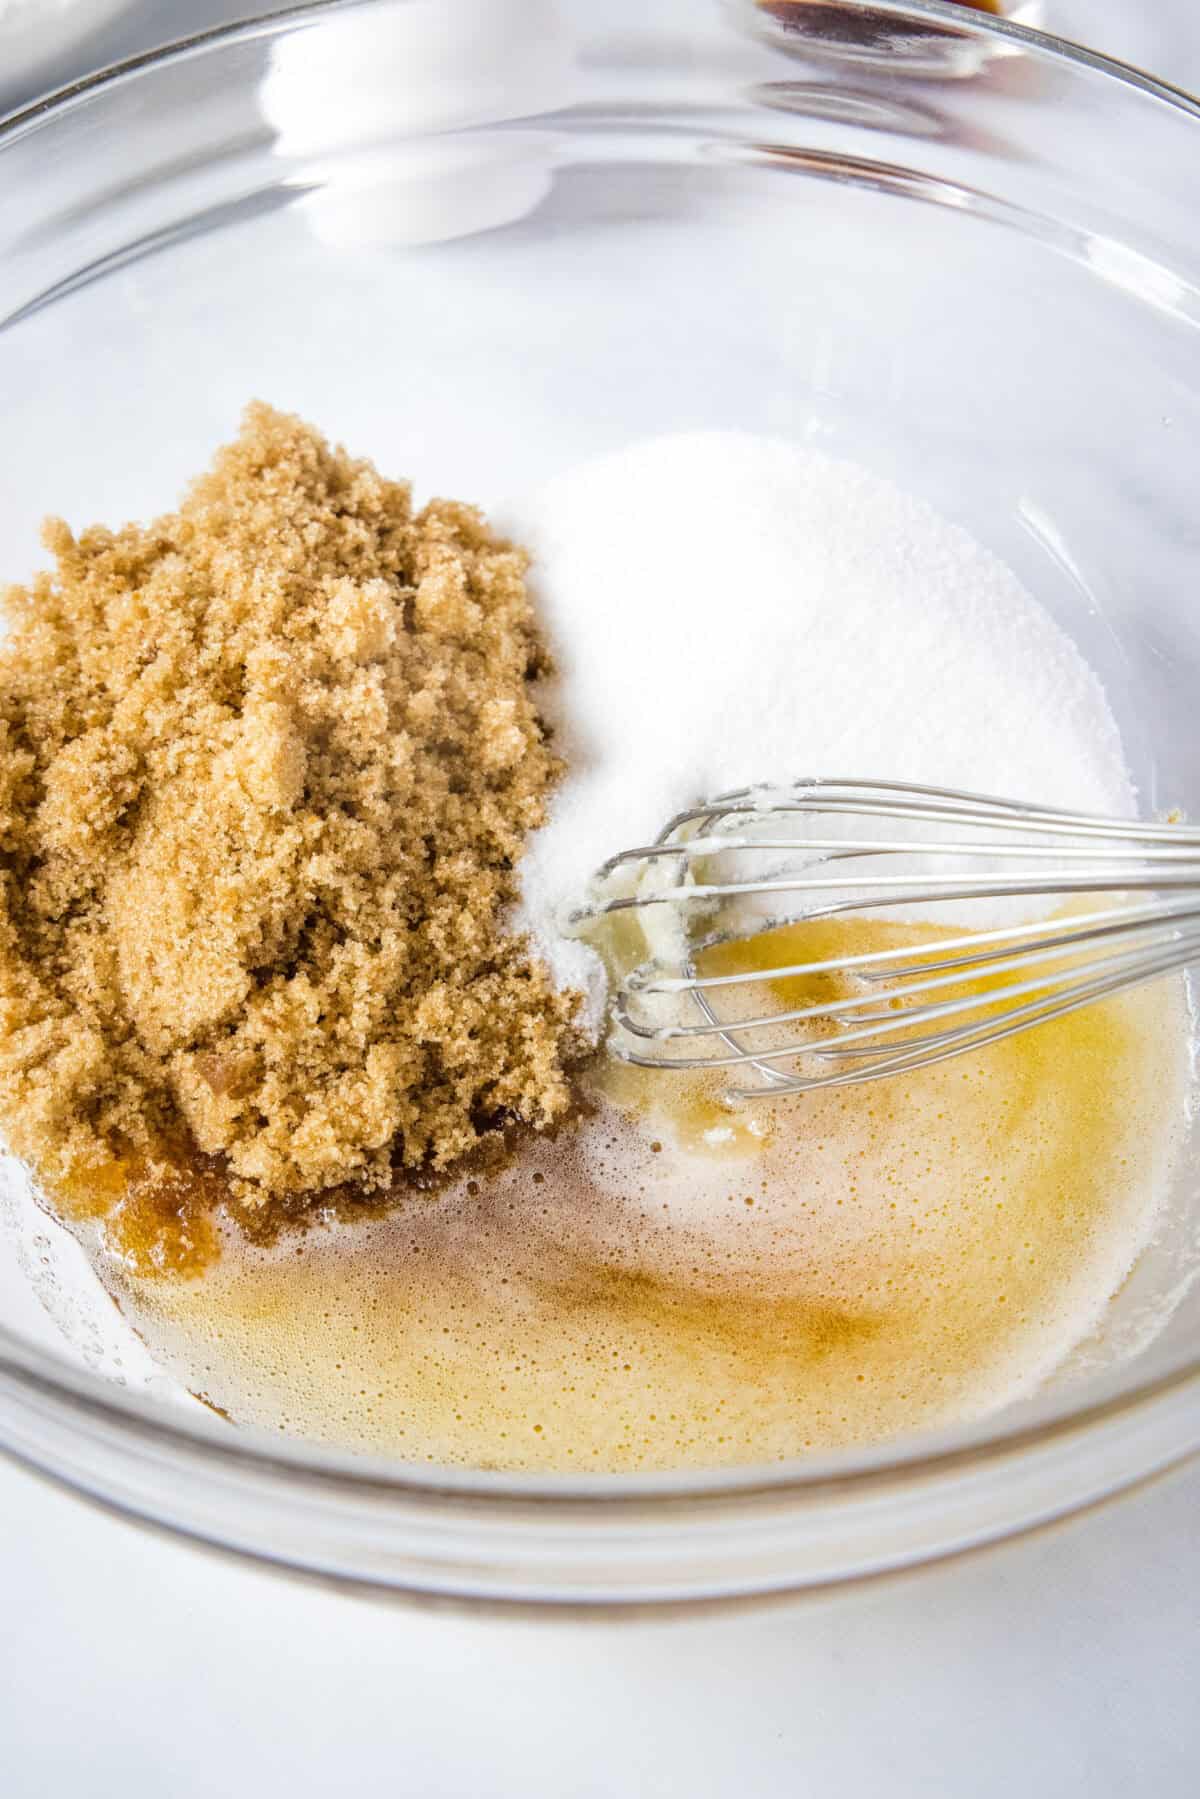
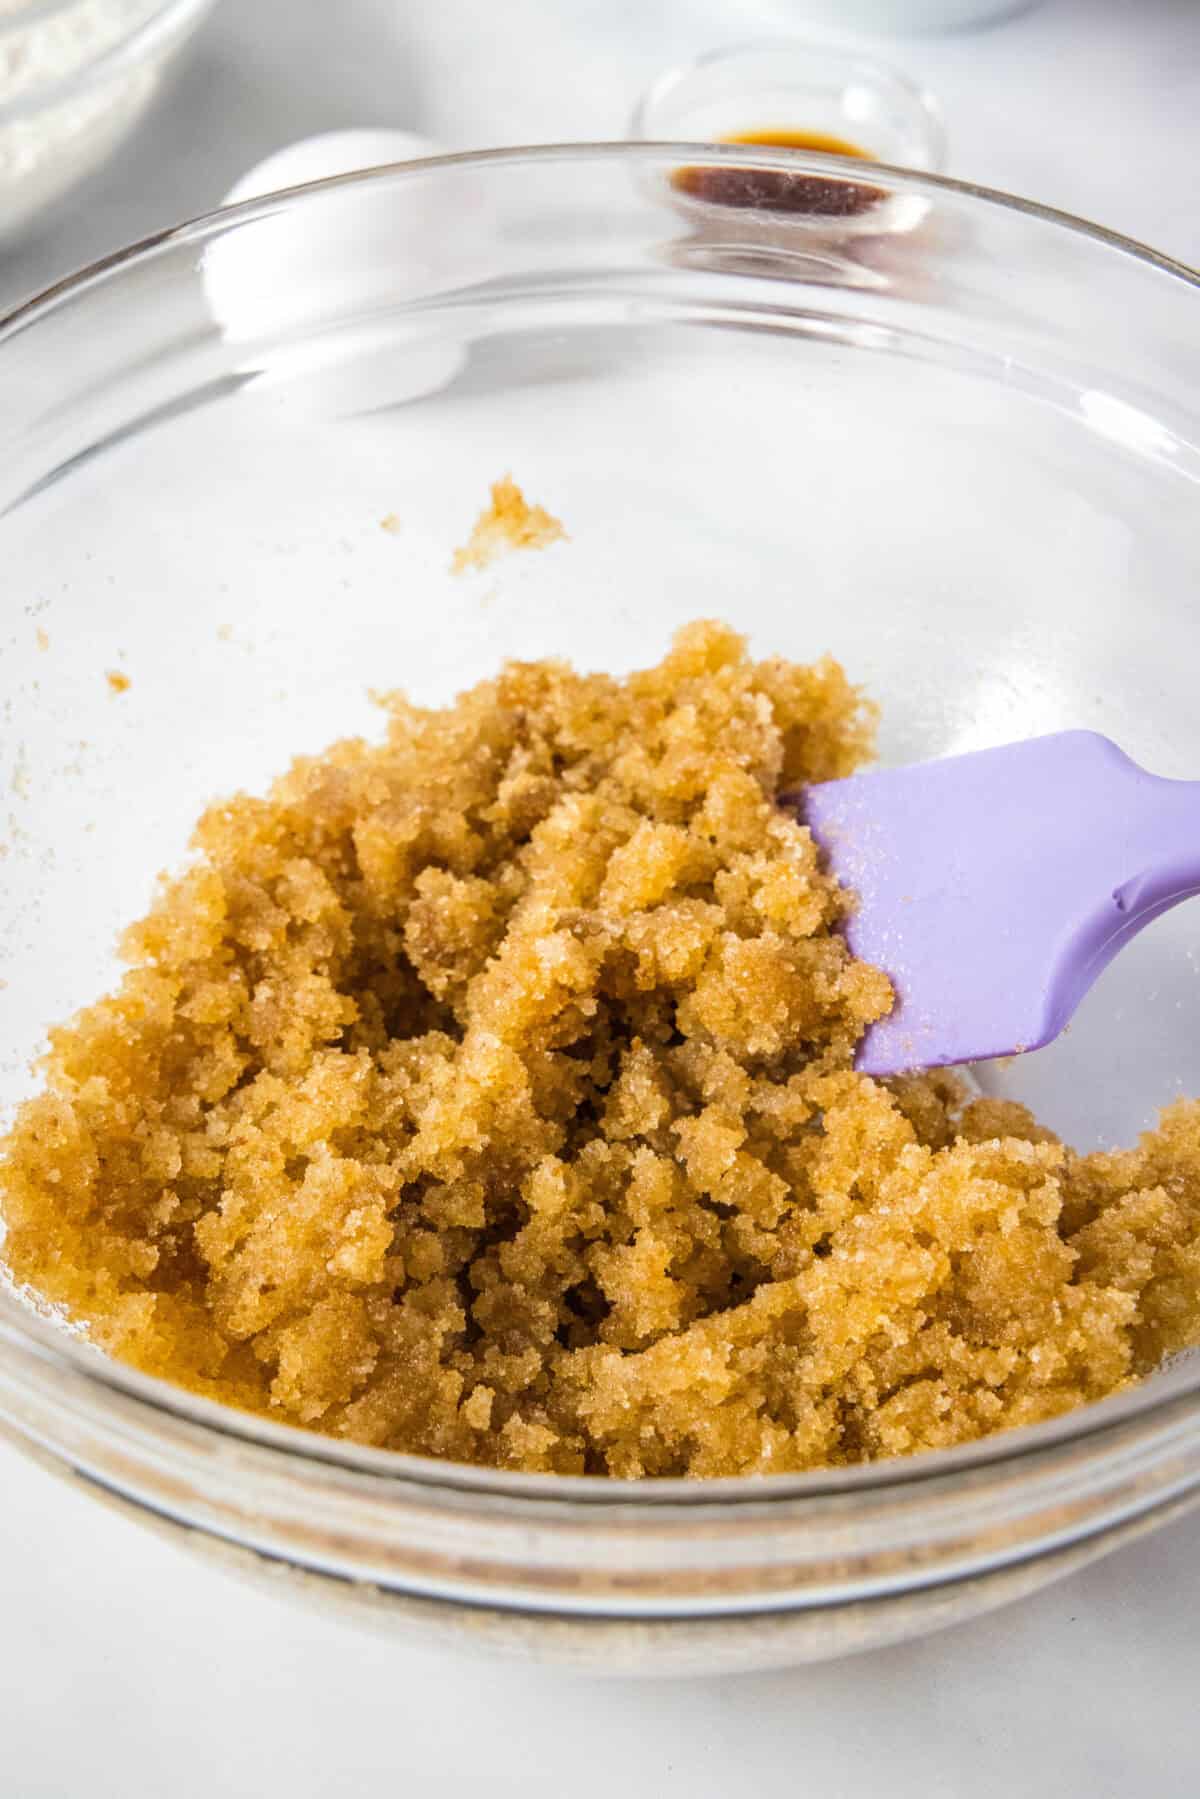
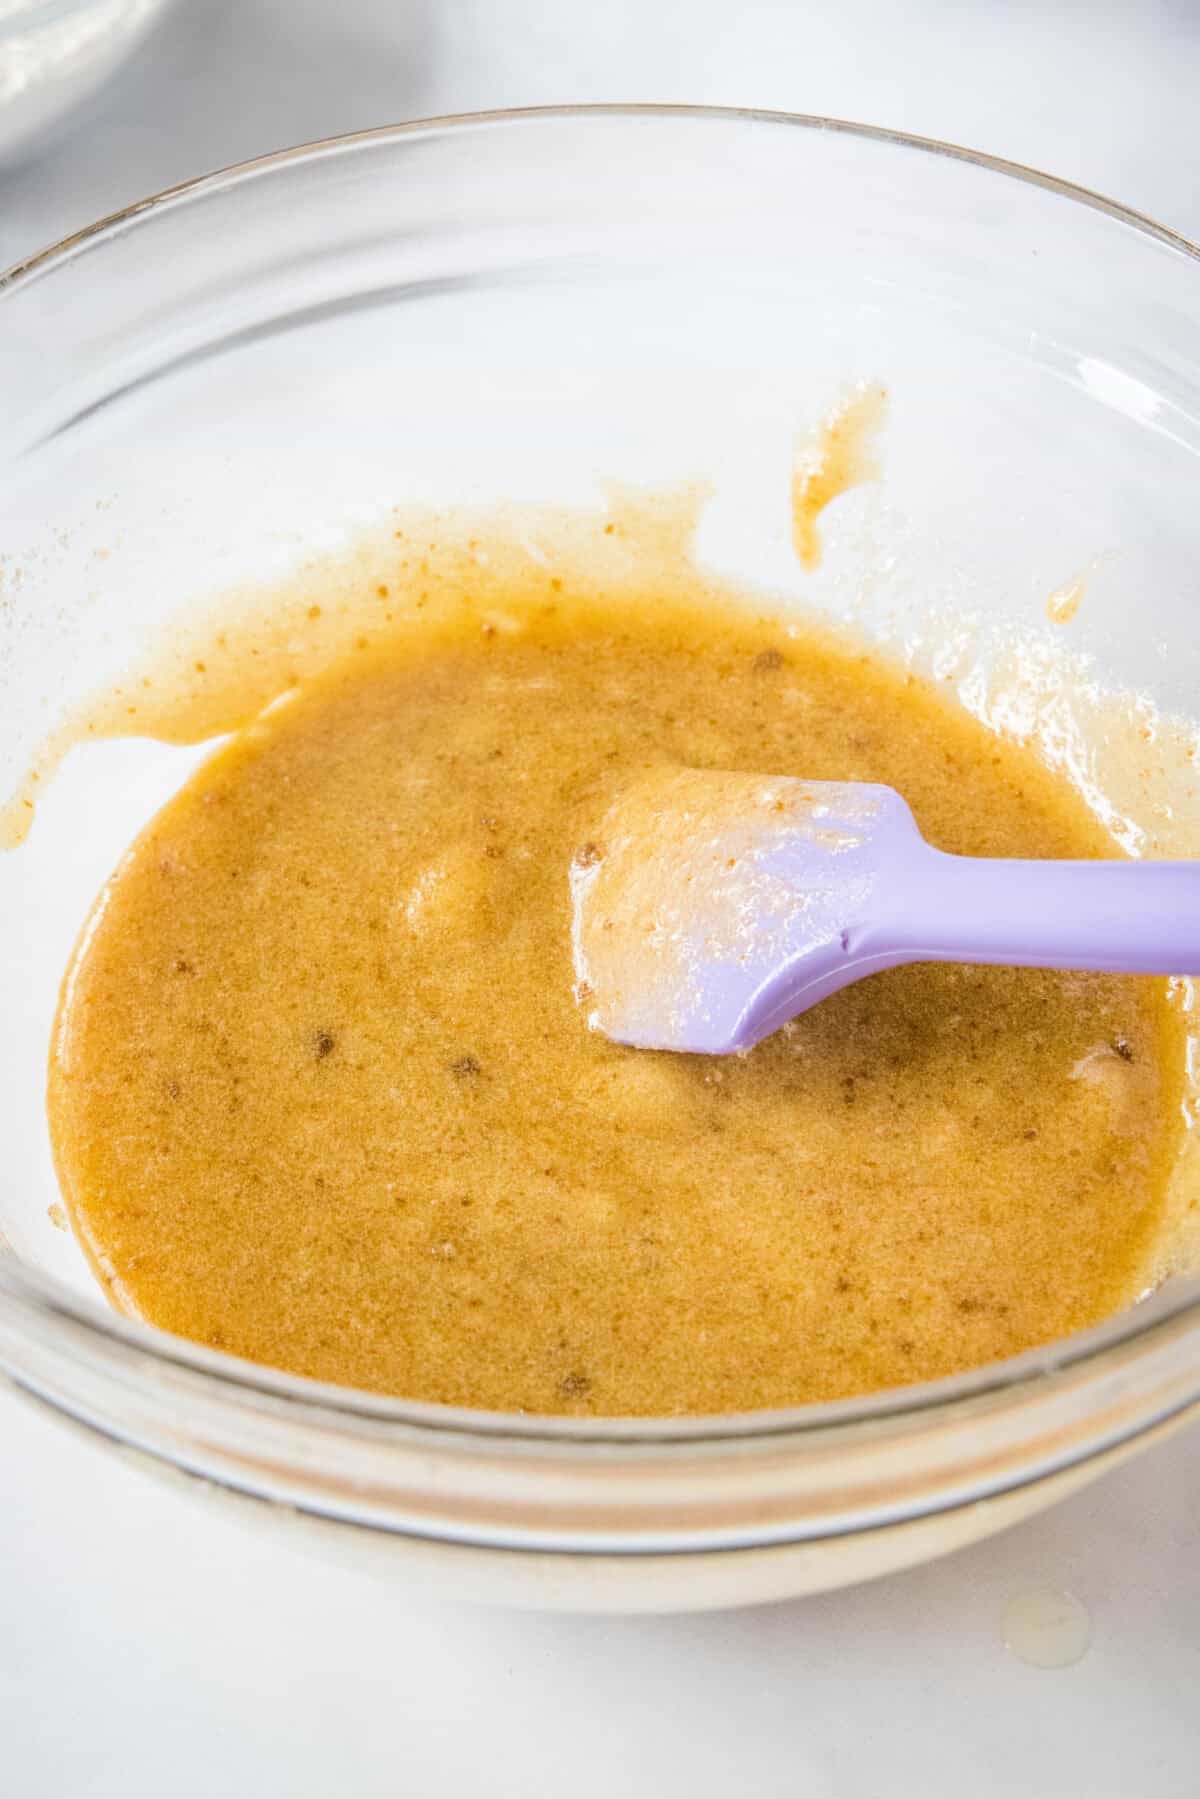
- Add the wet ingredients. Add the egg, vanilla, and corn syrup. Mix these in by hand or on low speed just until incorporated. Avoid beating with a mixer here — the butter can start to firm back up if it’s overworked.
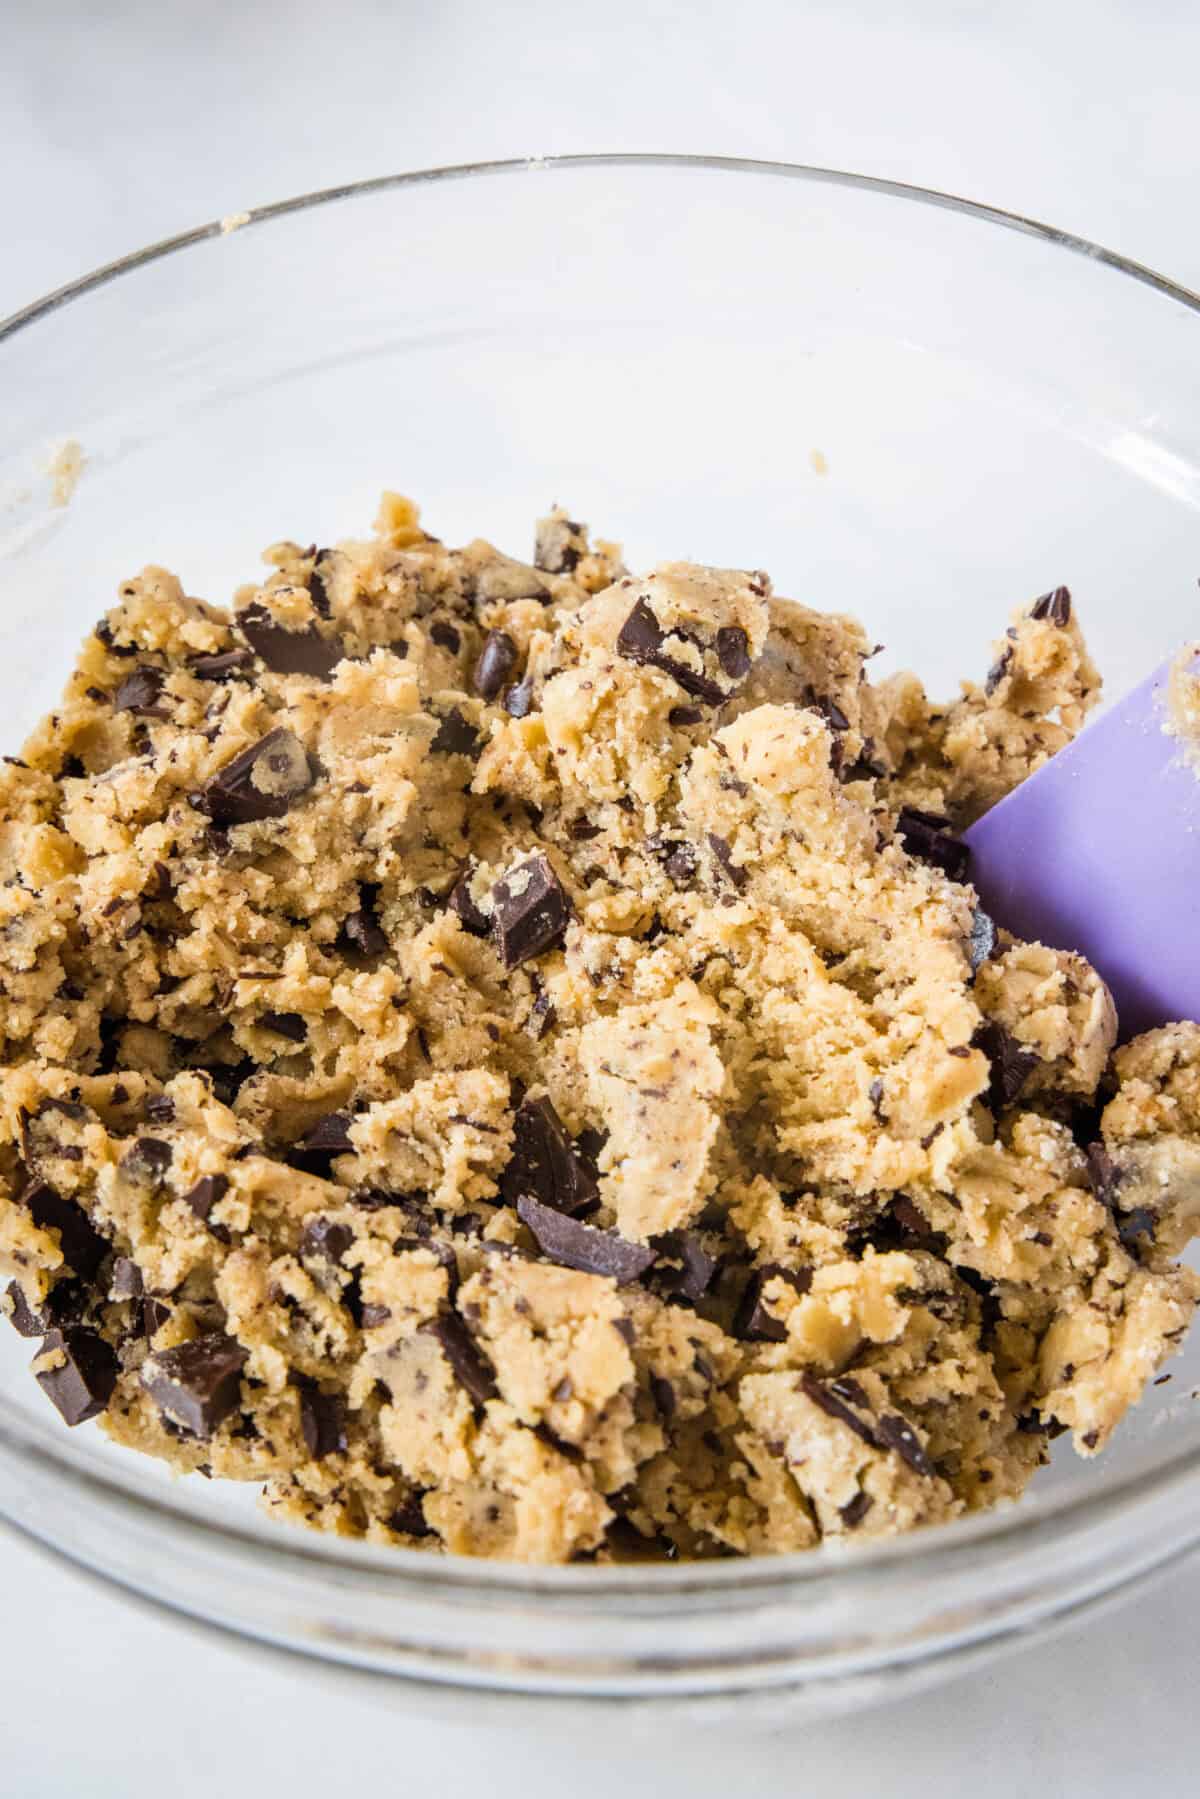
- Add the flour mixture. Mix just until you still see a few streaks of flour remaining — this keeps the cookies tender instead of tough.
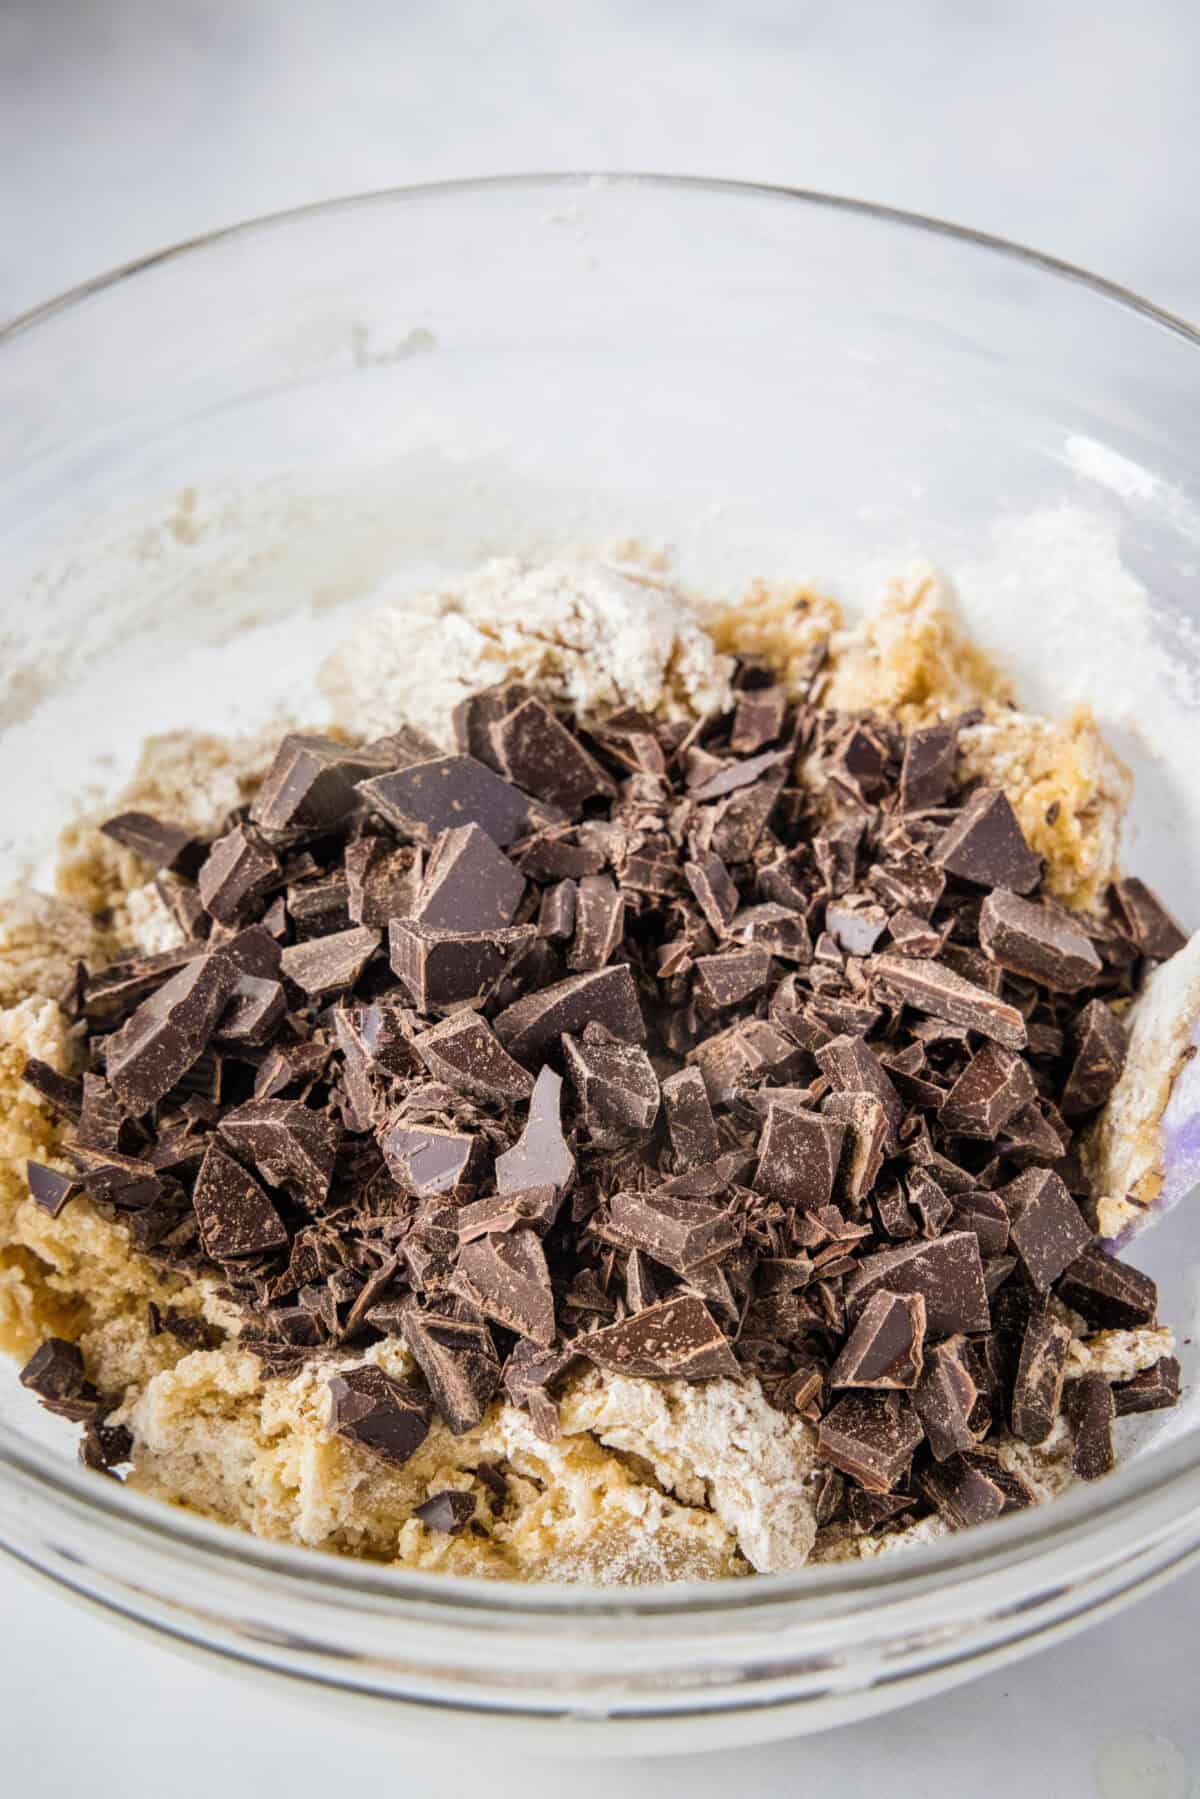
- Fold in the chocolate. Reserve a handful of chocolate pieces for topping the cookies later, and fold the rest in as the last streaks of flour disappear.
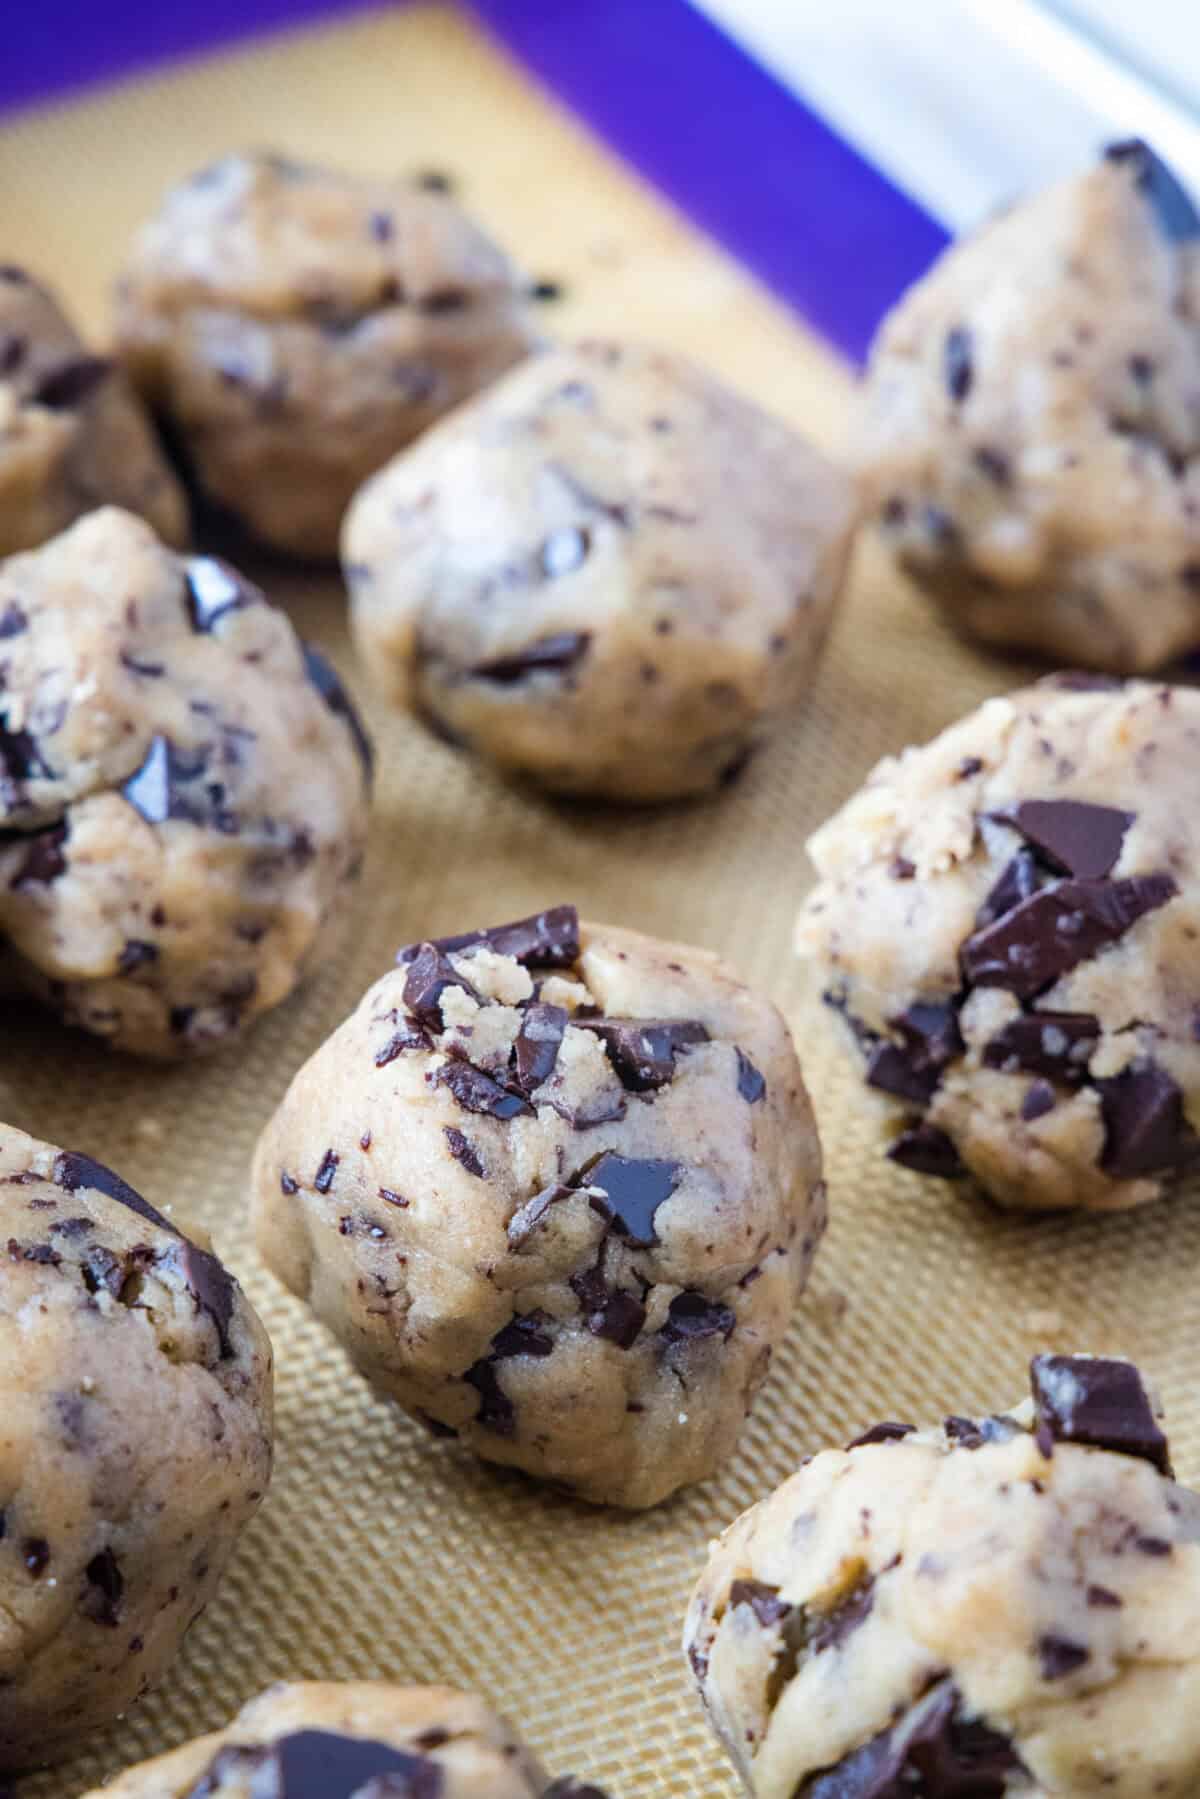
- Portion and chill. Scoop the dough into 2-ounce balls, place them on a lined baking sheet, and chill for at least 2 hours (up to 24). This resting time is what keeps the cookies thick instead of thin and spread-out.
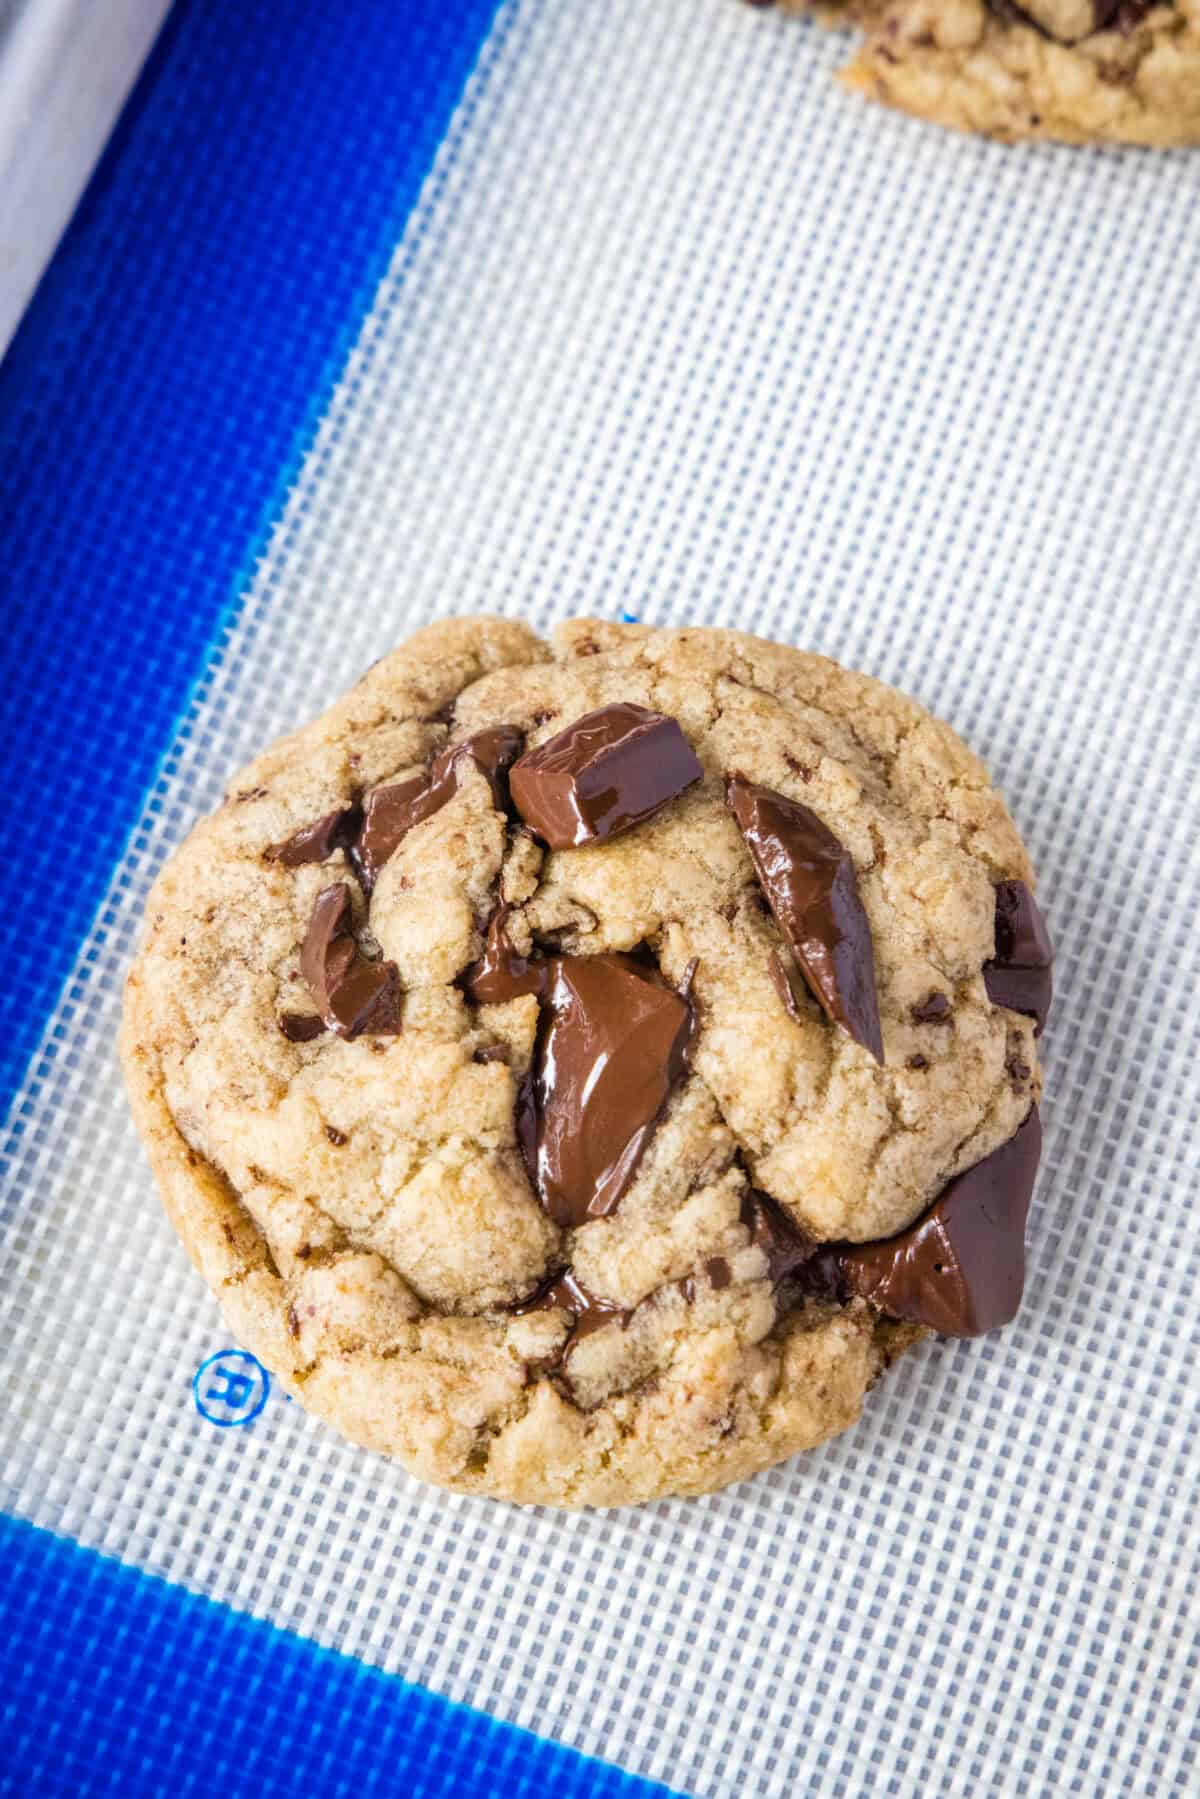
- Bake. Preheat the oven to 350°F. Arrange 6 dough balls on a large baking sheet and bake for 9-11 minutes, until the edges are set and the tops look golden and dry.
- Top and cool. As soon as the cookies come out of the oven, press the reserved chocolate pieces onto the tops. Let them cool completely on the baking sheet so the chocolate has time to set before you move them.
Why Do You Need To Chill Cookie Dough
Chilling isn’t just a make-ahead convenience here, it’s doing real work on the texture of the finished cookie, for a few reasons:
- It firms the fat back up. Browned butter is fully melted, so the dough starts out much softer than a typical cookie dough made with softened butter. Chilling lets that fat solidify again. Solid fat melts more slowly in the oven, which means the cookies hold their shape longer before they start to spread. That’s what gives you a thicker cookie with a soft center, instead of a thin, flat one.
- It controls spread. Cookies baked straight from warm dough spread fast and bake up thin, with less contrast between the edges and center. A chilled dough ball spreads more slowly and evenly, which is exactly what creates that bakery-style look: a slightly domed cookie with defined, caramelized edges.
- It lets the flour fully hydrate. As the dough rests, the flour has time to absorb the moisture in the dough. This firms up the dough further and also helps the cookies bake up a little chewier, rather than cakey.
- It deepens the flavor. The longer the dough sits, the more time the sugars and browned butter have to meld together, which rounds out the flavor and makes the caramel notes from the browned butter more pronounced. This is why a dough chilled closer to the full 24 hours will taste noticeably richer than one baked after the minimum 2-hour rest.
The short version: don’t skip this step, even when you’re tempted to. Two hours is the minimum for this recipe to work as written, but if you have the time, letting the dough rest closer to 24 hours (or freezing it for later, as noted above) will get you an even better cookie.
Recipe Tip & Tricks
- Use a light-colored pan for the butter. It’s much easier to spot the brown flecks and catch the butter right when it’s ready. A dark pan can hide the color change until it’s too late.
- Let the browned butter cool fully. If it’s still warm, it will melt the sugar into a soupy mixture and cause the cookies to spread too thin.
- Don’t skip the chill. Warm dough spreads fast and bakes up thin. Chilling firms up the butter again so the cookies hold their shape and bake thick.
- Weigh your ingredients when you can. Flour especially can vary a lot by volume depending on how it’s scooped, and that affects texture more than almost anything else in this recipe.
- Pull them at 9-11 minutes. The tops should look set and just barely golden, they’ll keep cooking on the hot pan after they come out of the oven, so slightly underbaked is exactly right.
Recipe Variations
- Flaky sea salt topping — sprinkle a pinch of flaky sea salt over the cookies right when they come out of the oven, along with the reserved chocolate. The salt balances the sweetness and makes the chocolate flavor pop.
- Add walnuts or pecans — fold in up to 1/2 cup chopped walnuts or pecans along with the chocolate, no need to reduce the chocolate amount. If you’d like to add more nuts than that, reduce the chocolate by the same amount so the dough isn’t overloaded with mix-ins.
Storage & Freezing
- Room temperature: store baked cookies in an airtight container at room temperature.
- Freezing baked cookies: cool completely, then freeze in an airtight container or freezer bag.
- Freezing cookie dough: this is my favorite way to always have fresh cookies on hand. Portion the dough into balls, freeze them on a baking sheet until solid, then transfer to a freezer bag or airtight container for up to 3 months. When you’re ready to bake, just set the frozen dough balls out while the oven preheats and they’ll be ready to go into the oven by the time it’s hot.
You can, but the texture won’t be quite the same. Chocolate bars melt into big, glossy puddles because they don’t contain the stabilizers that chips do to help them hold their shape. Chips will still taste great, but you’ll get less of that melty, bakery-style look.
Browning the butter is what gives these cookies their deep, caramelized flavor, so I don’t recommend skipping it. It only takes about 5-8 minutes on the stove and just needs a bit of attention near the end so it doesn’t burn. The recipe will work without it, but they will lack some of the depth of flavor and be lighter in color.
This usually means the browned butter wasn’t fully cooled before it was mixed with the sugar, or the dough didn’t get enough time to chill. Both steps firm the fat back up so the cookies hold their shape in the oven instead of spreading thin.