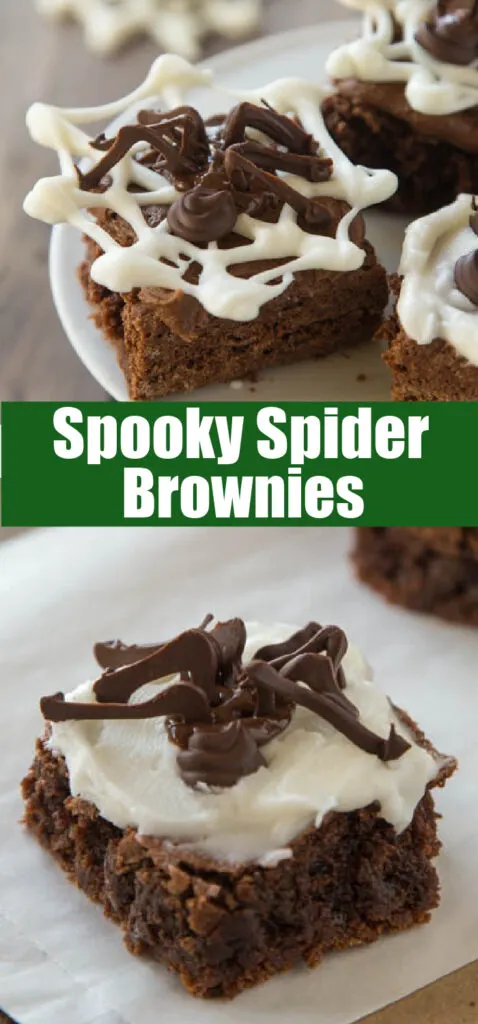
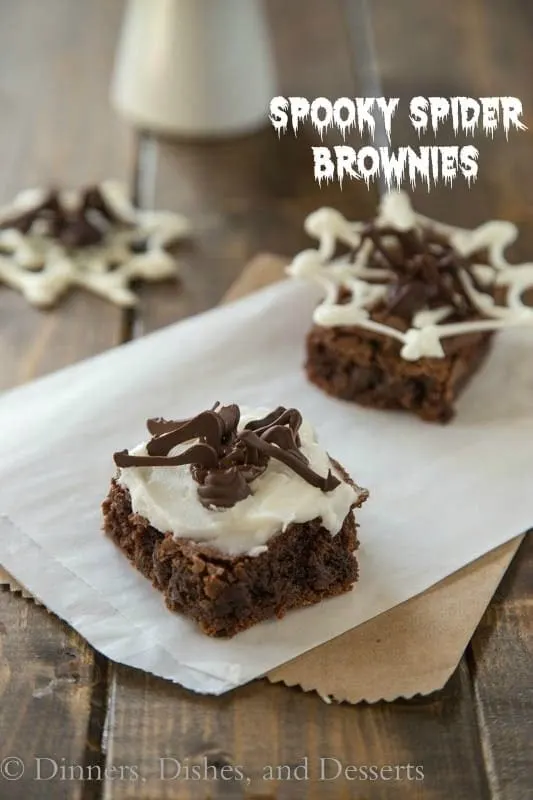
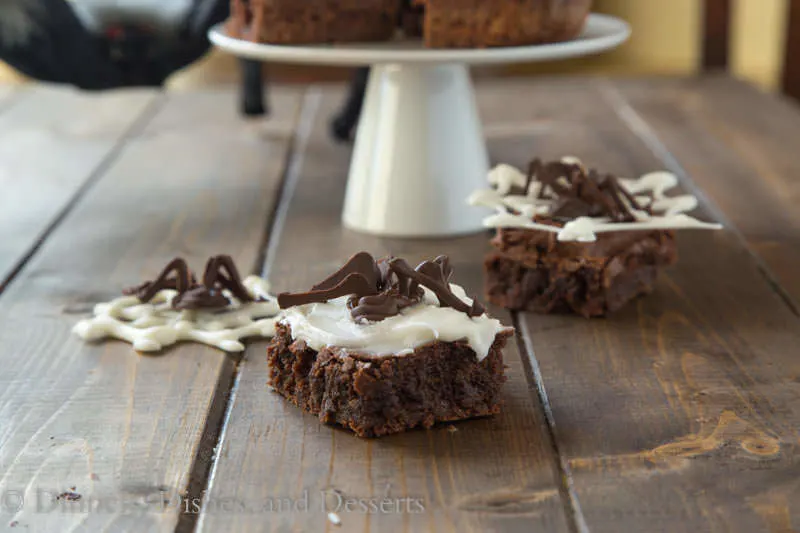
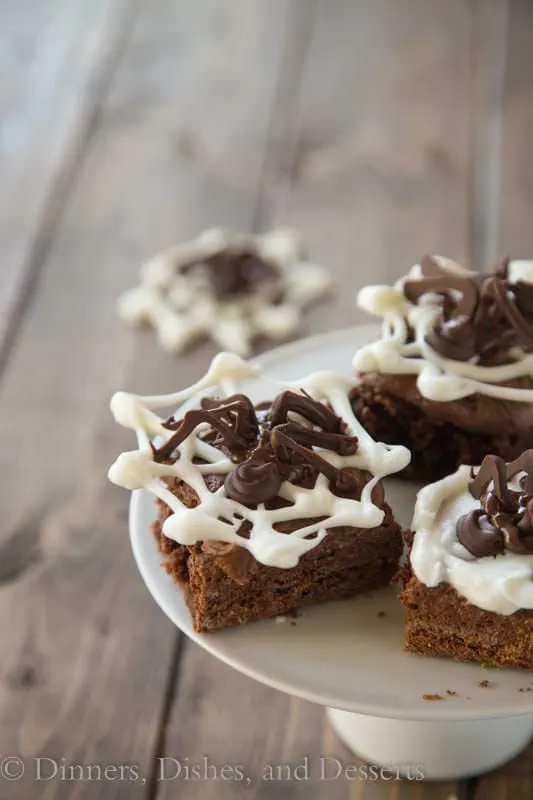
Spooky Spider Brownies are a fun way to celebrate Halloween. Spiders and spider webs are easy to make with melted chocolate.
Halloween treats are always fun to serve, but sometimes they can be intimidating to make! No worries, these spider brownies look super impressive, but they are actually super easy to make.
All you need is melted chocolate and a piping bag or zip-top plastic bag with that you cut the corner off. Below there is a link to a video tutorial on it as well, so you can see exactly how it works!
What You’ll Need
- Brownies
- Semi-Sweet Chocolate
- White Chocolate
The simple thing about this recipe is that you can really use any type of brownies or bars you like. I love these Homemade Brownies, they are the ones that I have been making since I was a kid. But you can even pick up already baked ones from the bakery at your grocery store if you want too.
How To Make Spider Brownies
Let’s just say, I am not a crafty person by any stretch and these turned out super cut and are so easy to make! So trust me when I say you can do it too.
- Line 2 baking sheets with parchment paper.
- Melt about half or 3/4rd of the semi-sweet chocolate, place it is a plastic food storage bag, and cut off the top. Pipe “7’s” onto the parchment paper. You can vary the sizes, these will be your legs. Each spider should get 8 legs (you can do less if you want), so you will need quite a few of these!
- Next up pipe the spider heads. These are just small circles that you fill in completely with chocolate.
- Next, move onto the white chocolate. You can use a glass or cookie cutter to trace circles onto the parchment paper. Then with the white chocolate you want to pipe spider webs in the circles that you traced.
- Let everything set up completely. You can speed up this process by putting everything in the fridge.
- Now it is time to assemble! Carefully remove the spider webs and place them on top each brownie. Then with the rest of the melted chocolate, pipe spider bodies into the center of each web. Remove the legs and heads from your baking sheet, and set them into the melted chocolate to set up and harden.
- Let the chocolate harden completely before serving.
Storage
These brownies will last for 3-4 days in an airtight container. You should not need to refrigerate these, unless you live in a warmer climate. If the chocolate is soft, you can definitely store them in the fridge, just make sure they are covered, so the brownies don’t try out.
And you can check out the Video Tutorial if you want to see more tips on how to pipe the spiders!

More Fun Halloween Treats
- Halloween Jello Shots
- Ghost Cupcakes
- Mummy Granola Bars
- Witches Brew
- Ghost Pretzels
- Monster Juice
- Frankenstein Marshmallow Pops
Spooky Spider Brownies

Spooky Spider Brownies are a fun way to celebrate Halloween. Spiders and spider webs are easy to make with melted chocolate.
Ingredients
- 1 8-inch pan of baked brownies
- 1 cup chocolate chips, melted
- 1 cup white chocolate, melted
Instructions
- Line 2 baking sheets with parchment paper.
- Fill a zip top bag with melted chocolate. Cut a tiny bit of the corner off. Pipe "7's" onto the parchment paper. Different sizes are fine. You will need a lot - remember each spider will get 8 of them. Also, they can break when removing from the parchment, so pipe more than you need.
- Pipe small circles that are filled in for the heads. Let harden completely.
- Using a small glass, trace circles onto the parchment paper.
- Add the white chocolate to another zip top bag, and cut a tiny bit of the corner off. Pipe spider webs onto the parchment paper, using the circles as your guide. Let harden completely.
- Once completely hardened place spider webs on top of brownies. Pipe melted chocolate onto the center to be the body of the spider. Remove the legs and head from the paper, and place on the body. Repeat with remaining webs.
- Let harden completely before serving.
- For a video tutorial click here
Nutrition Information
Yield
12Serving Size
1Amount Per Serving Calories 166Total Fat 10gSaturated Fat 6gTrans Fat 0gUnsaturated Fat 4gCholesterol 6mgSodium 29mgCarbohydrates 20gFiber 1gSugar 16gProtein 2g
I created a fun group on Facebook,and I would love for you to join us! It’s a place where you can
share YOUR favorite recipes, ask questions, and see what’s new at Dinners, Dishes and Desserts (so that you never miss a new recipe)!
Be sure to follow me on Instagram and
tag #dinnersdishes so I can see all the wonderful DINNERS, DISHES, AND DESSERTS
recipes YOU make!
Be sure to follow me on my social media, so you
never miss a post!
Facebook | Twitter | Pinterest | Instagram
Did you know there is a Dinners,
Dishes, and Desserts SHOP? Lots of different E-Books for sale. Or you can buy me a
coffee to say thanks!
.
- Chicken Fries - April 26, 2024
- Pulled Pork Sliders - April 24, 2024
- Avocado Fries - April 23, 2024


Michelle+@+The+Complete+Savorist
Tuesday 21st of October 2014
7's really? That's all the spiders are? I looked at these and thought there was no way I could make them, but maybe I can!
Medeja
Sunday 19th of October 2014
They look so cool!