This post may contain affiliate links. Please see my disclosure policy
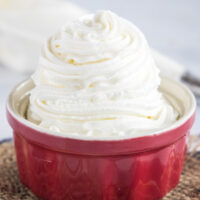
This stabilized whipped cream is the best recipe for making homemade Cool Whip. It’s creamy, fluffy, delicious, and so easy to make.

Cool Whip is such a great ingredient to have around, but did you know that you can make it at home? That’s exactly what this stabilized whipped cream recipe is. It’s just do-it-yourself Cool Whip … but better!
This stabilized whipped cream has all the richness, creaminess, and fantastic flavor of homemade whipped cream, but with the unmistakable texture of Cool Whip. It’s light, airy, and fluffy, and holds its shape perfectly when you use it in a recipe. So the next time you’re making something and need Cool Whip, don’t go the store, just make some!

Table of Contents
- Why This Is the Best Stabilized Whipped Cream Recipe
- Ingredients Needed
- How to Make Stabilized Whipped Cream
- Tips, Tricks, and Variations
- What to Serve With Homemade Cool Whip
- How to Store Leftover Stabilized Whipped Cream
- Can You Freeze This Recipe?
- More Easy Dessert Add-Ons
- Stabilized Whipped Cream Recipe
Why This Is the Best Stabilized Whipped Cream Recipe
I love this creamy homemade Cool Whip recipe so much, and I know that you will too. Here’s why it’s so great.
- Super fast. You would think that making stabilized whipped cream would take a long time, but that’s not the case at all. This recipe only takes 15 minutes to make. You can throw it together any time you need some Cool Whip.
- Really easy. Not only is this recipe fast, but it’s really easy, too. It only has 4 ingredients, and it doesn’t require much work at all. You’ll be shocked at how easy it is to make stabilized whipped cream at home.
- Better than store-bought. We all love Cool Whip, but it’s definitely a food that’s even better when you make it at home. The flavor and texture of stabilized whipped cream is just so much better than anything you’ll find at a store.

Ingredients Needed
Here’s everything you need to make this rich and fluffy stabilized whipped cream at home. Make sure to scroll to the recipe card at the bottom of the page to see the exact amounts for each ingredient.
- Gelatin – Be sure to use unflavored gelatin.
- Water – You’ll need cold water for this recipe.
- Heavy cream
- Powdered sugar
- Vanilla extract – Make sure to use 100% pure vanilla extract.
How to Make Stabilized Whipped Cream
Here’s how to make this 15-minute Cool Whip recipe for desserts, drinks, and so much more.
- Bloom the gelatin. Sprinkle the gelatin over the cold water and let it sit for 5 minutes.
- Mix the ingredients. While the gelatin is blooming, add the cream, sugar, and vanilla to a bowl. Use an electric mixer or stand mixer with the whisk attachment to beat the ingredients together until the mixture has just started to thicken.
- Microwave the gelatin. Place the gelatin mixture in the microwave, and heat it until it is liquid, but not hot. This will only take 5-10 seconds.
- Add the gelatin. Beat the cream mixture on low while slowly drizzling in the gelatin mixture.


- Beat. Once all of the gelatin has been added, increase the speed to medium-high, and beat until the whipped cream forms stiff peaks. This should take 2-3 minutes.
- Serve or store. Once the stabilized whipped cream has formed stiff peaks, it’s ready to be eaten, cooked with, or stored.


Tips, Tricks, and Variations
Here are a few of my favorite tricks and variations that you can try when making this easy and rich whipped cream frosting.
- Don’t overwhip. It’s very important to not overwhip the cream before you add the gelatin. You want the mixture to start to thicken, but you don’t want it to form soft peaks. If the mixture is already forming peaks when you add the gelatin, the texture won’t be quite right.
- Pipe it. If you want to make your homemade Cool Whip look extra pretty, you can put it in a frosting piping bag. The whipped cream will hold its texture when you pipe it, so it’s a great way to decorate desserts and drinks.
- Use high-quality cream. The star of stabilized whipped cream is the cream. Because of that, I recommend using high-quality whipping cream. For some desserts, you can use whatever cream is the cheapest, but this recipe really benefits from a good-quality cream. The flavor will be so much better.
- Flavor it. If you really want to have fun with stabilized whipped cream, you can add flavors. Everyone loves a good flavored Cool Whip, and now’s the chance to make your own. You can bits of cookies or candies to the recipe, like Oreo bits, cookie crumbles, or fresh or dried fruit. You can also add extracts in addition to or in place of the vanilla, like almond extract, lemon extract, or orange extract.
- Add color. Colored stabilized whipped cream looks so great, and it’s such a wonderful decoration for a lot of desserts. All you have to do to make it is add a few drops of food coloring when you make this recipe.

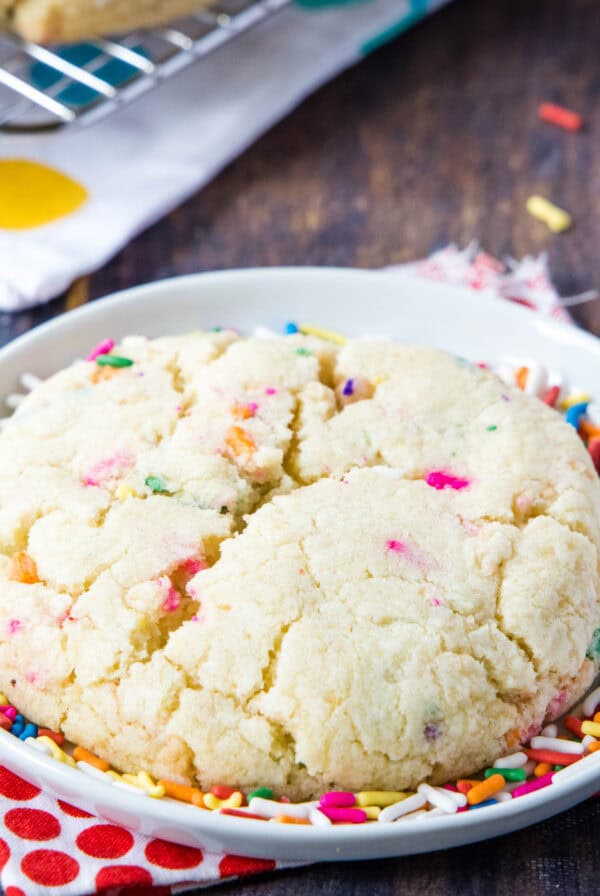
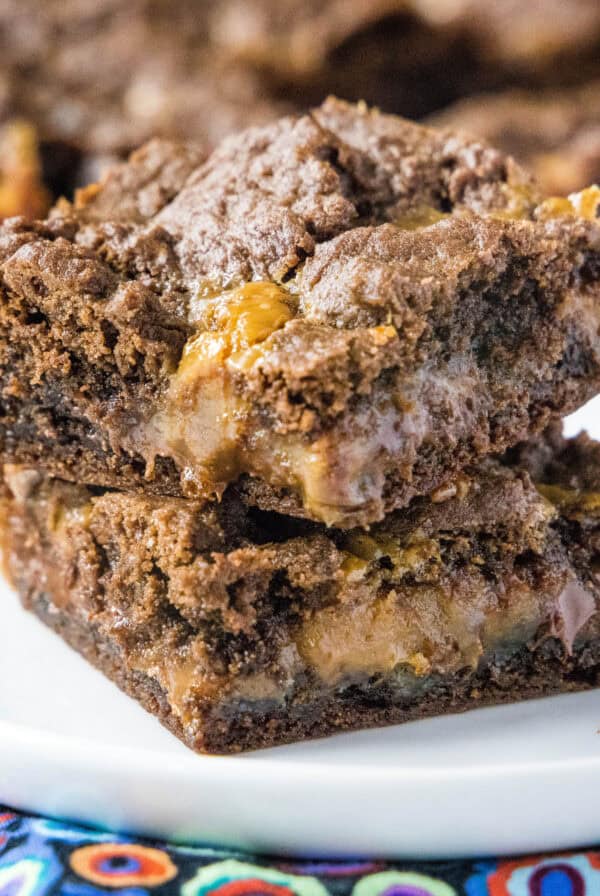
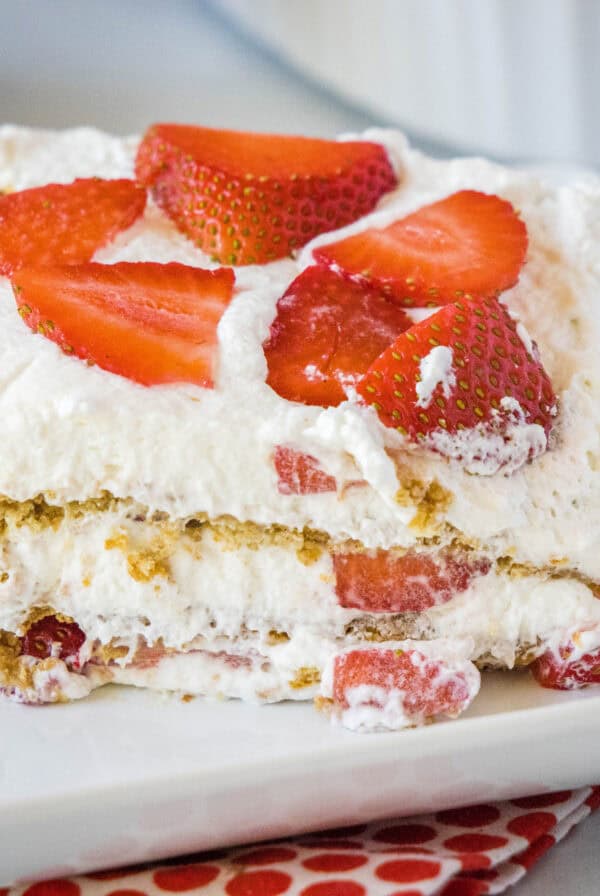
What to Serve With Homemade Cool Whip
The possibilities for this dessert topping are endless. I love to pipe it onto desserts or drinks, or even mix it with some fresh berries. But what I usually do with this whipped cream is use it when a recipe calls for Cool Whip. Here are a few of my favorite recipes that use Cool Whip … they’ll be even better if you use this stabilized whipped cream instead!
How to Store Leftover Stabilized Whipped Cream
It’s very easy to store this recipe. All you have to do is transfer it to an airtight container, and it will last in the fridge for 2 weeks.
Can You Freeze This Recipe?
You absolutely can! Frozen Cool Whip is great, and this recipe is no exception. Store the stabilized whipped cream in an airtight container, and it will last in the freezer for 3 months. I recommend putting a layer of plastic wrap directly pressed against the top of the whipped cream before putting the lid on, to limit freezer burn. You can eat frozen stabilized whipped cream, or let it thaw in the fridge overnight.

More Easy Dessert Add-Ons
I love making stabilized whipped cream because it’s such an easy and tasty way to take a dessert to the next level. Here are a few other easy dessert add-ons that will really boost your dessert game.
Stabilized Whipped Cream
Ingredients
- 1 teaspoon unflavored gelatin
- 4 teaspoons cold water
- 1 cup heavy cream
- 1/4 cup powdered sugar
- 1/2 teaspoon vanilla extract
Instructions
- Sprinkle the gelatin over the cold water, and let it sit for at least 5 minutes while you prepare the rest of the ingredients.
- Add the heavy cream, powdered sugar, and vanilla to the bowl of stand mixer with the whisk attachment. Beat the mixture on medium-low until it begins to thicken, but stop before there are soft peaks.
- Put the gelatin mixture in the microwave for 5-10 seconds until it is liquid but not hot.
- With the mixer on low, slowly drizzle the gelatin into the cream mixture.
- Once all the gelatin has been added, increase the speed to medium high, and beat until stiff peaks are formed, about 2-3 minutes.
- Remove the stabilized whipped cream from the bowl, and serve or store. You can use it in place of Cool Whip in any recipe.
Notes
- Store leftovers in an airtight container in the fridge for 2 weeks, or in the freezer for 3 months. If freezing, place a layer of plastic against the top of the whipped cream before putting the lid on, to prevent freezer burn.
- You can add flavors or food coloring to this recipe.
Nutrition
Nutrition information is automatically calculated, so should only be used as an approximation.
I created a fun group on Facebook,and I would love for you to join us! It’s a place where you can share YOUR favorite recipes, ask questions, and see what’s new at Dinners, Dishes and Desserts (so that you never miss a new recipe)!
Be sure to follow me on Instagram and tag #dinnersdishes so I can see all the wonderful DINNERS, DISHES, AND DESSERTS recipes YOU make!
Be sure to follow me on my social media, so you never miss a post!
Facebook | Twitter | Pinterest | Instagram
.


Stabilized whipped cream is something that every baker should know how to make. You can do so much with it, and it’s not so finicky as regular whipped cream.
I use this for all my potluck cake recipes! Thank you!
I use whipped cream a lot during summer time. I use to make a lot of no bake desserts! You recipe is just amazing!
Thank you so much for this recipe. Healthier than cool whip.