

This post may contain affiliate links. Please see my disclosure policy
The best Homemade Chocolate Ice Cream — rich, creamy, and made with two kinds of chocolate. Easy to make and the creamiest chocolate-iest ice cream ever!
Indulge in a delicious and satisfying dessert with this homemade chocolate ice cream recipe! Packed with two kinds of chocolate! Rich and velvety cocoa powder and chocolate chips, plus a handful of simple ingredients.
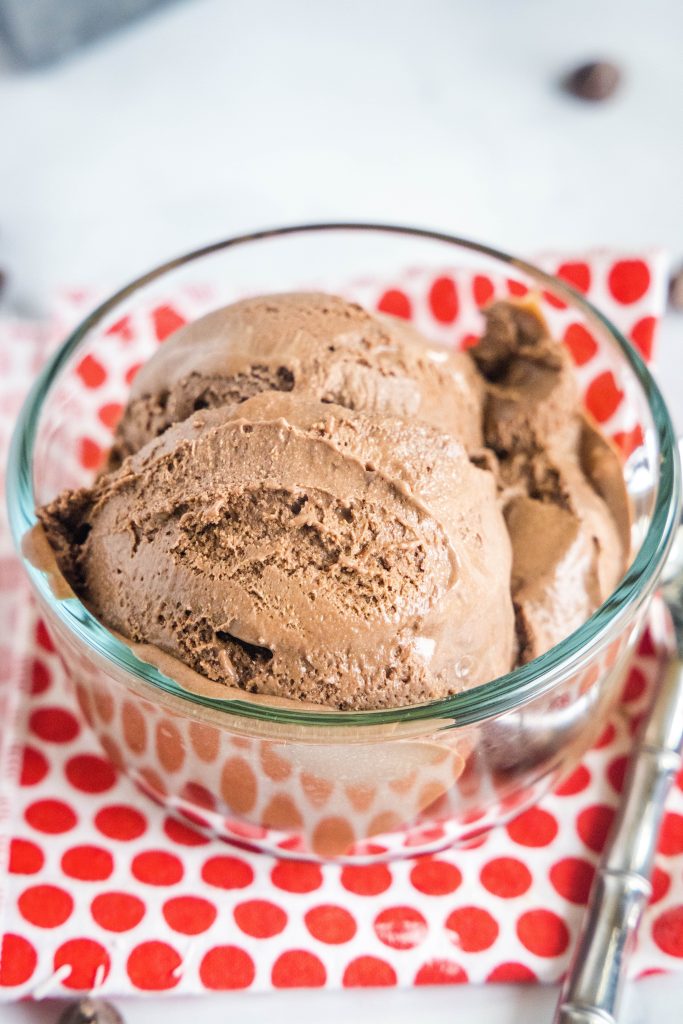
This frozen treat is the best way to cool off on a hot summer day. It is great if you want an after dinner treat or just an afternoon treat! It is actually easy to make with just a few simple steps. And you have the most creamy and delicious ice cream you can enjoy on its own or turn into an over the top sundae!
Erin’s Notes
- Easy. Yes, the recipe looks long, there are a lot of steps, and it does take time, but everything is EASY and SIMPLE! With plenty of downtown while things chill and freeze, so it isn’t nearly as intensive as the recipe looks.
- Every day ingredients. Making ice cream can be a little intimidating for people, but it really does use easy to find, every day ingredients. Milk, heavy cream, cocoa powder, sugar etc.
- Make Ahead. Everyone is always looking for desserts and things they can make ahead. Ice cream is the absolutely perfect choice for that! No only do you really need to make it a day ahead so the custard can properly chill, you can make it multiple days ahead and it will be perfect for whatever you are serving it with.
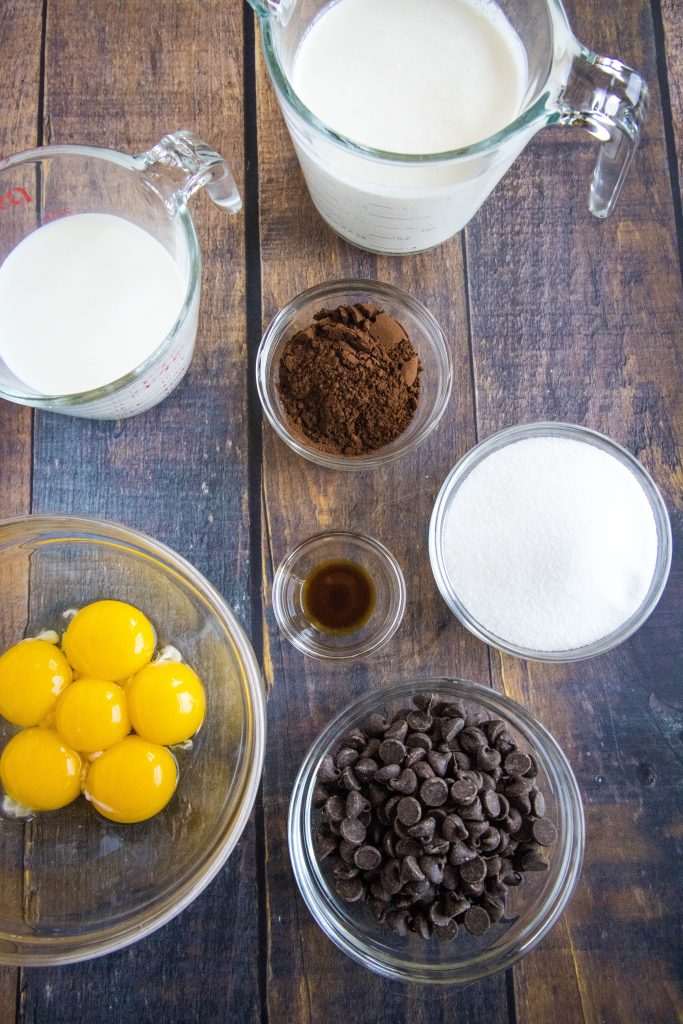
Ingredients You’ll Need
- Heavy Cream
- Whole Milk
- Egg Yolks
- Granulated Sugar
- Unsweetened Cocoa Powder
- Semi-Sweet Chocolate Chips
- Vanilla Extract
- Salt
This chocolate ice cream is based on my favorite Homemade Vanilla Ice Cream recipe. It is a custard based ice cream that is super smooth, rich and creamy.
Chocolate Ice Cream
Ingredients
- 2 cups heavy cream, divided
- 1 cup whole milk
- 3/4 cup granulated sugar
- 1/4 cup unsweetened cocoa powder
- 6 oz semi-sweet chocolate
- 6 large egg yolks
- 1/2 teaspoon vanilla extract
- 1/4 teaspoon salt
Instructions
- Start by mixing together whole milk, granulated sugar, and 1 cup of heavy cream over medium heat. Whisk in cocoa powder until it is nice and smooth. Bring this to a boil. Once it boils, reduce heat and cook for about 30 seconds. You want to get it just hot enough that it will melt the chocolate chips.2 cups heavy cream, 1 cup whole milk, 3/4 cup granulated sugar, 1/4 cup unsweetened cocoa powder
- Remove mixture from heat and stir in chocolate chips. Mix until they are completely melted and mixture is nice and smooth.6 oz semi-sweet chocolate
- In a separate bowl, whisk egg yolks until they are really well combined and have a pale yellow color.6 large egg yolks
- Very slowly, while actively whisking eggs, stream in chocolate milk mixture. Once it is all mixed in, pour it back into saucepan and return to stove.
- Heat mixture over medium heat until it reaches 170-175º F, stirring frequently. It will coat the back of a spoon, and when you run a finger through it, it will stay separated and not run back together.
- Pour mixture through a sieve to get rid of any eggs that scrambled and make sure it is nice and smooth.
- Mix in remaining heavy cream, vanilla extract and salt. Cover and place in a fridge for at least 8 hours, or until it is nice and cold.2 cups heavy cream, 1/2 teaspoon vanilla extract, 1/4 teaspoon salt
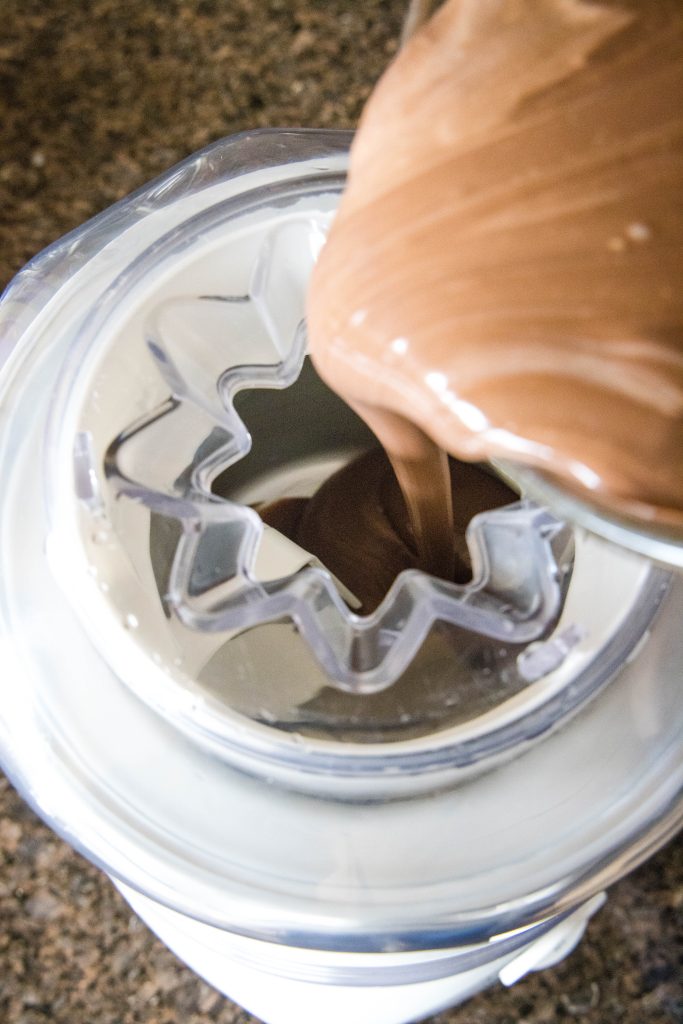
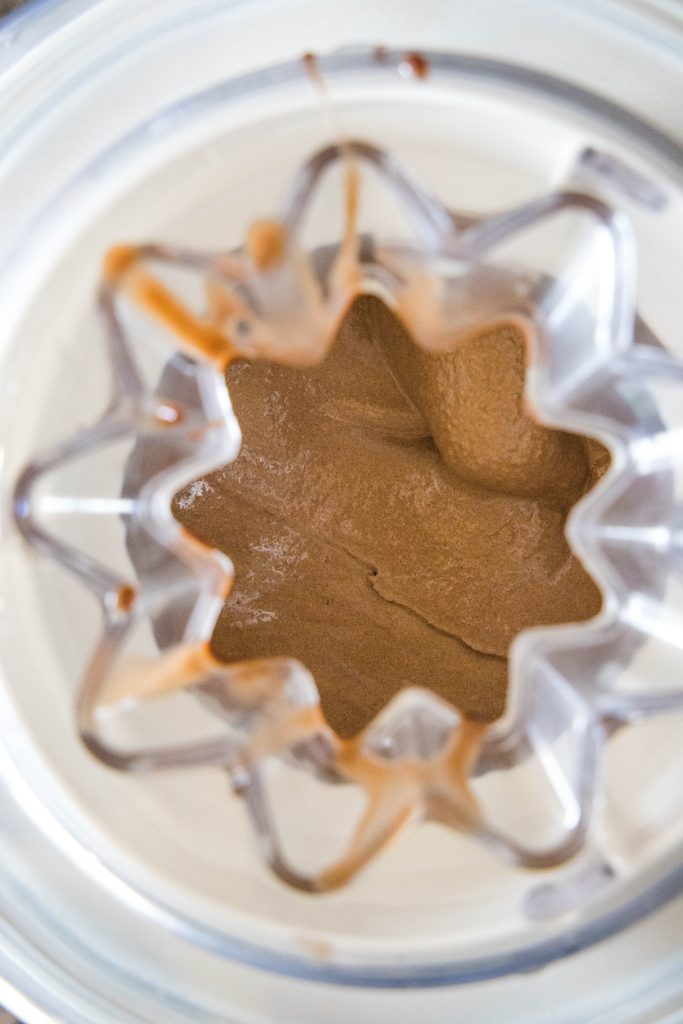
- Once mixture is nice and cold, use your ice cream maker and churn for 25 minutes, or according to your manufacturer’s instructions.
- Store in freezer for at least an hour until ready to serve.
Nutrition
Nutrition information is automatically calculated, so should only be used as an approximation.
How To Make Chocolate Ice Cream
- Start by mixing together the whole milk, granulated sugar, and 1 cup of heavy cream over medium heat. Whisk in the cocoa powder until it is nice and smooth. Bring this to a boil. Once it boils, reduce the heat and cook for about 30 seconds.
- Remove the mixture from the heat and stir in the chocolate chips. Mix until they are completely melted and the mixture is nice and smooth.
- In a separate bowl whisk the egg yolks until they are really well combined and pale yellow color.
- Very slowly, which actively whisking the eggs, stream in the chocolate milk mixture. Once it is all mixed in, return it to the saucepan and return to the stove.
- Heat the mixture over medium heat until it reaches 170-175º F. It will coat the back of a spoon, and when you run a finger through it, it will stay separated and not run back together.
- Pour the mixture through a sieve, to get rid of any eggs that scrambled and make sure it is nice and smooth.
- Mix in the remaining heavy cream and vanilla extract. Cover and place in the fridge for at least 8 hours, until it is nice and cold.
- Once the mixture is nice and cold, use your ice cream maker and churn for 25 minutes, according to your models instructions.
- Store in the freezer for at least and hour until ready to serve.
Recipe Tips & Tricks
- You can use any kind of unsweetened cocoa powder you like. If you want a sweeter ice cream, you can also use milk chocolate chips. If you want a dark chocolate ice cream, use the dark or dutch processed cocoa powder with dark chocolate chips. What you use is up to you and your taste for richness.
- Make sure to whisk well while you are adding the milk mixture to the eggs. You do not want scrambled eggs. You may end up with a few tiny bits when you strain it and that is normally. But you want the eggs to incorporate with the milk and create the velvety texture.
- It is best to use a thermometer to know when your mixture is done. It is the most accurate, so you don’t over cook anything.
- You can let the mixture sit in the fridge overnight. So you can make the custard mixture one day, and churn it the next when you want to serve it.
- It will be mostly frozen when you are done with the ice cream maker, but you will want to let it sit in the freezer for at least an hour to really firm up, so you can scoop balls of ice cream.
How To Churn Chocolate Ice Cream Without An Ice Cream Maker
Don’t have an ice cream maker? You can still make this recipe:
- Pour the chilled custard into a freezer-safe, shallow container.
- Freeze for 45 minutes to 1 hour, until the edges start to firm up.
- Remove and whisk vigorously (or beat with a hand mixer) to break up any ice crystals.
- Return to the freezer and repeat the whisking every 30 minutes for 3-4 hours, until the ice cream is thick and scoopable.
It won’t be quite as light and airy as machine-churned ice cream, but it will still be rich, creamy, and delicious.
Ice Cream Toppings
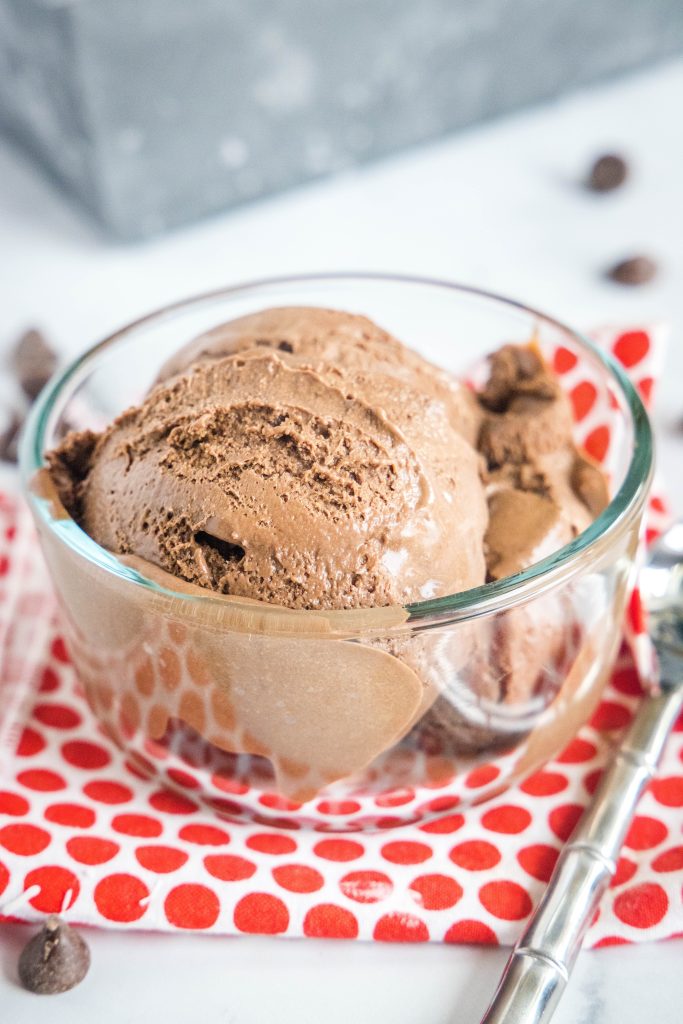
You can enjoy your homemade chocolate ice cream as is, but it is also great to use in an Ice Cream Sundae Bar!
- Homemade Hot Fudge is always a good idea, chocolate and more chocolate!
- Peanut Butter Magic Shell for a fun peanut butter and chocolate combo
- Sprinkle with nuts, chocolate chips, mini marshmallow or whatever your favorite candy is.
- Top with whipped cream and a cherry for a complete sundae!
Storage
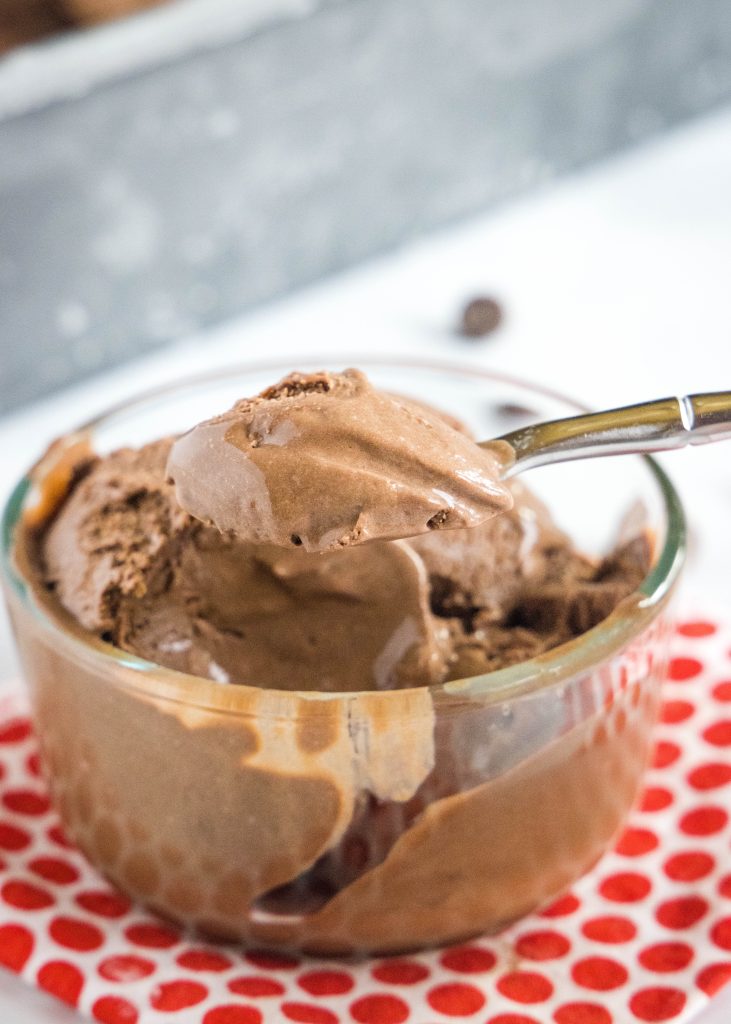
Store your chocolate ice cream in an airtight container in the freezer. Press a piece of plastic wrap or parchment paper directly onto the surface before sealing the lid. This keeps ice crystals from forming and prevents the ice cream from picking up any freezer odors. Stored this way, it will stay fresh for about 2 weeks, and is still good (though slightly less creamy) for up to 2 months. If it’s too firm to scoop straight from the freezer, let it sit at room temperature for 5-10 minutes to soften.
This is usually caused by one of three things: not chilling the custard cold enough before churning (it should be fully cold, ideally overnight), using lower-fat milk instead of whole milk, or storing the finished ice cream without pressing plastic wrap directly onto the surface. The optional corn syrup in this recipe also helps keep the texture smooth after freezing.
Egg yolks create a custard base, which is what gives this ice cream its rich, ultra-creamy texture. They also act as a natural emulsifier, which helps prevent large ice crystals from forming, so the finished ice cream stays smooth instead of icy or grainy.
Yes! See the “How to Churn Chocolate Ice Cream Without a Machine” section above for the full method — you’ll just whisk it by hand every 30 minutes as it freezes instead of using a machine.



This sounds absolutely amazing! I’m addicted to chocolate ice cream, and yours looks so incredibly creamy and rich. Yum!
This chocolate ice cream was delicious and so easy to make!
This chocolate ice cream is exactly what I need right now! I am making it tomorrow!
This ice cream sounds incredible!! A must make!
My favorite flavor! I am so excited to try this!
My kids couldn’t stop eating this!! Our new favorite summer treat!