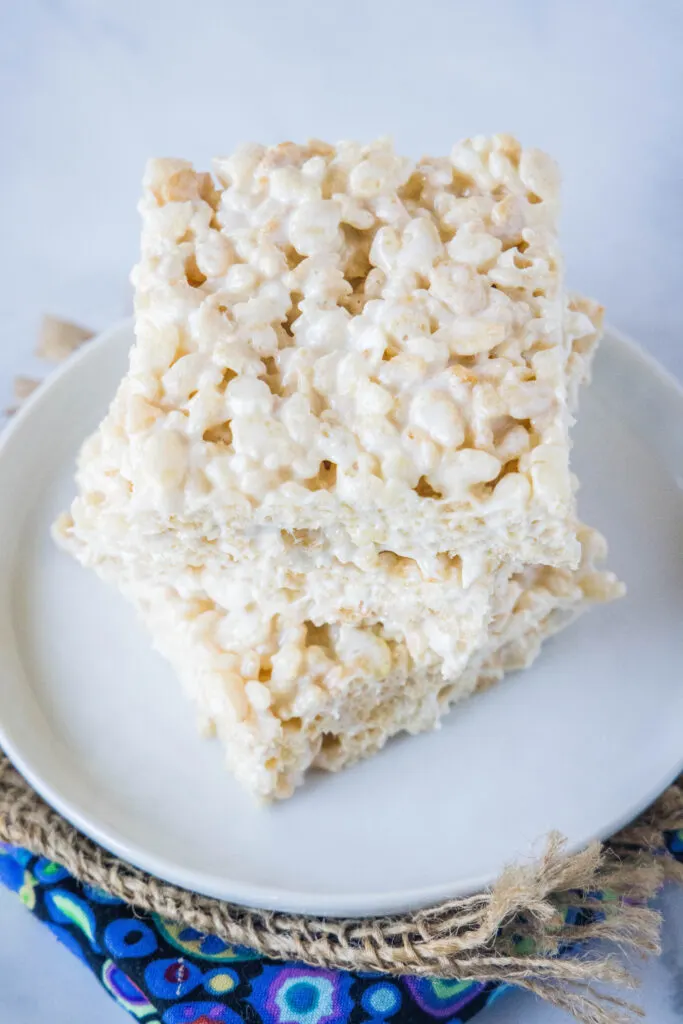
The absolute BEST Rice Krispie Treats! Gooey, dense, sweet, and delicious. Don’t follow the basic recipe on the box, these are so much better!

Everyone knows the classic Rice Krispie Treats and it brings back all the childhood memories. It is one of those things that are so darn easy to make, but lots of people seem to forget about. But it is time to bring them back! But don’t follow the recipe on the box, those are much more like cardboard to me. You need a little extra to give them the perfectly sweet and gooey bar that you will keep coming back to!
Once you have the basic recipe you can turn them into fun things like Watermelon Krispie Treats of 4th of July Krispie Treats to fit any holiday or occasion.
Why You’ll Love These Rice Krispie Treats
- No Baking. As always when you are making cereal bars, like these or Puppy Chow Bars, there are no baking involved. Just melting marshmallows and butter, which you can do in the microwave.
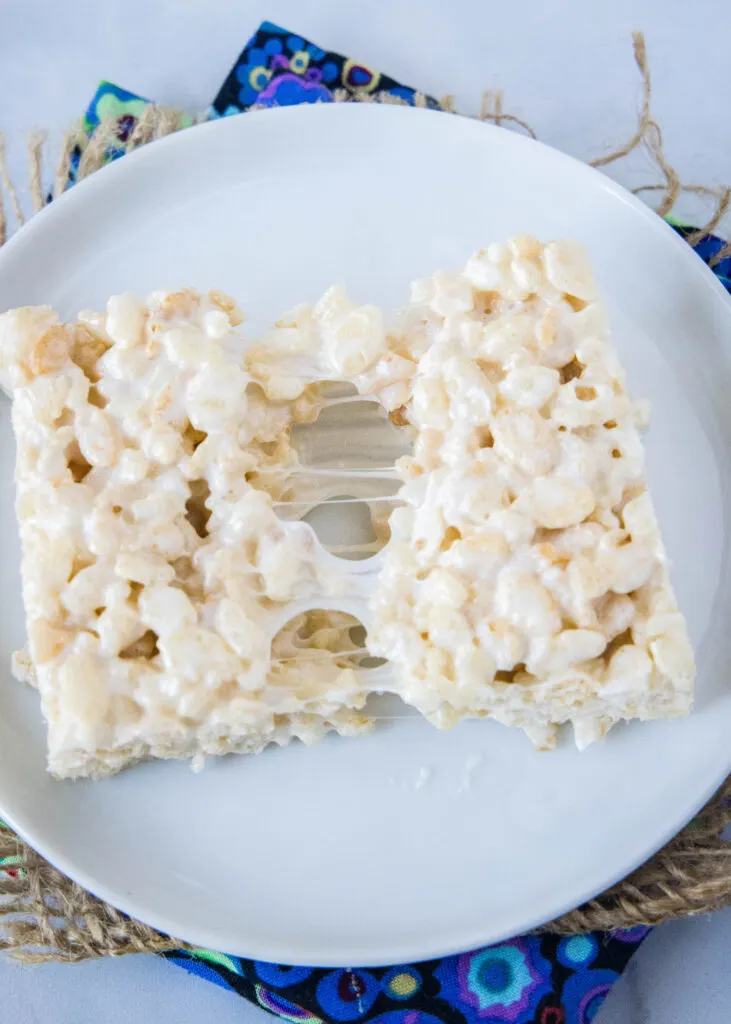
- Gooey. Trust me and skip the box recipe. Use the extra marshmallows and make them extra gooey, delicious, and sweet.
- Easy. The same few ingredients in the classic version, just slightly different amounts. So you can always have the ingredients on hand and have these whipped up in about 5 minutes!
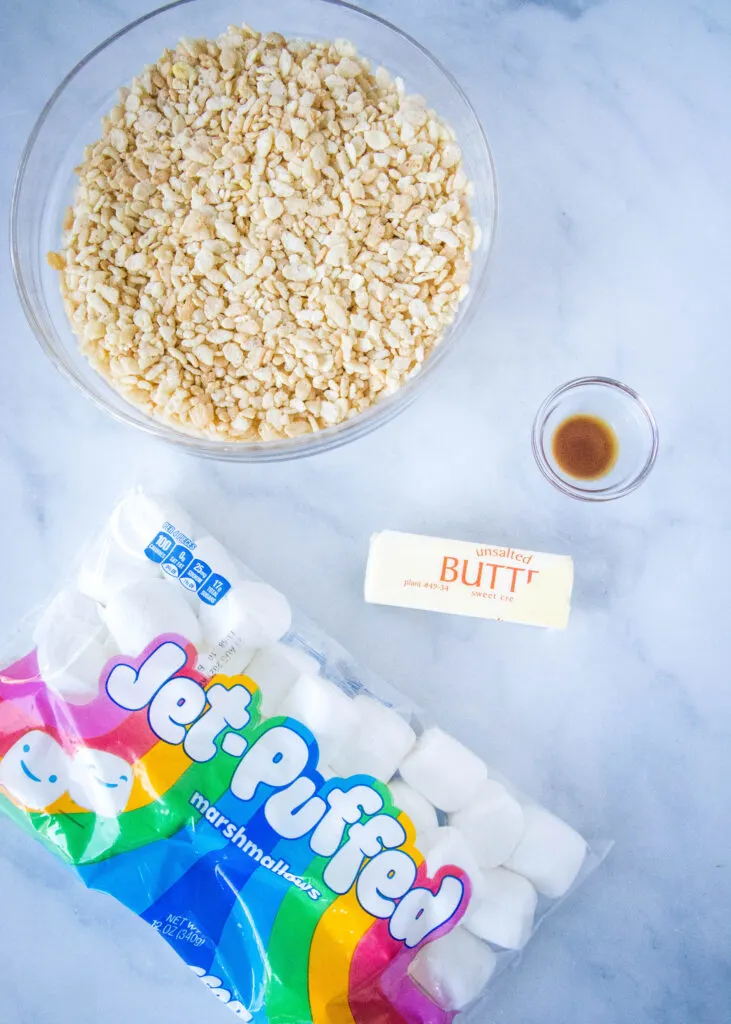
What You’ll Need
Be sure to scroll to the bottom of the post for the FULL PRINTABLE recipe card.
- Rice Krispie Cereal
- Butter
- Marshmallows
- Vanilla Extract
I like them to be gooey and denser, so I use a slightly different ratio of ingredients, as you will see in the recipe card below.
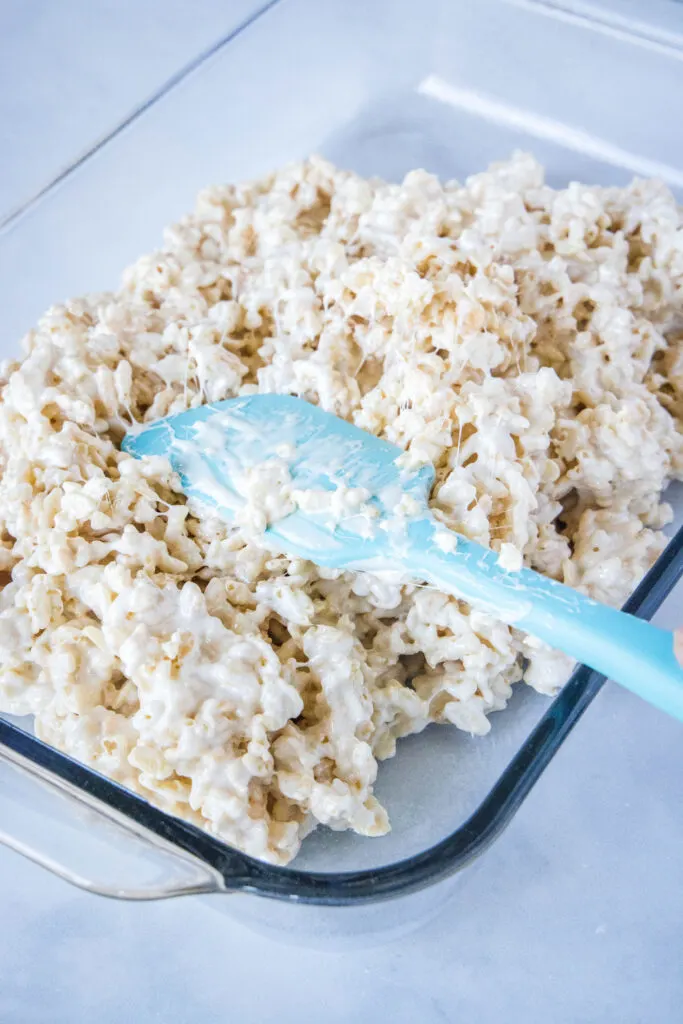
How To Make Rice Krispie Treats
- Melt Marshmallows. In a large bowl add the marshmallows together with cubes of butter. Microwave for 1 minute, remove and stir well. For most microwaves this will be enough to melt the butter, if yours isn’t melted enough return for an additional 15 seconds. Add in the vanilla and mix until completely blended.
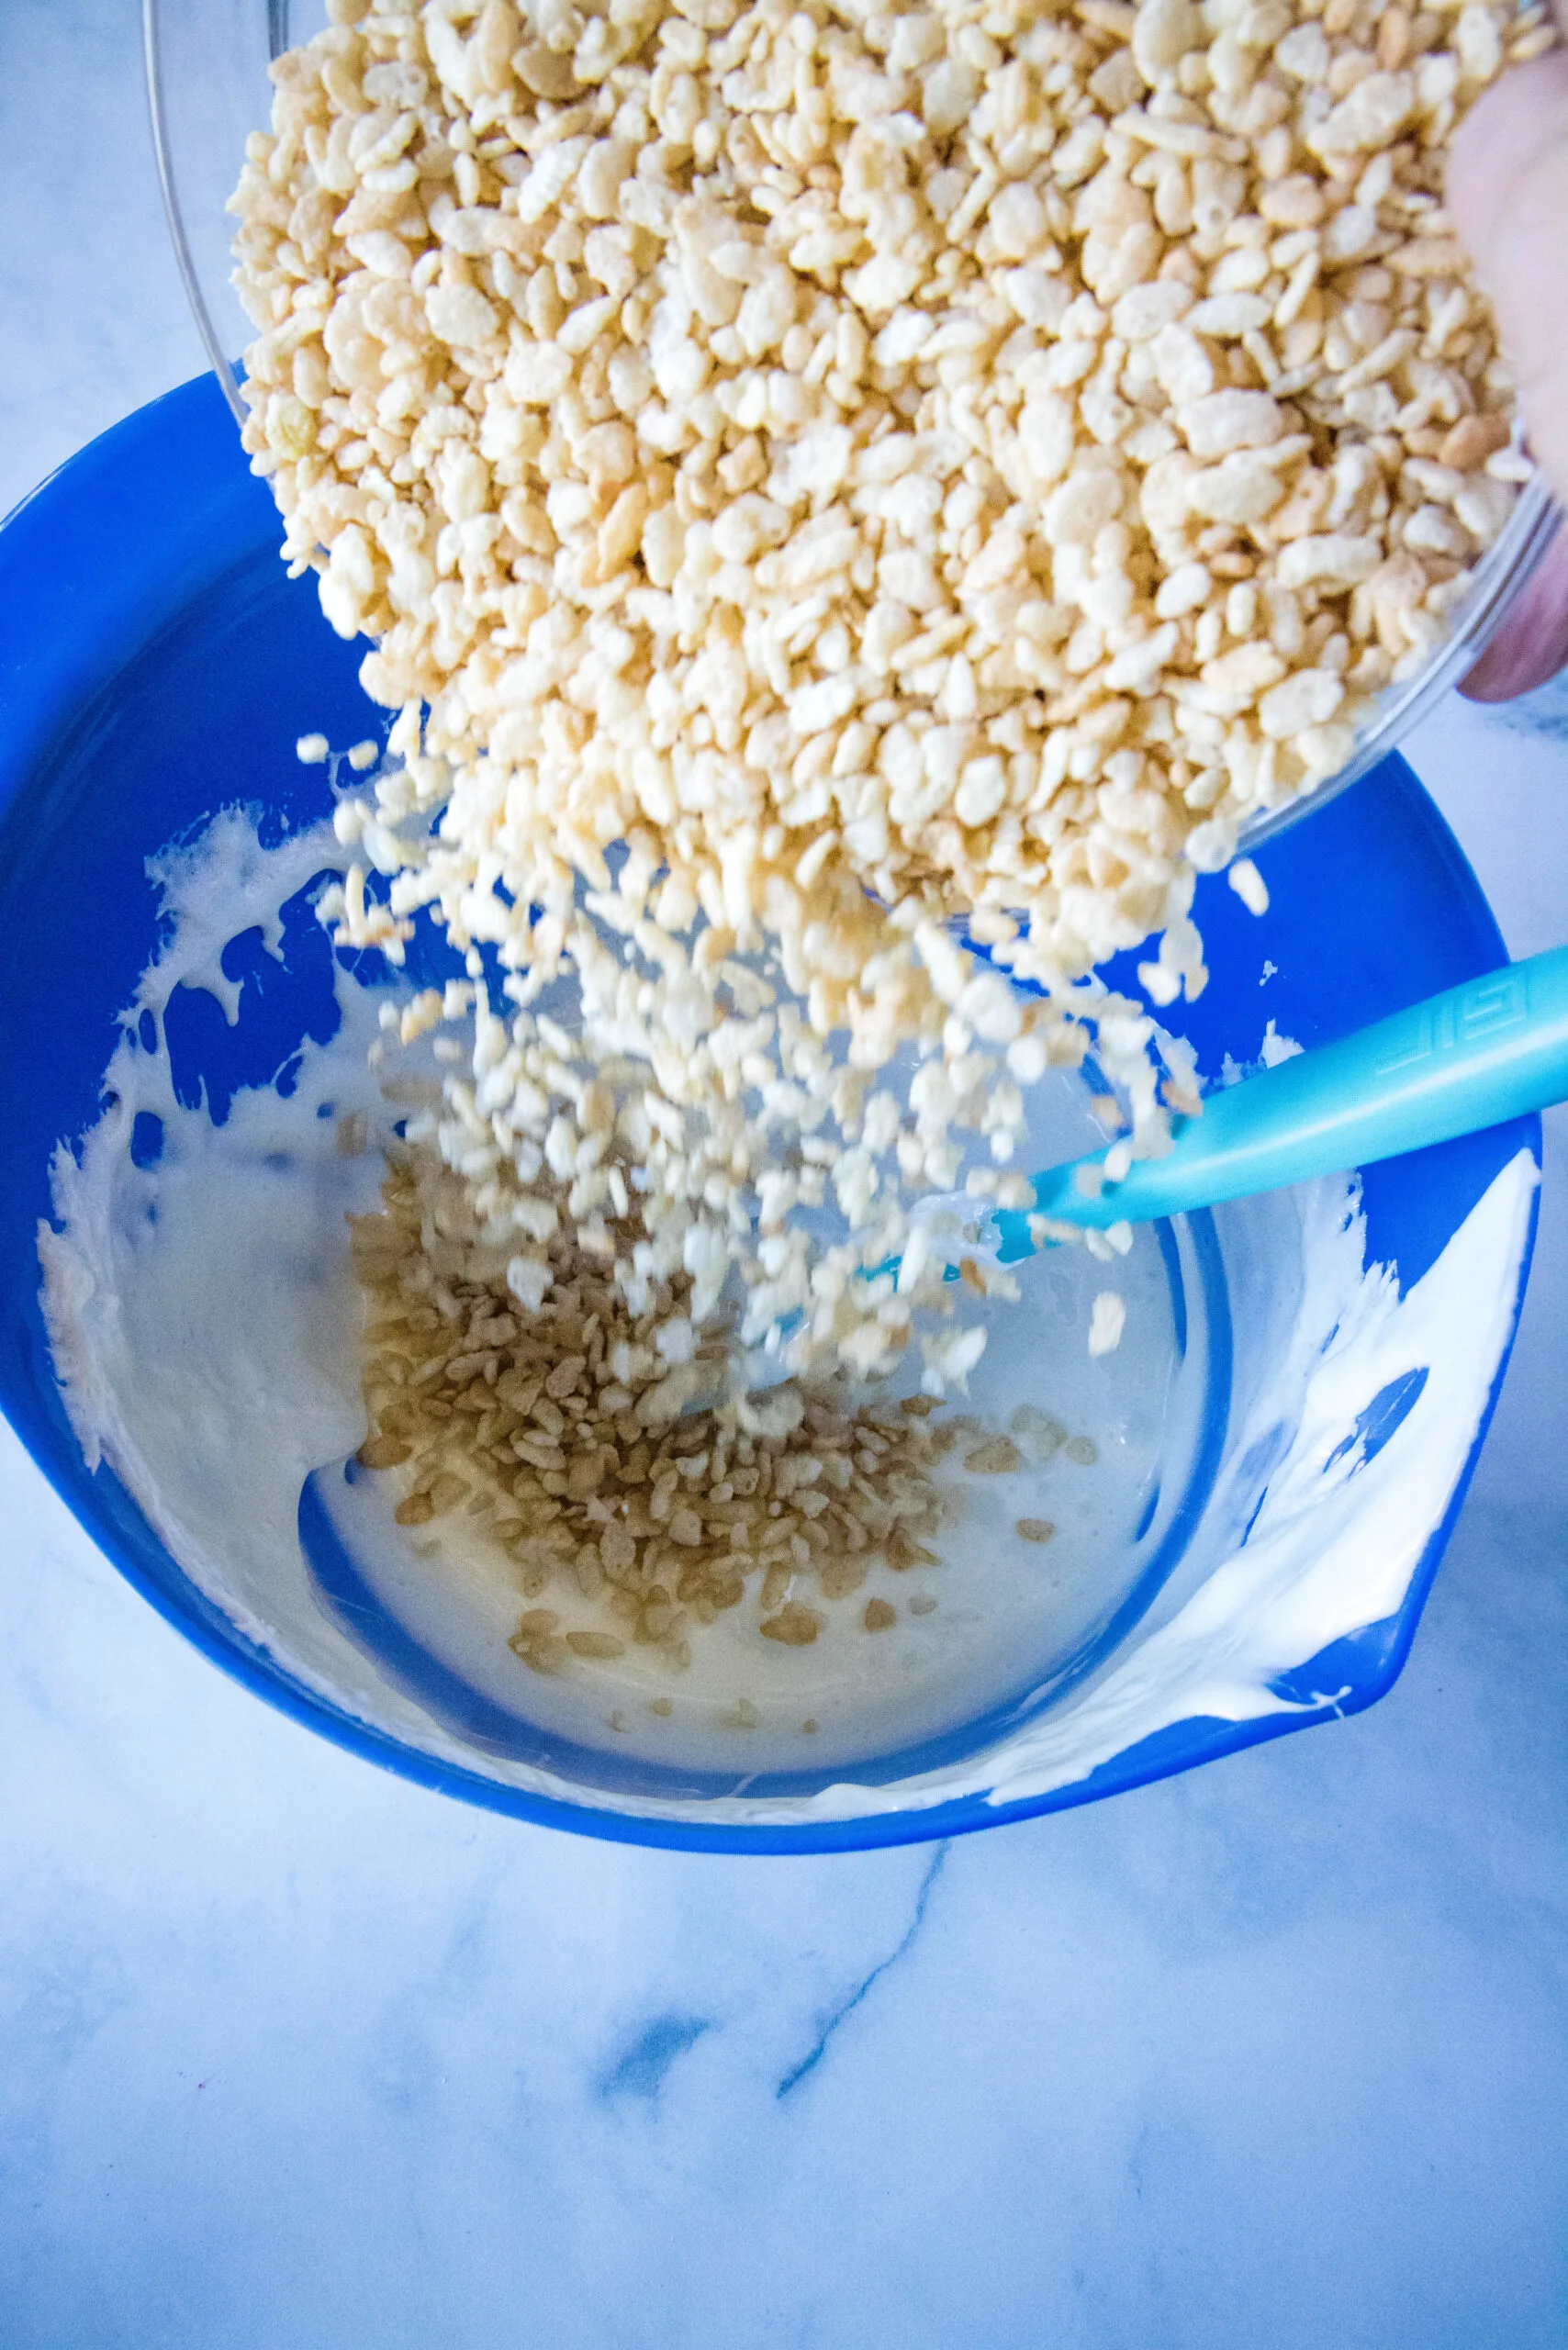
- Add Cereal. Pour in the cereal and mix until evenly coated and well blended.
- Let Set Up. Spread the cereal mixture into a 13×9 inch pan and use a spatula to press into an even layer. You can spray a spatula with non-stick spray if it is sticking. Let the treats set up for a few hours before slicing to serve.
Recipe Tips & Variations
- If you usually use the stovetop to melt your marshmallows and butter together, you can do that here as well. I just like the shortcut and less time by using the microwave, so I use the same bowl I am going to mix everything together into microwave and melt everything.
- Change up the flavor using different cereal! Try Fruity Pebbles, Cocoa Pebbles, Cheerios, Cinnamon Toast Crunch or Golden Grahams for fun twists to the same recipe.
- Make sure to use fresh ingredients. I know this sounds obvious, but if you use old marshmallows or old cereal, you will end up with stale cereal treats. So use a new box of new bag of ingredients, don’t use the 6 month old box of cereal in the back of the pantry.
- To press the bars into the pan, you can spray a spatula with non-stick spray or use your hands. The TRICK is to run your hands under water and shake off the excess, then press the bars into the pan. You can get them wet again if things start sticking.
Storing Rice Krispie Treats
Store these in an airtight container for up to 3 days. They will start to dry out and just lose their freshness after a couple days. You do NOT want to freezer cereal treats. The texture changes and they just do not yield the best thawed results.
Feel free to cut the recipe in half and make in an 8 inch baking pan if you are going to have more than you need.
More Easy No Bake Desserts
- Special K Bars
- Oreo Lasagna
- Brownie Batter Dip
- Lemon Cheesecake Cones
- Biscoff Rice Krispie Treats
- Peanut Butter Krispie Treats
Rice Krispie Treats
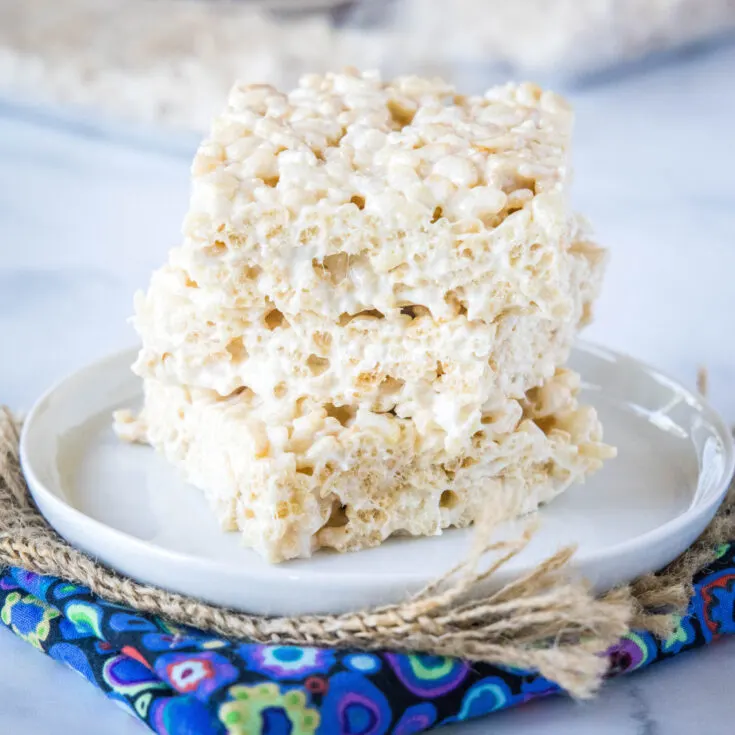
The absolute BEST Rice Krispie Treats! Gooey, dense, sweet, and delicious. Don't follow the basic recipe on the box, these are so much better!
Ingredients
- 6 Tablespoons unsalted butter, cut into small cubes
- 12 oz marshmallows
- 1 teaspoon vanilla extract
- 6 cups rice krispies
Instructions
- Spray a 13x9 inch baking dish with non-stick spray. Set aside.
- Add marshmallows and butter to a large mixing bowl and place in the microwave for 60 seconds. Remove and stir until completely melted. If necessary heat again for 20 seconds.
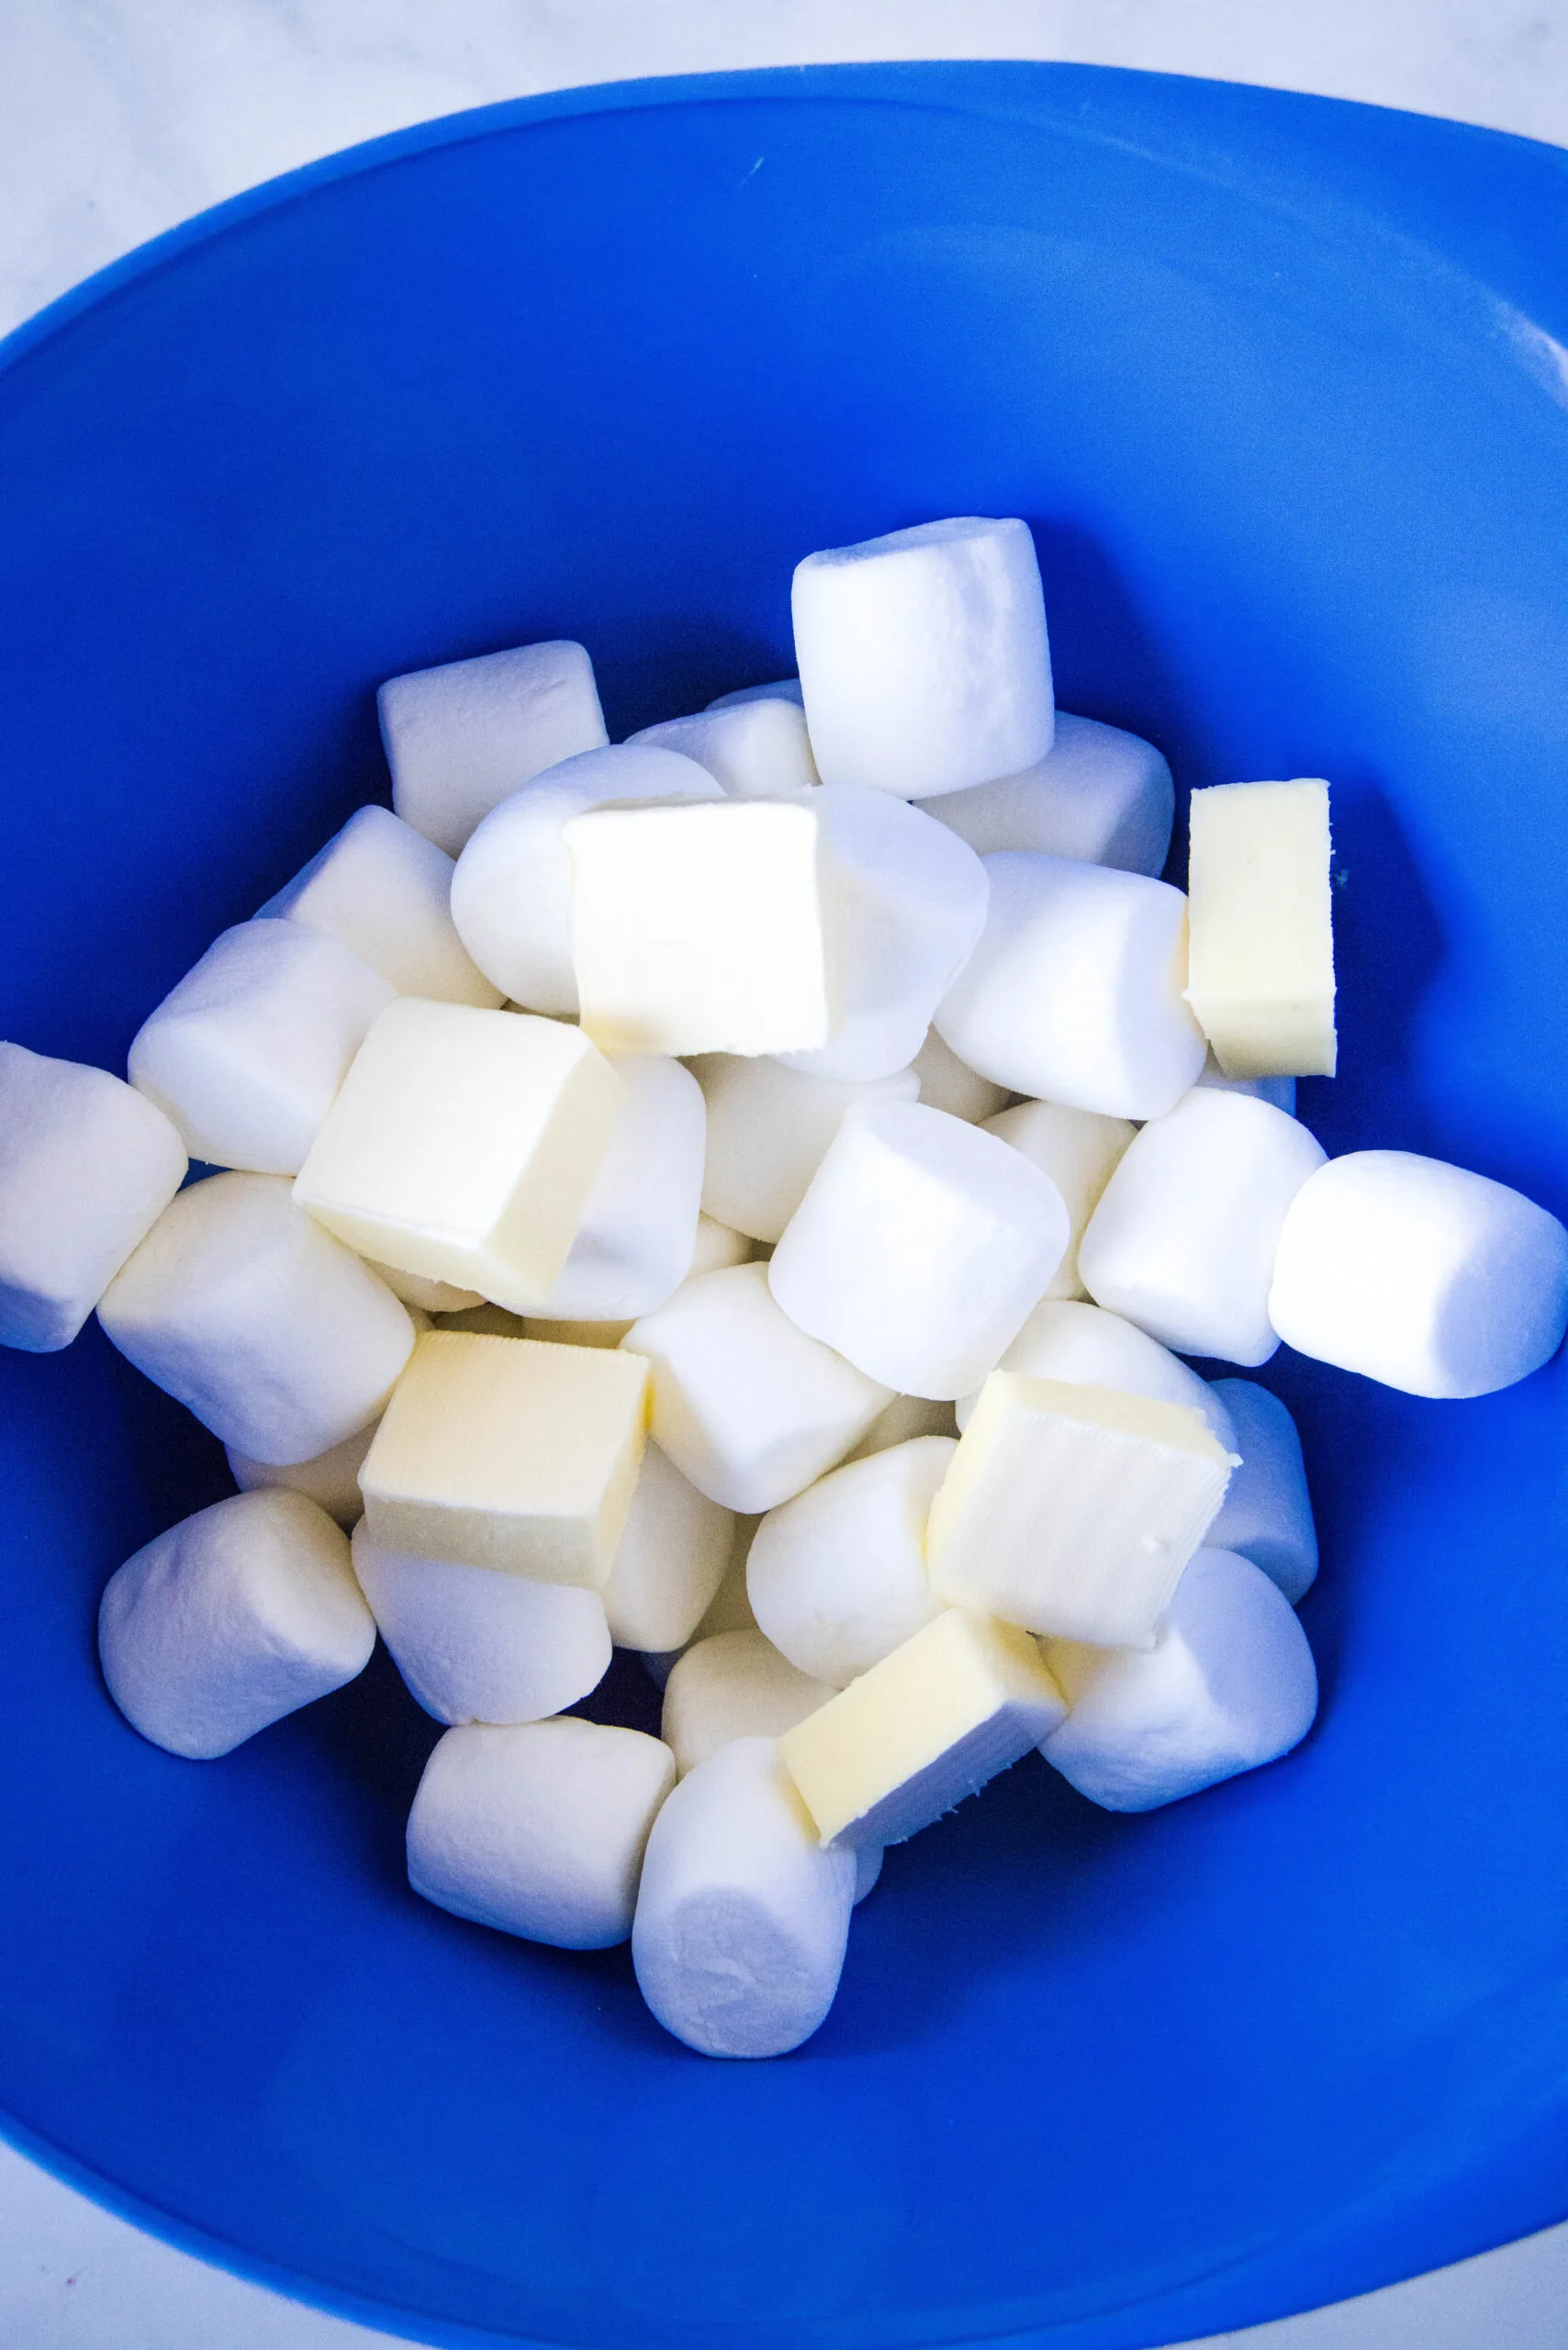
- Add vanilla extract and mix until fully combined.
- Pour in cereal, mix until the cereal is evenly coated.
- Press mixture into a sprayed 13x9 inch baking dish. Wet your hands (shake off any excess water) and press mixture evenly into the pan.
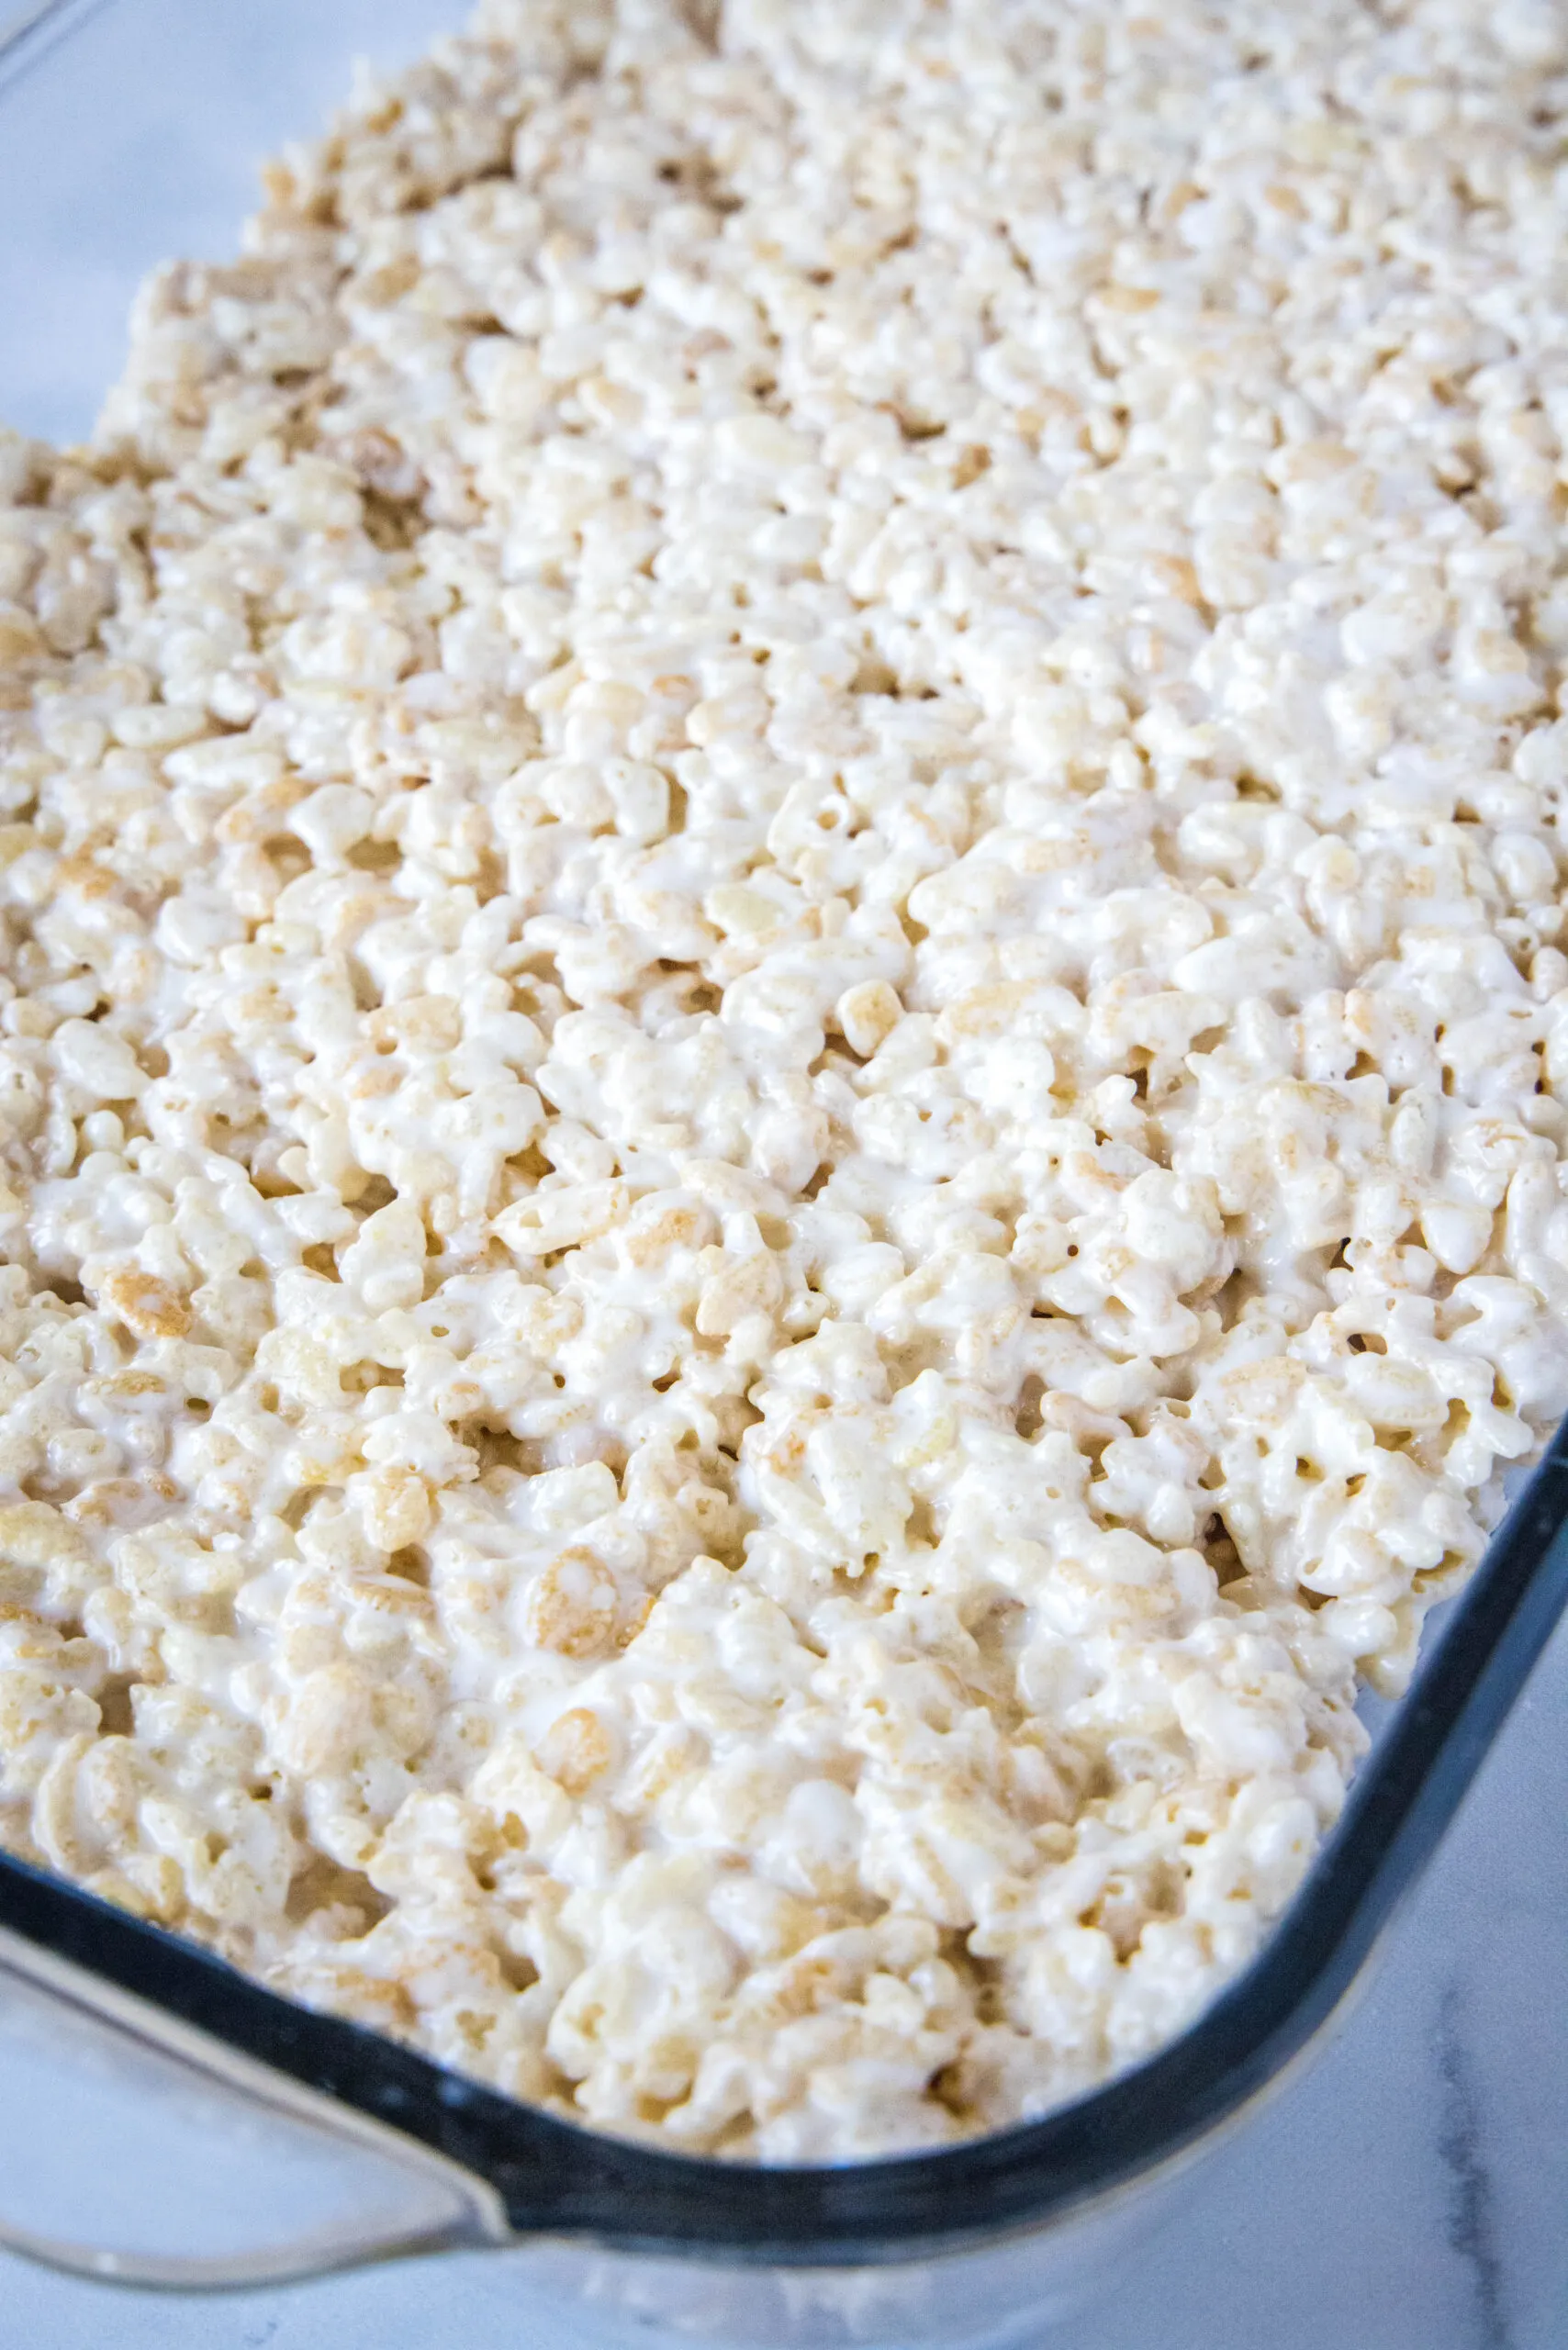
- Let bars set up for at least an hour before slicing.
Nutrition Information
Yield
20Serving Size
1Amount Per Serving Calories 117Total Fat 4gSaturated Fat 2gTrans Fat 0gUnsaturated Fat 1gCholesterol 9mgSodium 58mgCarbohydrates 21gFiber 0gSugar 11gProtein 1g
Nutrition Disclaimer: All information presented on this site is intended for informational purposes only. I am not a certified nutritionist and any nutritional information shared on dinnersdishesanddesserts.com should only be used as a general guideline.
I created a fun group on Facebook,and I would love for you to join us! It’s a place where you can
share YOUR favorite recipes, ask questions, and see what’s new at Dinners, Dishes and Desserts (so that you never miss a new recipe)!
Be sure to follow me on Instagram and
tag #dinnersdishes so I can see all the wonderful DINNERS, DISHES, AND DESSERTS
recipes YOU make!
Be sure to follow me on my social media, so you
never miss a post!
Facebook | Twitter | Pinterest | Instagram
Did you know there is a Dinners,
Dishes, and Desserts SHOP? Lots of different E-Books for sale. Or you can buy me a
coffee to say thanks!
.
- Air Fryer Chicken Burger - May 1, 2024
- Ritz Churro Bites - April 30, 2024
- Black Bean Dip - April 29, 2024

Sandra
Sunday 1st of October 2023
What a fun treat! My kids couldn't stop eating these!
Amanda Batcher
Wednesday 27th of September 2023
Homeade rice krispies are always better than store bought. I cannot wait to make these with the kids!
Beth
Wednesday 27th of September 2023
We all love Rice Krispies Treats in this house. I make them all the time. I can't wait to try your recipe. It looks delicious!