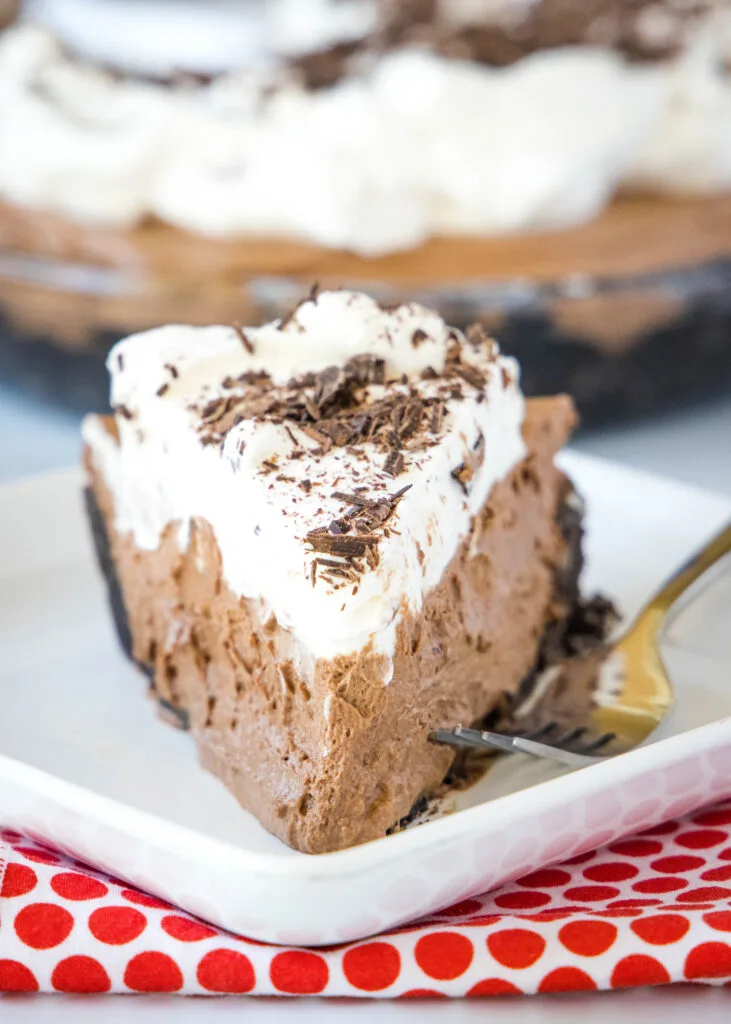
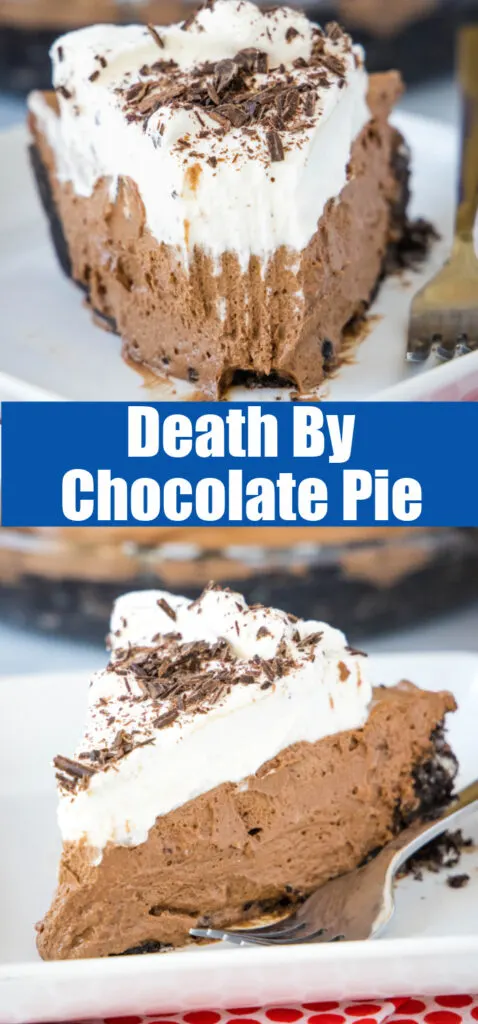
Death By Chocolate Pie – a chocolate lover’s dream! Chocolate cookie crust, a smooth and creamy rich chocolate mousse, topped with whipped cream and chocolate shavings.
This post is sponsored by Imperial Sugar. All thoughts and opinions are 100% my own.
If you know me, you know that I am all about chocolate. The more chocolate the better with pretty much every dessert there is! I could eat Homemade Brownies pretty much every day. Especially if they are topped with my favorite Chocolate Frosting.
This Death By Chocolate Pie is a super decadent, rich, chocolate-y and delicious pie that if you are a chocolate fan, you have to make right away!
Click HERE to get the full recipe.
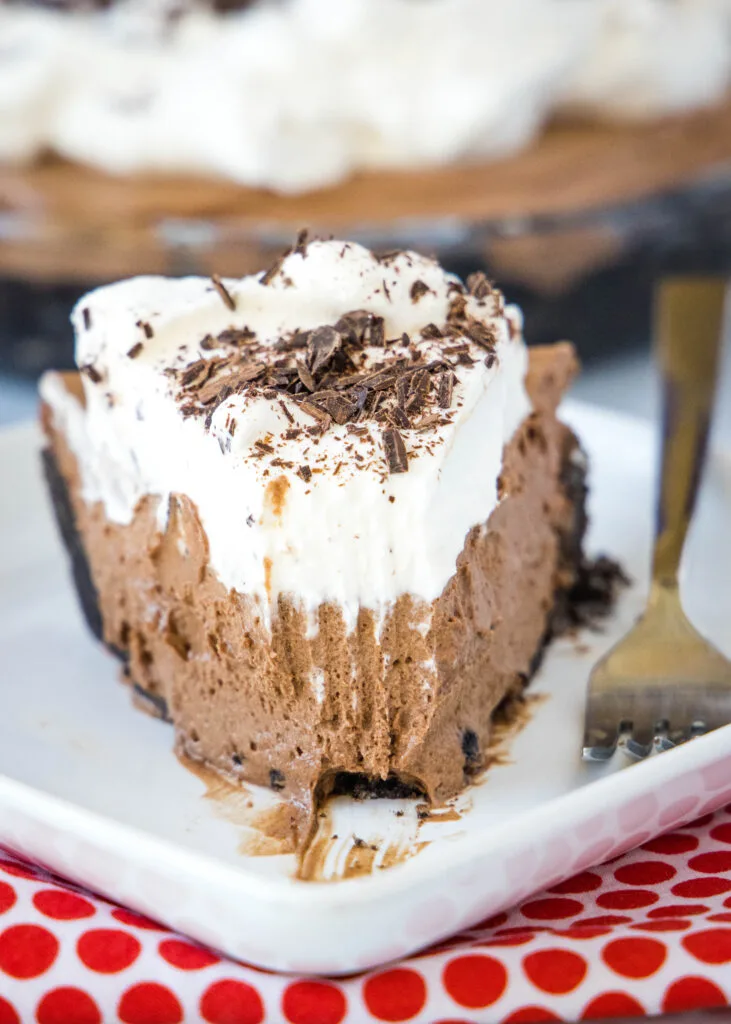
Chocolate is definitely the main ingredient in this pie. Starting with the crust, the filling and then the shavings on top. I had the biggest debate if I should top with chocolate or vanilla whipped cream. I did a pole on Instagram and Facebook, and it was a dead 50/50 tie. So I went with vanilla to cut the chocolate just a little bit and balance it out some.
What’s In Death By Chocolate Pie
- Oreo Cookies
- Butter
- Semi-Sweet Chocolate
- Heavy Cream
- Vanilla Extract
- Powdered Sugar
Not a whole lot of ingredients, but there is a ton of chocolate in there! This is where you want to use the good stuff. Because chocolate is the main ingredient, break out the good quality chocolate for this so you get a rich and decadent pie.
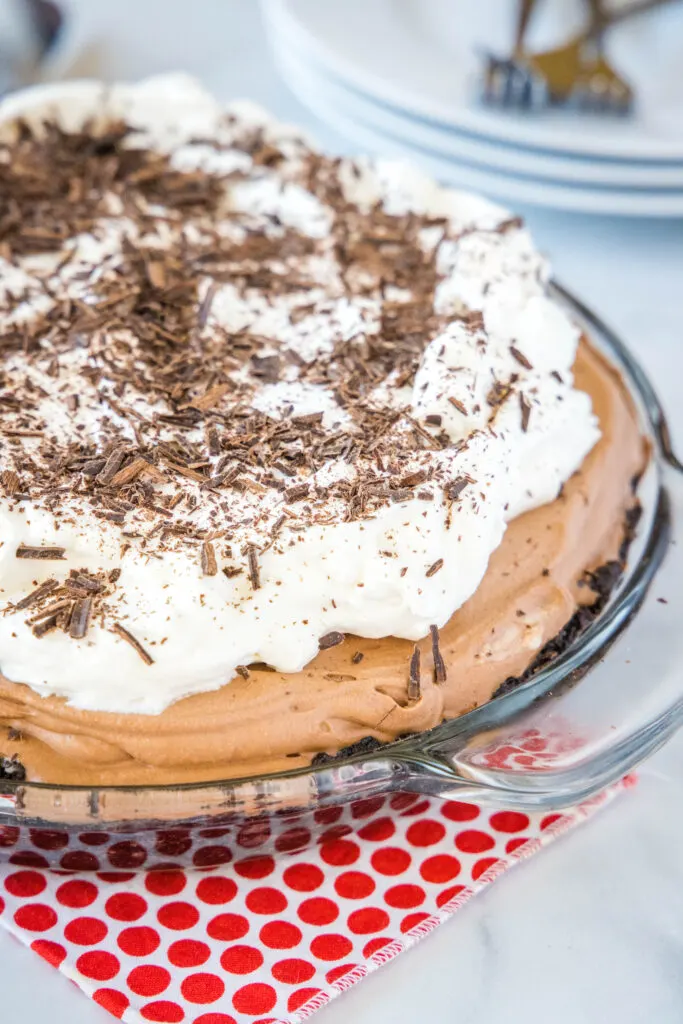
How To Make Death By Chocolate Pie
This does take a few steps, but the good thing is you can let the pie set and make it ahead. It doesn’t all have to be done at one time.
- Start by making the crust. Mix together Oreo cookie crumbs and butter and press into a pie plate. Put this in the fridge until you are ready to assemble the pie.
- Next up is making the filling. Start by melting together heavy cream and chocolate. To do this I like to heat the heavy cream in the microwave for about 60-75 seconds. Then pour over the chocolate and let it stand for a minute without touching it. After a minute, stir it together until it is nice and smooth. Set this aside to cool.
- Meanwhile, beat the heavy cream until it is stiff peaks. Mix in the vanilla extract and powdered sugar.
- Once the chocolate has cooled, fold it into the whipped cream mixture until it is blended but still light and fluffy. Pour into the pie crust and place in the fridge for 4-5 hours to set up.
- When you are close to ready to serve (a couple hours ahead of time is fine) make the whipped cream topping. Beat heavy cream to stiff peaks. Add in the powdered sugar and vanilla extract and beat until light and fluffy. Spread over the chocolate pie.
- Using a vegetable peeler, shave a bar of chocolate over the top to get the chocolate shavings.
Storage
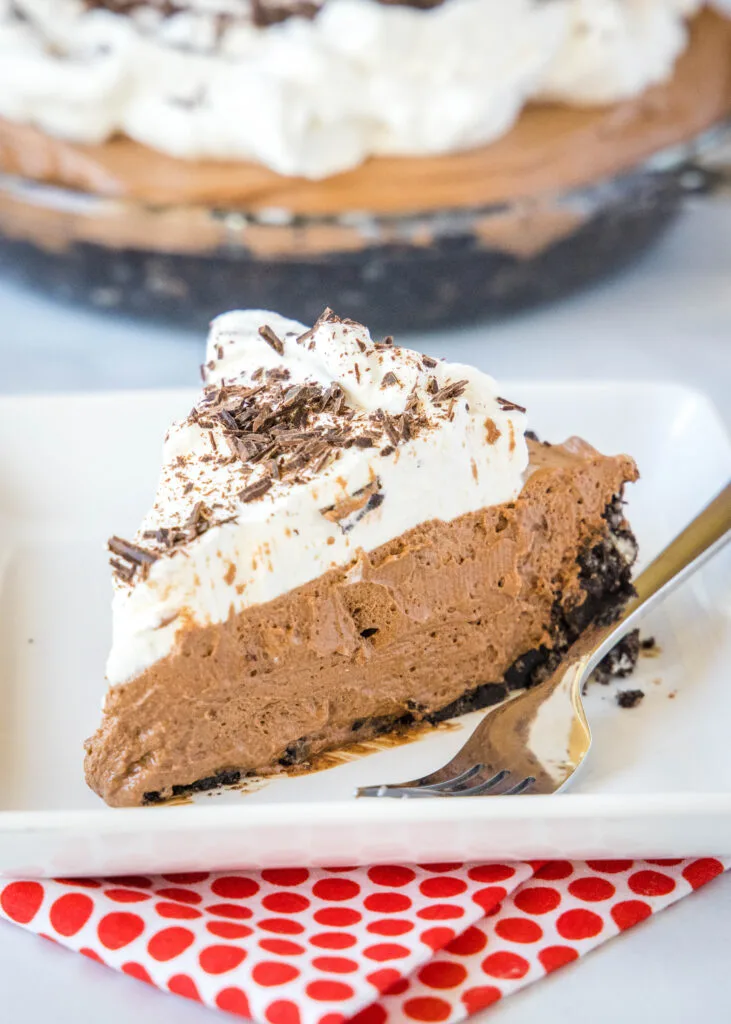
This pie needs to be stored in the fridge. It will last for up to 3 days. I like to place a couple of toothpicks around the top and gently place plastic wrap to cover. This way you don’t smash the whipped cream, but it stays fresh.
Have you ever wondered why something is called “death by chocolate”? Well it all started in 1981 when a pastry chef invented a cake that was named “la Mort au Chocolat” which translates to Death by Chocolate. Since then desserts that are chocolate on chocolate on chocolate sometimes adopted this name.
Craving More Chocolate Dessert Recipes
- Chocolate Molten Lava Cake
- French Hot Chocolate
- Flourless Chocolate Cake
- Nutella Cupcakes
- Double Chocolate Cupcakes
- Cosmic Brownies
- Nutella Skillet Cookie
- French Silk Pie
I am sharing this recipe over at Imperial Sugar today. Click on Death By Chocolate Pie to get the full recipe.
- Taco Mac and Cheese - April 22, 2024
- S’mores Pie - April 19, 2024
- Taco Sweet Potatoes - April 17, 2024

Jill
Wednesday 24th of November 2021
This looks really good. Can you make this the night before?
Erin S
Tuesday 30th of November 2021
Absolutely, it lasts for a few days in the fridge. There is a storage section in the post that tells you how to store it if you make it ahead.
Cathy
Thursday 28th of October 2021
Our favorite place to get this pie just closed....so happy to have this recipe so I can make it at home!
Krystle
Thursday 21st of October 2021
Full of rich chocolate flavor. My new favorite dessert.
Beti | easyweeknightrecipes
Thursday 21st of October 2021
I would love a slice of this amazing pie! It looks incredible!
katerina @ diethood.com
Thursday 21st of October 2021
This is such a fabulous dessert! Everyone loved it!