

This post may contain affiliate links. Please see my disclosure policy
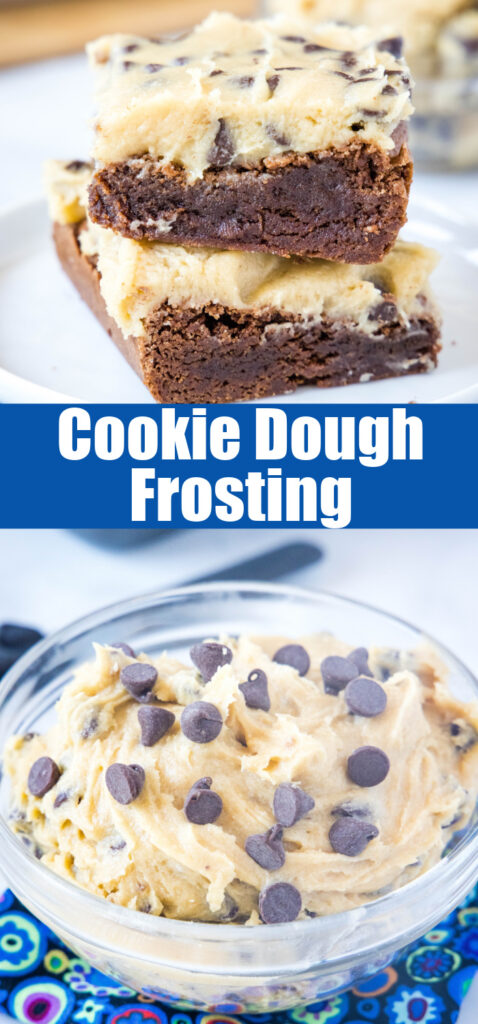
Cookie Dough Frosting – turn edible cookie dough into a spreadable frosting to use on cake, cookies, cupcakes, brownies, or even as a dip! So easy and delicious!
If you are like me, and sometimes you make cookies, just so you can have a few bites of cookie dough. Then this recipe is made for you! A perfectly safe edible cookie dough, but in the form of a spreadable frosting! It is all your cookie dough dreams come true.
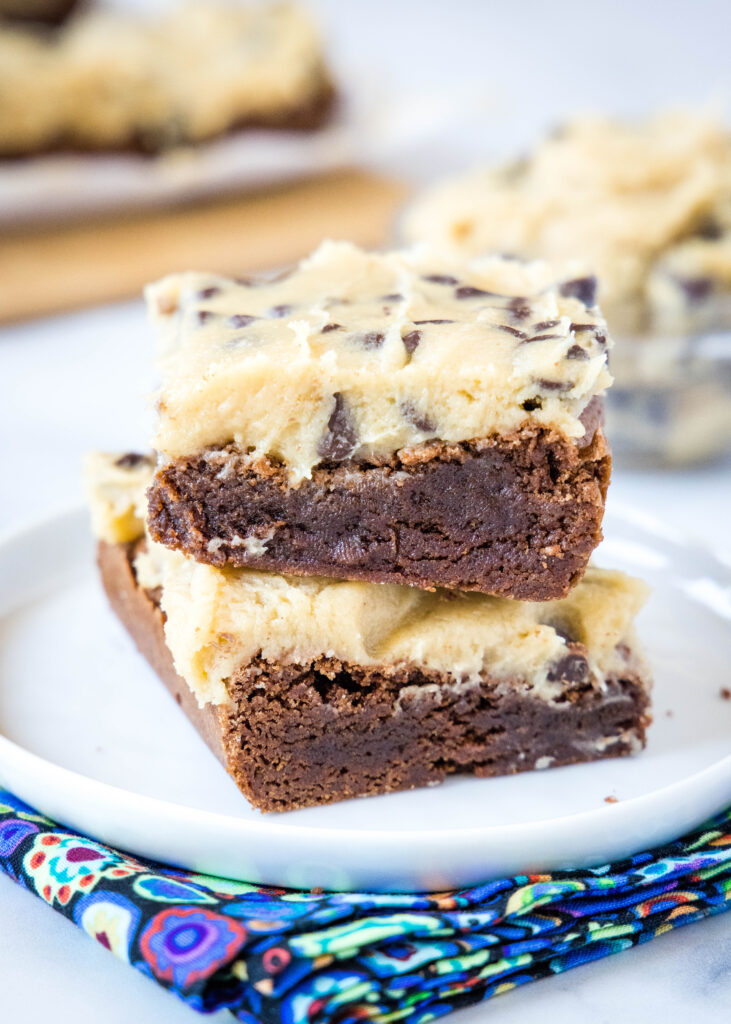
I first posted this on the blog over 10 years ago. I put it on the top of brownie bites, and it instantly because a huge success! You really can’t go wrong.
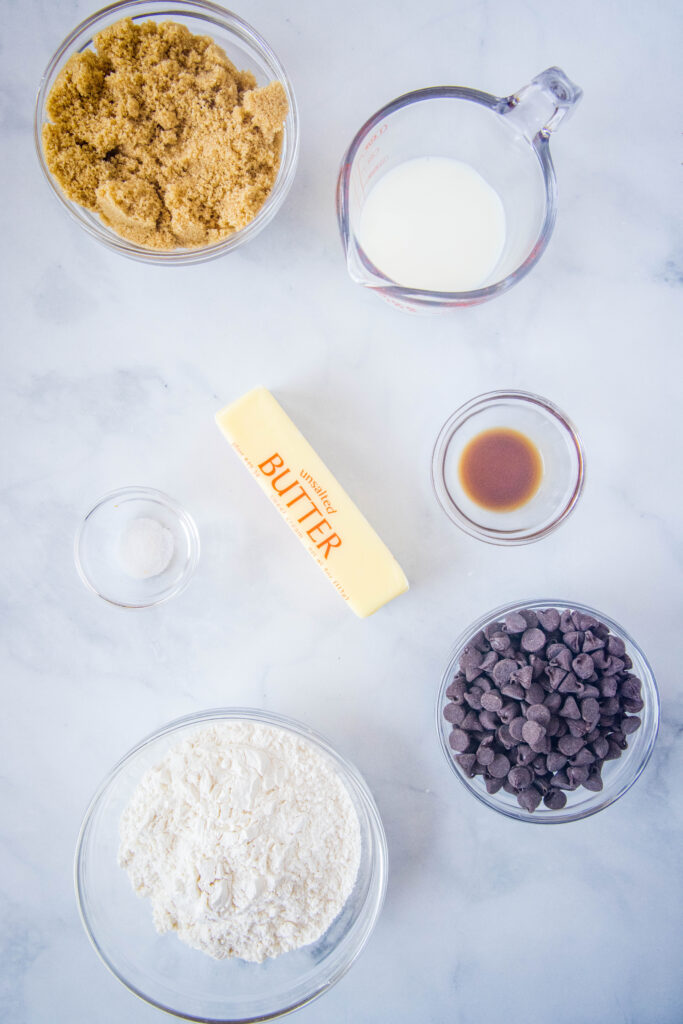
What You’ll Need
- Butter
- Brown Sugar
- Vanilla Extract
- Salt
- All-Purpose Flour
- Milk
- Chocolate Chips
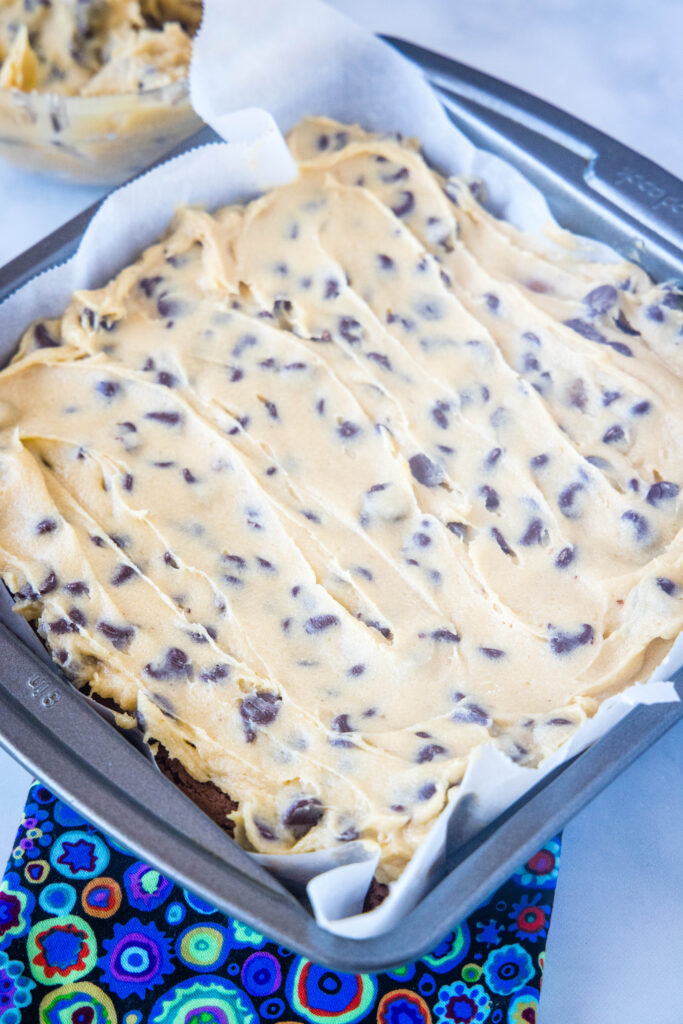
Depending on what you are using the frosting for, you can use regular or mini chocolate chips for this. If I am using them on brownies like these pictures, I use traditional chocolate chips. But as a dip or other cupcakes, mini chocolate chips can be easier to work with and eat.
How To Make Cookie Dough Frosting
- Spread flour on a baking sheet or place in a microwave safe bowl. Bake at 350º for 5 minutes, and then cool. Or microwave for 30 second intervals, stirring after each, until it reaches 160º F. Cool completely before making recipe.
- In an electric mixer cream together butter and brown sugar until smooth and creamy.
- Mix in vanilla until well combined.
- Add flour and salt, the dough will be very crumbly.
- Beat in milk until creamy and a spreadable consistency.
- Stir in chocolate chips. Spread over brownies, cupcakes etc.
You can store frosting, covered in the fridge for up to 5 days before using. It will firm up, so it is easiest to let it come to room temperature before spreading or using.
How To Use Cookie Dough Frosting
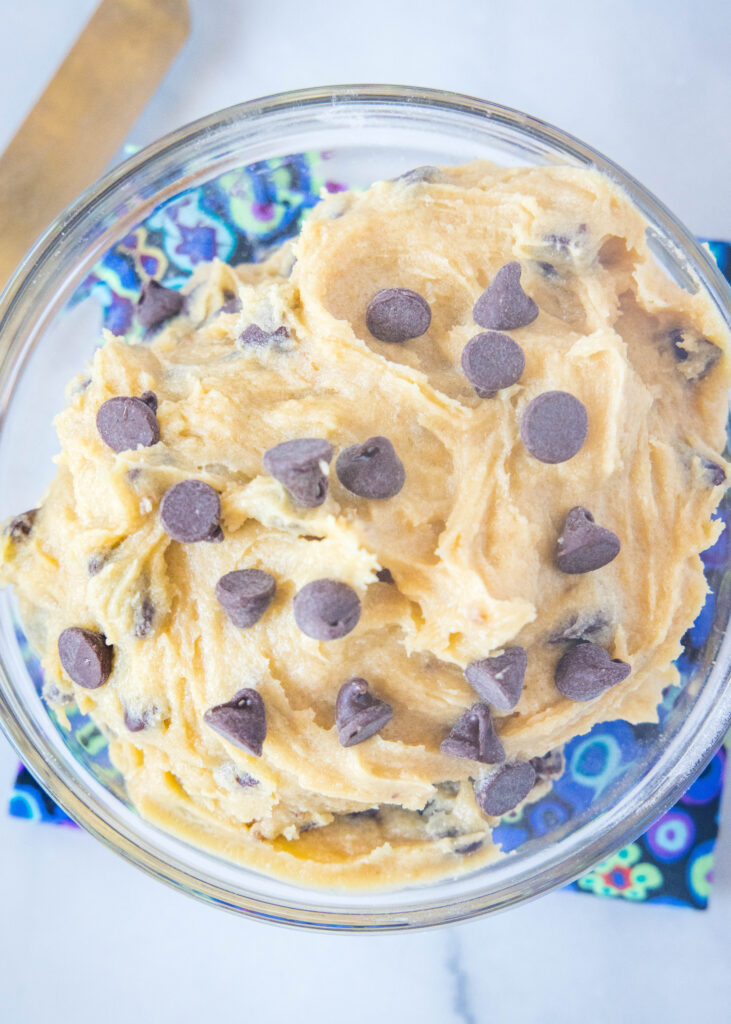
This is such a versatile and each recipe to use. It is sweet and tastes just like cookie dough! You can use as a frosting for normal cakes, brownies or cupcakes or you can even serve it as a dip with graham crackers or fruit.
How To Heat Treat Flour
You may have seen the warning on your bag of flour and know you aren’t supposed to eat raw flour. It can contain bacteria that can make you sick, so you want to heat treat it to kill the bacteria if you are going to use it in a no bake recipe. Don’t worry it is super easy!
Oven – Preheat your oven to 350º F. Spread flour onto a baking sheet and bake for 5 minutes. You want the flour to reach 160º F for it to be safe to eat. Let the flour cool completely before using.
Microwave – Using a large bowl heat flour in 30 second intervals, stirring well after each time. Depending on how much flour your are heating, it can take 2-4 intervals. Once the flour reaches 160º F it is safe to eat, just allow it to cool before using in this or any other recipe.
More Fun Dessert Recipes
- Cookie Dough Cheesecake
- Biscoff Rice Krispie Treats
- Cookie Dough Ice Cream
- Homemade Star Crunch Cookies
- Cookie Dough Truffles
- Oreo Stuffed Chocolate Chip Cookies
- Homemade Milky Way

Cookie Dough Frosting
Ingredients
- 1/2 cup butter, softened
- 3/4 cups brown sugar
- 1 teaspoon vanilla extract
- 1/4 teaspoon salt
- 3/4 cups all-purpose flour
- 1/3 cup milk
- 3/4 cup semi-sweet chocolate chips
Instructions
- Spread flour on a baking sheet or place in a microwave safe bowl. Bake at 350º for 5 minutes, and then cool. Or microwave for 30 second intervals, stirring after each, until it reaches 160º F. Cool completely before making recipe.
- In an electric mixer cream together butter and brown sugar until smooth and creamy.
- Mix in vanilla until well combined.
- Add flour and salt, the dough will be very crumbly.
- Beat in milk until creamy and a spreadable consistency.
- Stir in chocolate chips.
- Spread over brownies, cupcakes etc.
Nutrition
Nutrition information is automatically calculated, so should only be used as an approximation.
I created a fun group on Facebook,and I would love for you to join us! It’s a place where you can share YOUR favorite recipes, ask questions, and see what’s new at Dinners, Dishes and Desserts (so that you never miss a new recipe)!
Be sure to follow me on Instagram and tag #dinnersdishes so I can see all the wonderful DINNERS, DISHES, AND DESSERTS recipes YOU make!
Be sure to follow me on my social media, so you never miss a post!
Facebook | Twitter | Pinterest | Instagram
.



I cannot wait to try the brownie cupcake recipe. I think my grandchildren will love them!
Congrats on your blogiversary, Erin!
I like my coffee with just a little bit of vanilla Silk.
Wow, those do look over the top for dessert! But what a great idea having “cookie dough” for frosting! And a very happy blogiversary!!! And I’m already following you!
Happy Blog B-day! You do and amazing job at blogging about great recipes. Glad to be blogging with great people like you. These brownie cupcakes look really decadent and good and I bet I could only do the mini version too 🙂
Happy Happy Blog B-Day! Wish you many more! Your cupcakes look and sound heavenly!!!
Wow I am in love with these cupcakes, and happy 1 year!
Yum!! Happy Blog-a-versary! I totally would not have had any problem finishing one of these for dessert. 😉
Happy blogiversary, Erin! It has been so great to get to know you over the last year. Cheers to another successful year! 🙂
Happy anniversary! Those cupcakes look fantastic. I love cookie dough frosting!